
VIDEO PLAYLIST, CLICK ON THE VIDEO BELOW EACH CHAPTER
CHAPTER: INTRODUCTION
CHAPTER: SESSION BASED COURSES
Part 1. Adding the directory
Part 2. Adding the categories (optional)
Part 3. Adding the course
Part 4. Adding the course module
Part 5. Adding the course service (optional)
Part 6. Adding a second course module (optional)
Part 7. Assigning the course to module to create course variants
CHAPTER: MINUTES BASED COURSES
Part 1. Adding the directory
Part 2. Adding the categories (optional)
Part 3. Adding the course
From this page, you can manage the courses in the system.
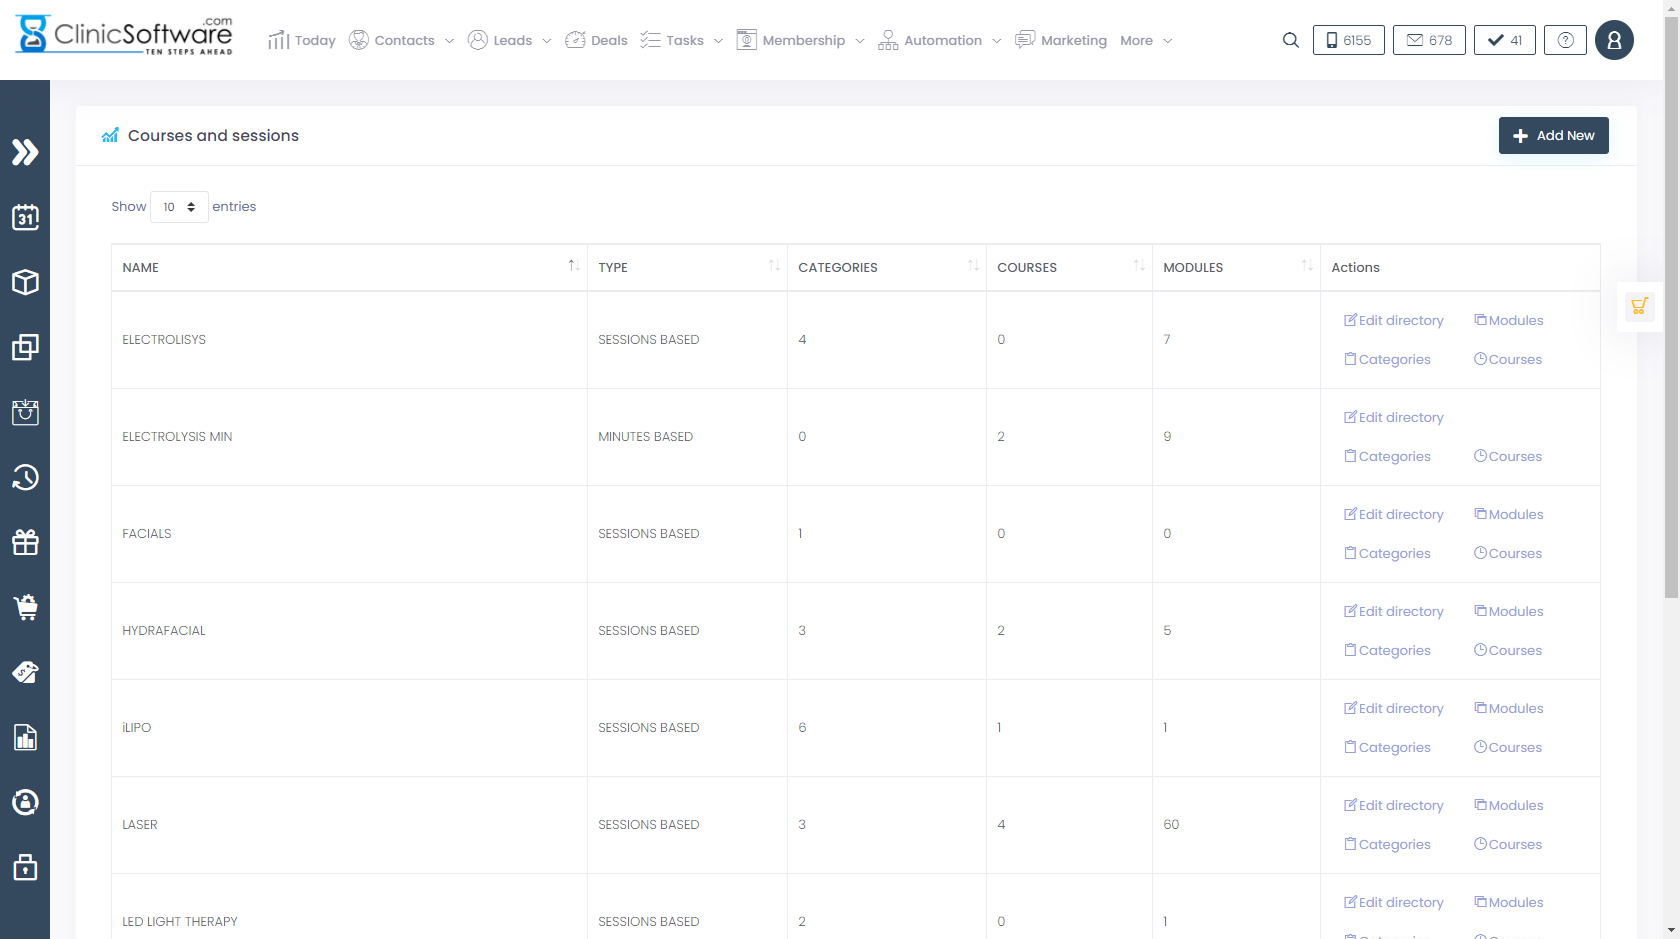
There are 2 types of courses in the system:
- Sessions based courses
- Minutes Based Courses
For sessions based courses we book each session of the course.
For minutes based courses we book the minutes left of the course.
Each course type is organized in directories (main category) and categories (subcategory, optional).
Sessions based courses can also include services per course.
The services are optional; the system will automatically display the course session as a service if not specified.
The course session’s services are used in the main “COURSES / SESSIONS” / “Customer Courses” / “Track Sessions” page from where they are set individually as used. When all of the course session’s services are set as used the session is marked as used by the system.
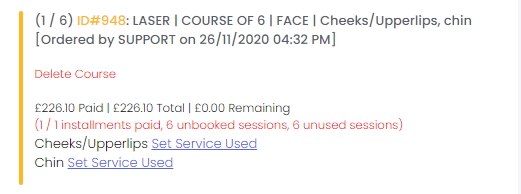
Example of course session with services defined (Track Sessions page), notice the 2 “SET SERVICE USED” options:
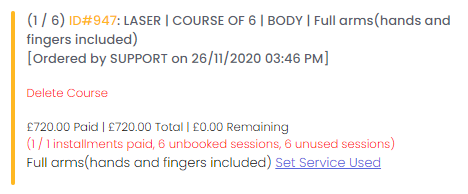
Example of course session with no services defined (Track Sessions page), notice that the course title has been copied as a service and only one “SET SERVICE USED” option is present:
Sessions based courses also include modules.
Modules are used to set the course’s variants in the number of sessions it will have, they also include other parameters such as the maximum number of payments (instalments) that the course of <x> sessions will allow.
We use modules to avoid adding the course for each variant (per session, course of 6 etc.).
A course (sessions based type) will only be displayed in the system after it has been added to at least one module to create a variant of the course.
Example:
- We add course “X” in “Laser” directory.
- For the “Laser” directory we create the modules “PER SESSION” and “COURSE OF 6”.
- We then assign the course “X” to the “PER SESSION” module and give it a price of 100.
- We also assign the same course “X” to the “COURSE OF 6” module and give it a price of 500.
Notice that we added the course only one time and gave it different prices for each variant when assigning it to modules.
Minutes based courses don’t use modules or services.
Minutes based courses administration is identical to sessions based courses but without the need to create modules and assign courses to them (to create variants).
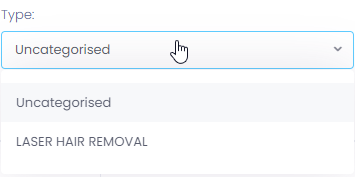
To identify which type of courses a directory contains, see the “TYPE” attribute of the directory in the directories list page, the course type is displayed in red colour.

Breadcrumb navigation
You can easily identify the page you are in and go back to a previous page using the breadcrumb navigation located on top of each course and session administration page.
Overview: Adding a sessions based course from beginning
Steps to adding sessions based courses from the beginning:
1) Add the course directory
If you already have the directory in which you wish to add the course then skip this step.
For more details on adding a courses directory please refer to the “COURSES AND SESSIONS / Adding a courses directory” section of this User Guide.
2) Add the course modules (for creating variants of the course E.g. per session, course of 6)
Modules are part of the courses directory.
If you already have the required modules skip this step.
For more details on adding a module please refer to the “COURSES AND SESSIONS / Adding a directory module” section of this User Guide.
3) (Optional), Add the course categories
Categories are part of the courses directory.
Only add categories if you wish to further organize the courses inside of the courses directory.
If not or already have the required category structure skip this step.
For more details on adding a category please refer to the “COURSES AND SESSIONS / Adding a directory category” section of this User Guide.
4) Add the course
Courses are part of the courses directory.
When you add the course you can choose to add it in the category created at step 3.
For more details on adding a course please refer to the “COURSES AND SESSIONS / Adding a directory course” section of this User Guide.
5) (Optional) Add the course services
Services are part of the course added at step 4.
Services are added after the course has been created.
For more details on adding a course please refer to the “COURSES AND SESSIONS / Managing a directory course’s services” section of this User Guide.
6) Assign the course to modules to create variants of the course
In this step, we specify the price of the course for each variant (per session, course of 6)
For more details on assigning a course to a module please refer to the “COURSES AND SESSIONS / Assigning courses to modules (creating course variants)” section of this User Guide.
Overview: Adding a minutes based course from beginning
Steps to adding minutes based courses from the beginning:
1) Add the course directory
If you already have the directory in which you wish to add the course then skip this step.
For more details on adding a courses directory please refer to the “COURSES AND SESSIONS / Adding a courses directory” section of this User Guide.
2) (Optional), Add the course categories
Categories are part of the courses directory.
Only add categories if you wish to further organize the courses inside of the courses directory.
If not or already have the required category structure skip this step.
For more details on adding a category please refer to the “COURSES AND SESSIONS / Adding a directory category” section of this User Guide.
3) Add the course
Courses are part of the courses directory.
When you add the course you can choose to add it in the category created at step 2.
Minutes based course don’t use modules or services.
Note that for minutes based courses the add course page is slightly different; the price is also entered at this step.
For more details on adding a minutes based course please refer to the User Guide sections:
- “COURSES AND SESSIONS / Adding a directory course”
- “COURSES AND SESSIONS / Minutes course add/edit page”
Adding a courses directory
Courses directories represent the main courses categories.
To add a courses directory, press the “Add New” button from the directories list page (main courses and sessions page).
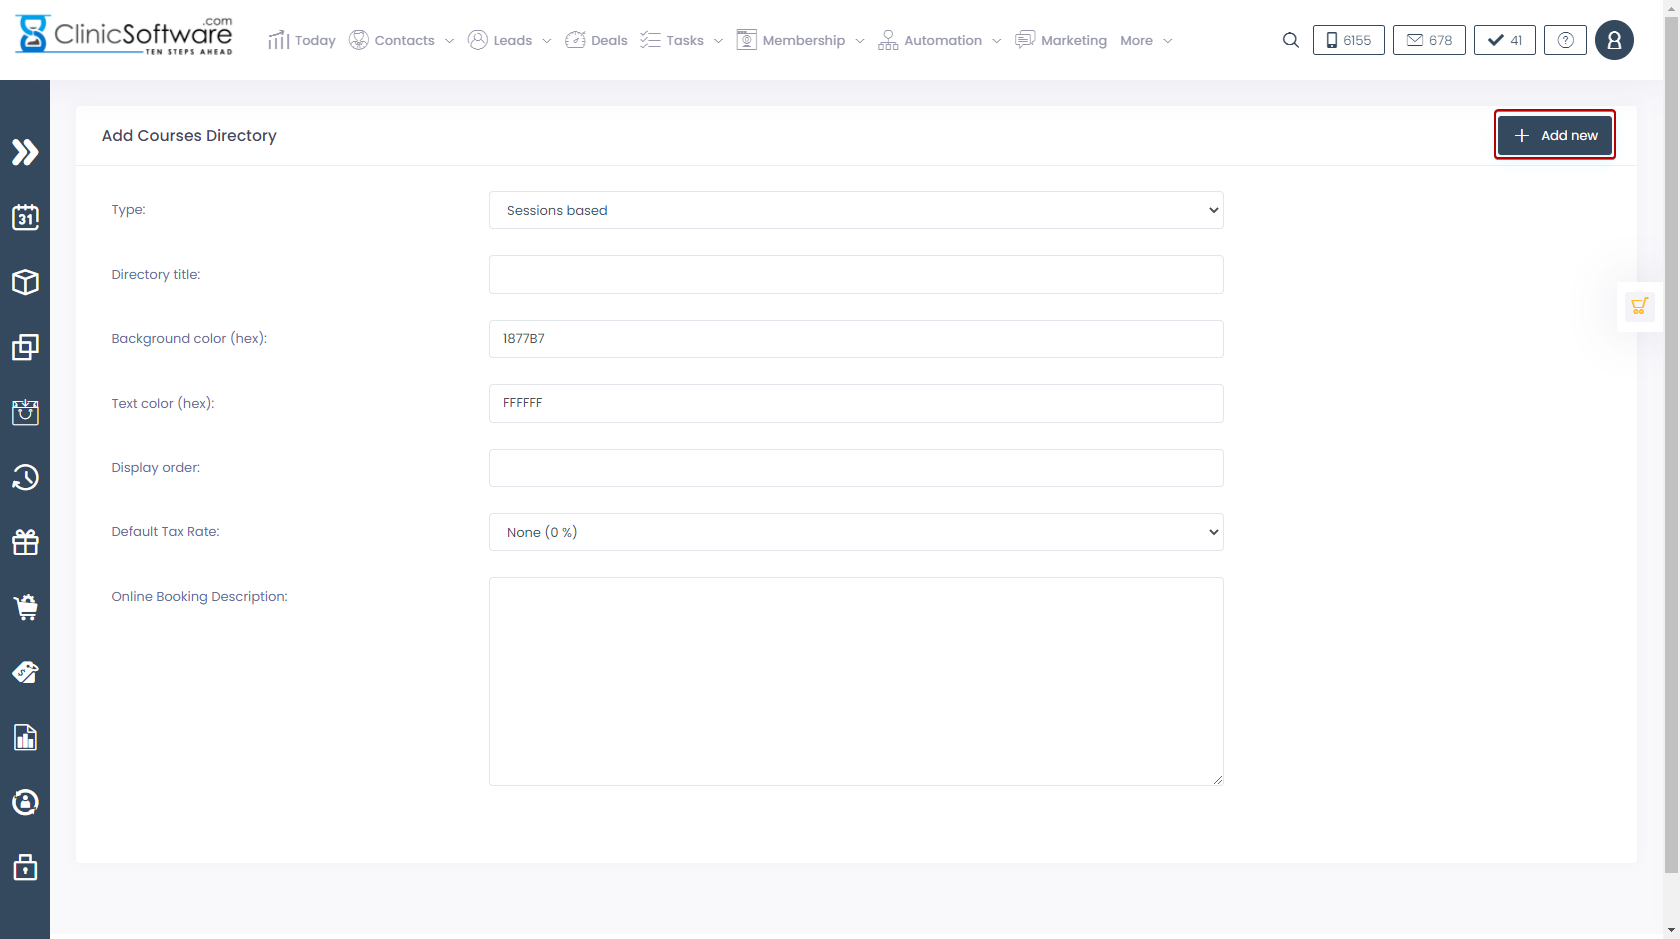
From the “Type” drop box we select what type of courses the directory will house (sessions based or minutes based courses).
Directories can only include one type of course.
The “Background (hex)” and “Text Colour (hex)” fields specify the appearance in the “COURSES / SESSIONS” / “Courses” page.
Each module, category and course of the directory will inherit those display settings if their respective background and text colour fields are left blank.
The display settings for the background and text colour are inherited in the following order:
DIRECTORY -> MODULE -> CATEGORY -> COURSE
To choose the colour for the background or text colour fields, click on them and select the colour from the colour picker.


You can change the colour gradient displayed in the colour picker by using the right vertical slider:

From the “Display Order” field you can set the display order of the course directory.
A lower value means that the directory is displayed upper in the list.
By default the directories are ordered by name.
If you wish to use the “Display Order” field to set a custom display order, then you must also set this field for the other directories.
The “Online Booking Description” field allows you to set a description that will be displayed under the course directory on the online booking website.
Complete the action by specifying the directory name and pressing the “Add New” button.
Editing or removing a courses directory
To edit an existing courses directory, from the directories list page (main courses and sessions page), press the “Edit Directory” button of the directory.
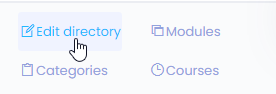
Make the necessary changes and then press the “Save changes button”.
From this page, you can also access the directory modules, categories and courses.

To delete the selected courses directory, press the “Delete Directory” button.
![]()
Adding a directory module
This section of the User Guide is only applicable for sessions based courses.
Minutes based courses don’t use modules.
Modules are used to set the course’s variants in the number of sessions it will have, they also include other parameters such as the maximum number of payments (instalments) that the course of <x> sessions will allow.
Modules are part of the course directory and are shared by all courses of that directory.
Courses are assigned to modules to form course variants (e.g. “PER SESSION”, “COURSE OF 6” etc.).
When we order a course, we actually order the variant of that course (e.g. “PER SESSION” variant of the LASER / Face / Chin course).
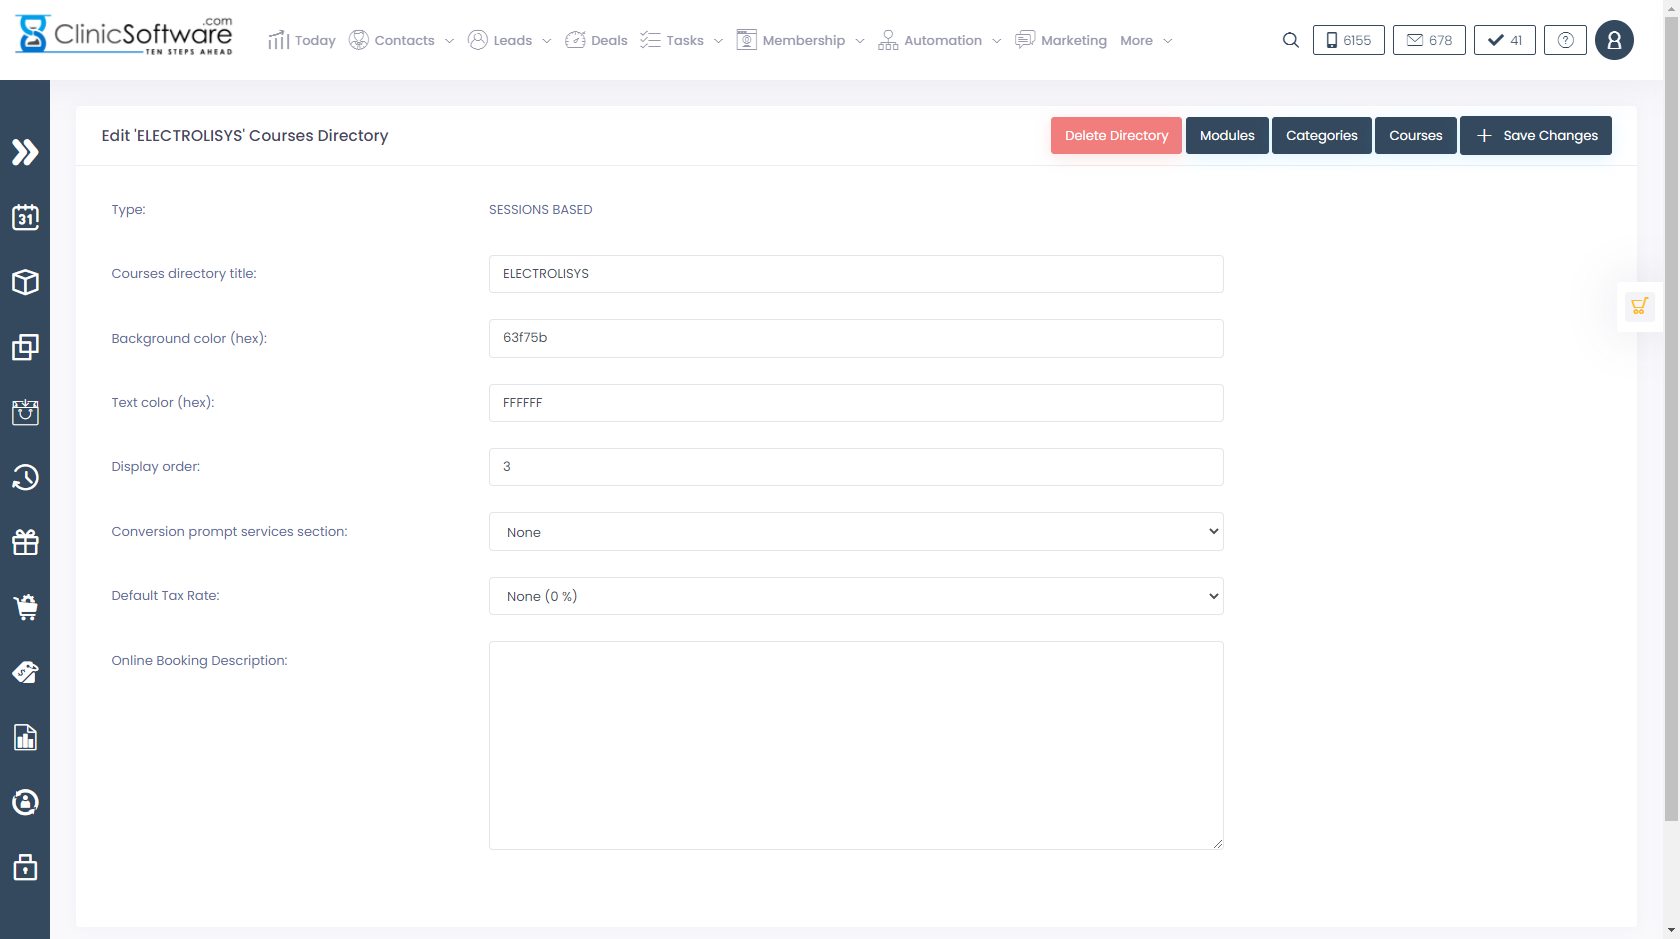
To view the directory modules, press the “Modules” button of the directory from the directories list page (main courses and sessions page) or use the bottom shortcuts button from the edit directory page.
Press the “Modules” button from the directories list page:
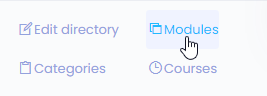
Or the “Modules” button from the directory edit page:
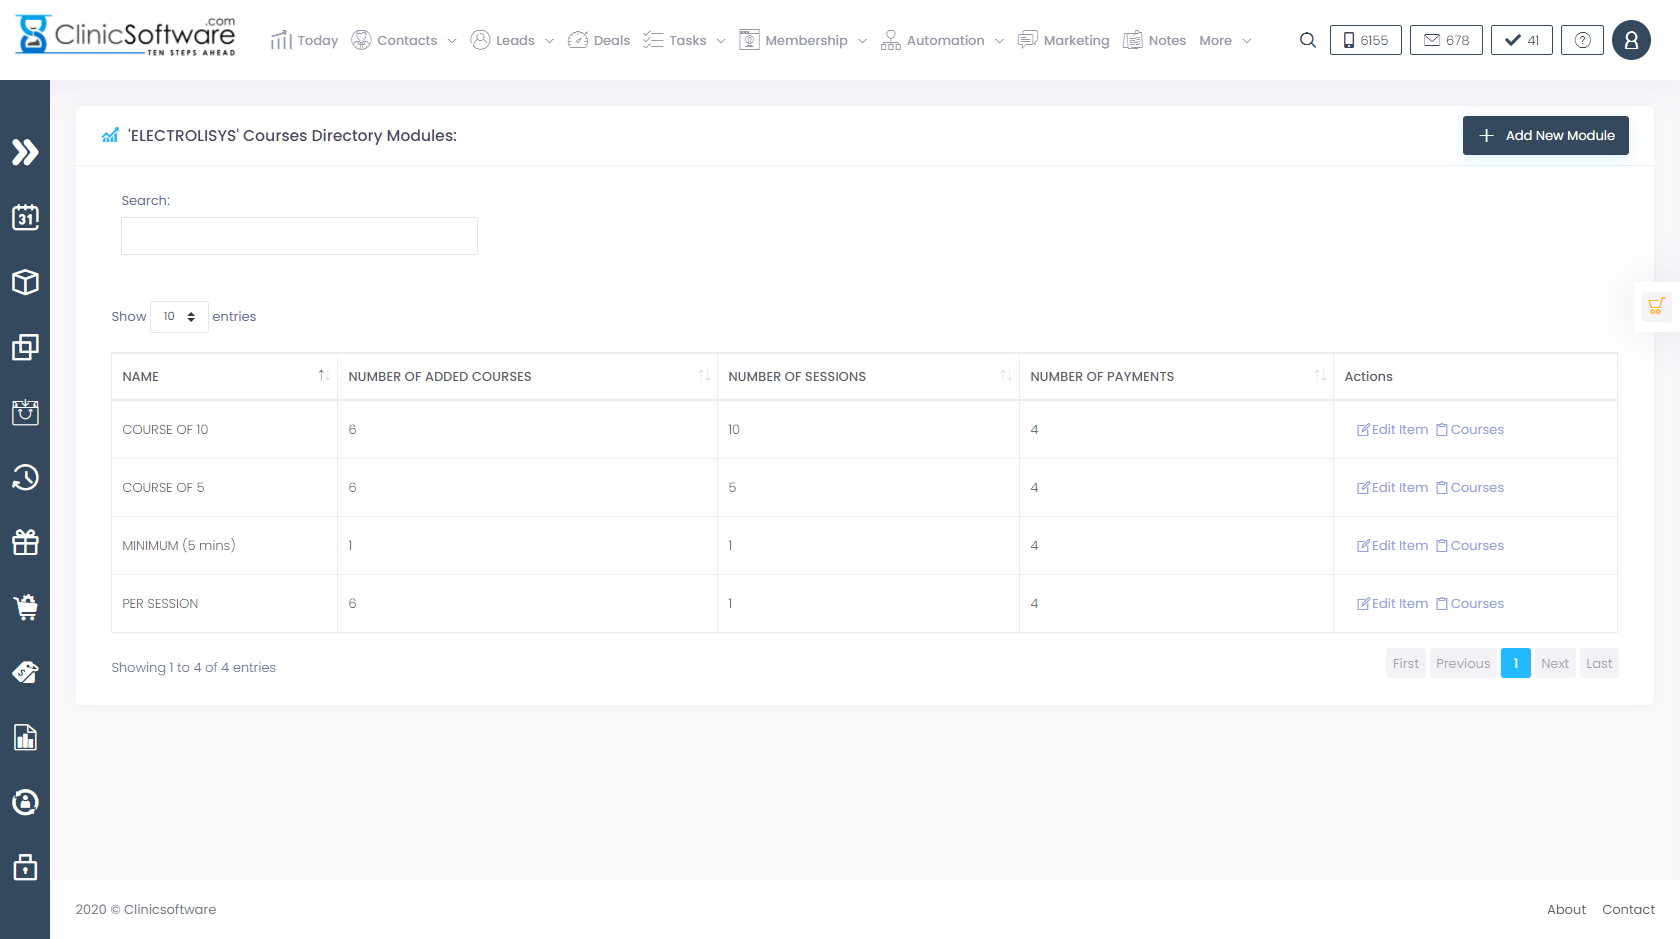
From this page we can manage modules and add courses to the modules to form variants.
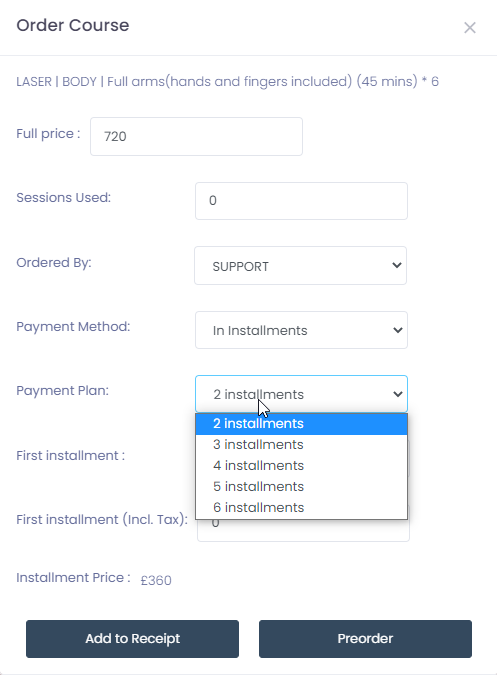
To add a new module, press the “Add New Module” button (bottom-left section).

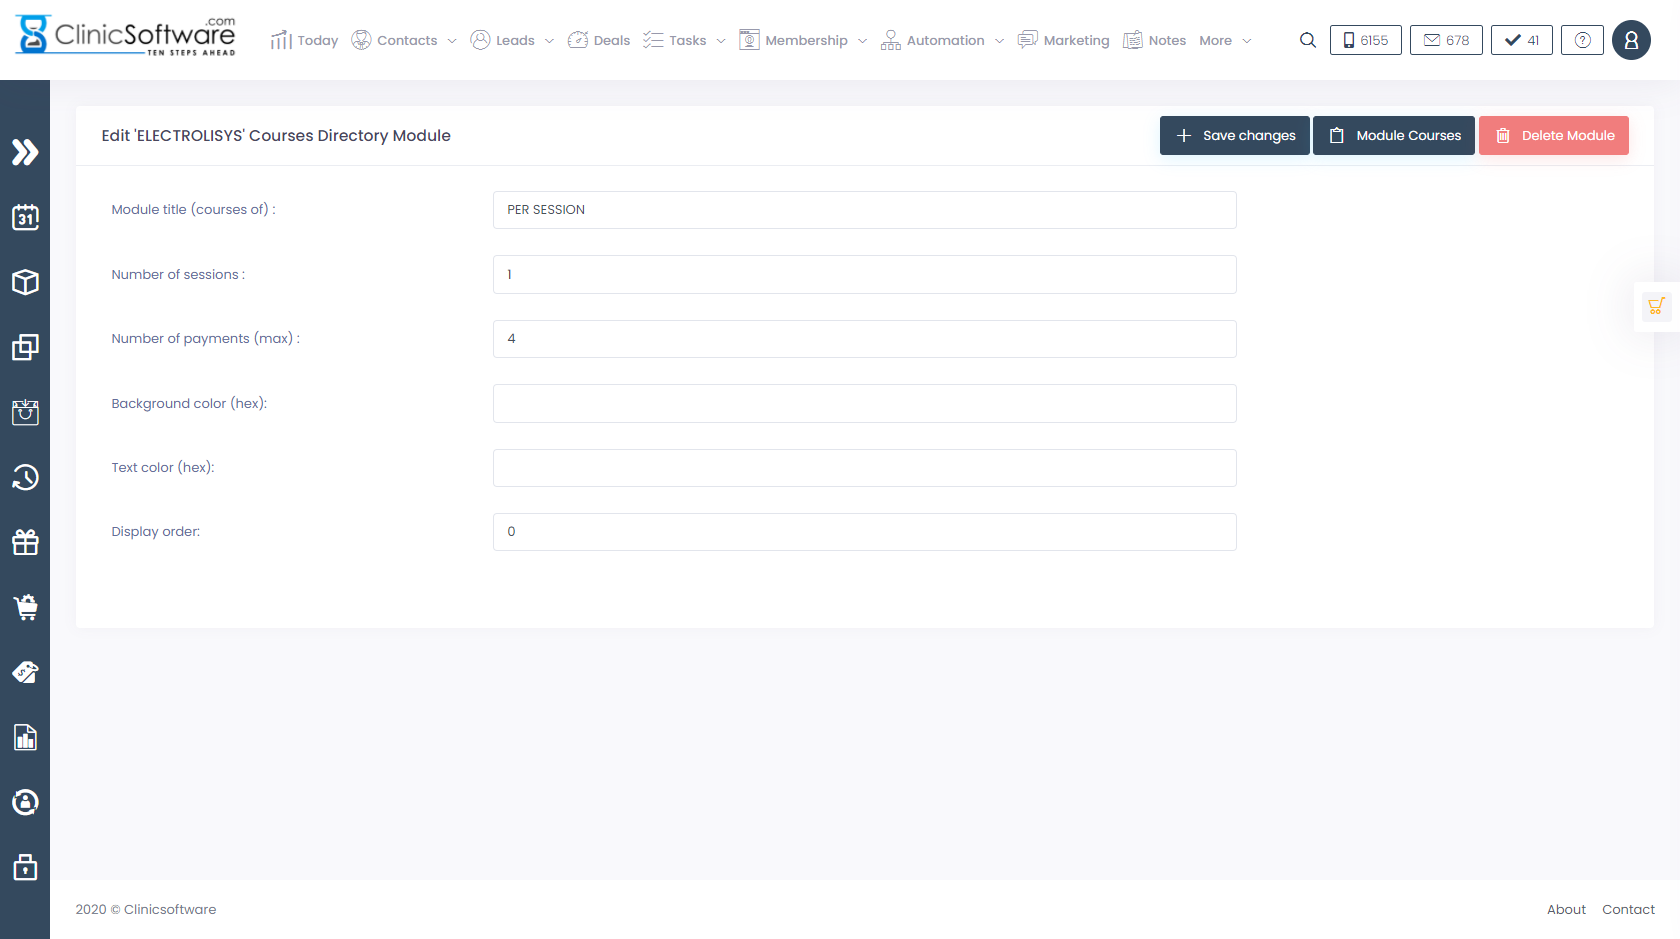
For the “Module title” field we usually specify values such as “PER SESSION”, “COURSES OF 6”.
The “Number of sessions” field represents how many sessions the course that is assigned to the module will contain (the variant of the course).
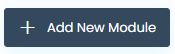
The “Number of payments (max):” field specifies how many instalments a new course can be paid in when it is ordered.
Example of course ordering with the number of payments set to 4:
The “Online Number of payments (max):” field represents in how many instalments a new course can be paid in when it is ordered from the online booking website.
If this field is left to 0 then the online booking application will use the value from the “Number of payments (max):” field.
The “Online Default Nof. payments:” field specified the default selected number of instalments when ordering the course from the online booking website.
The background and text colour are optional and will inherit the courses directory settings if left blank.
The display order allows you to specify the custom order the module is displayed in but you must also verify this settings for the rest of the modules.
The system orders the modules by the number of sessions if left blank.
Complete the addition of the module by pressing the “Add Module” button.
Editing or removing a directory module
To edit a directory module, first access the directory modules by pressing the “Modules” button of the directory from the directories list page (main courses and sessions page) and then the “Edit module” button of the module that you wish to edit from the modules list page.
Press the “Modules” button from the directories list page:
Or the “Modules” button from the directory edit page:
Press the module “Edit item” button.

Make the necessary changes and then press the “Save changes” button.
To delete the module, press the “Delete Module” button located in the top section of the page.
From this section, you can also access the module assigned courses by pressing the “Module courses” button.
Adding a directory category
The directory categories represent a subcategory of the directory that is the main category and are optional.
Categories are added inside of the course directory and are shared by all courses of that directory.
Courses can later specify if they are part of a category or not, in the last case they will reside directly in the directory.
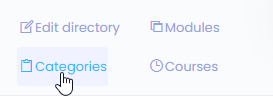
To view the directory categories, press the “Categories” button of the directory from the directories list page (main courses and sessions page) or use the bottom shortcuts button from the edit directory page.
Press the “Categories” button from the directories list page:
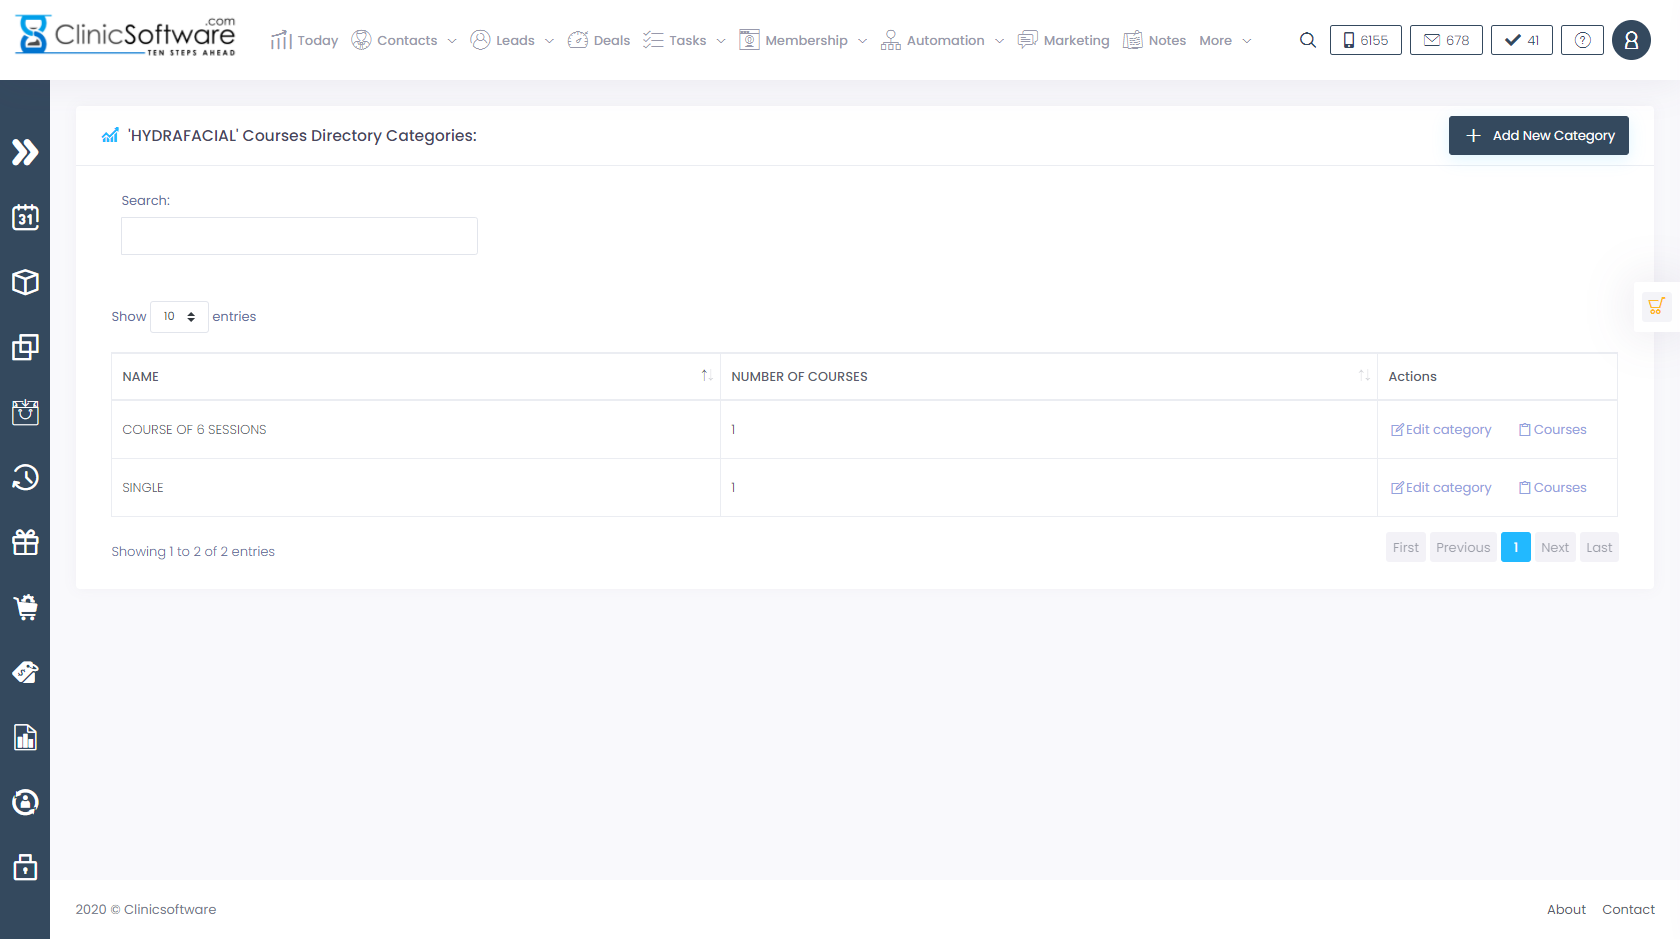
Editing or removing a directory category
To edit a directory category, first access the directory categories by pressing the “Categories” button of the directory from the directories list page (main courses and sessions page) and then the “Edit category” button of the module that you wish to edit from the modules list page.
Press the “Categories” button from the directories list page:
Or the “Categories” button from the directory edit page:
Press the module “Edit category” button.

Make the necessary changes and then press the “Save changes” button.
To delete the category, press the “Delete Category” button located in the bottom section of the page.
![]()
From this section, you can also access the courses that are part of the category by pressing the “Courses” button.
Adding a directory course
Courses are added inside of the course directory and can be part of a category or uncategorised.
Courses can also be available only at a particular location or for all locations.
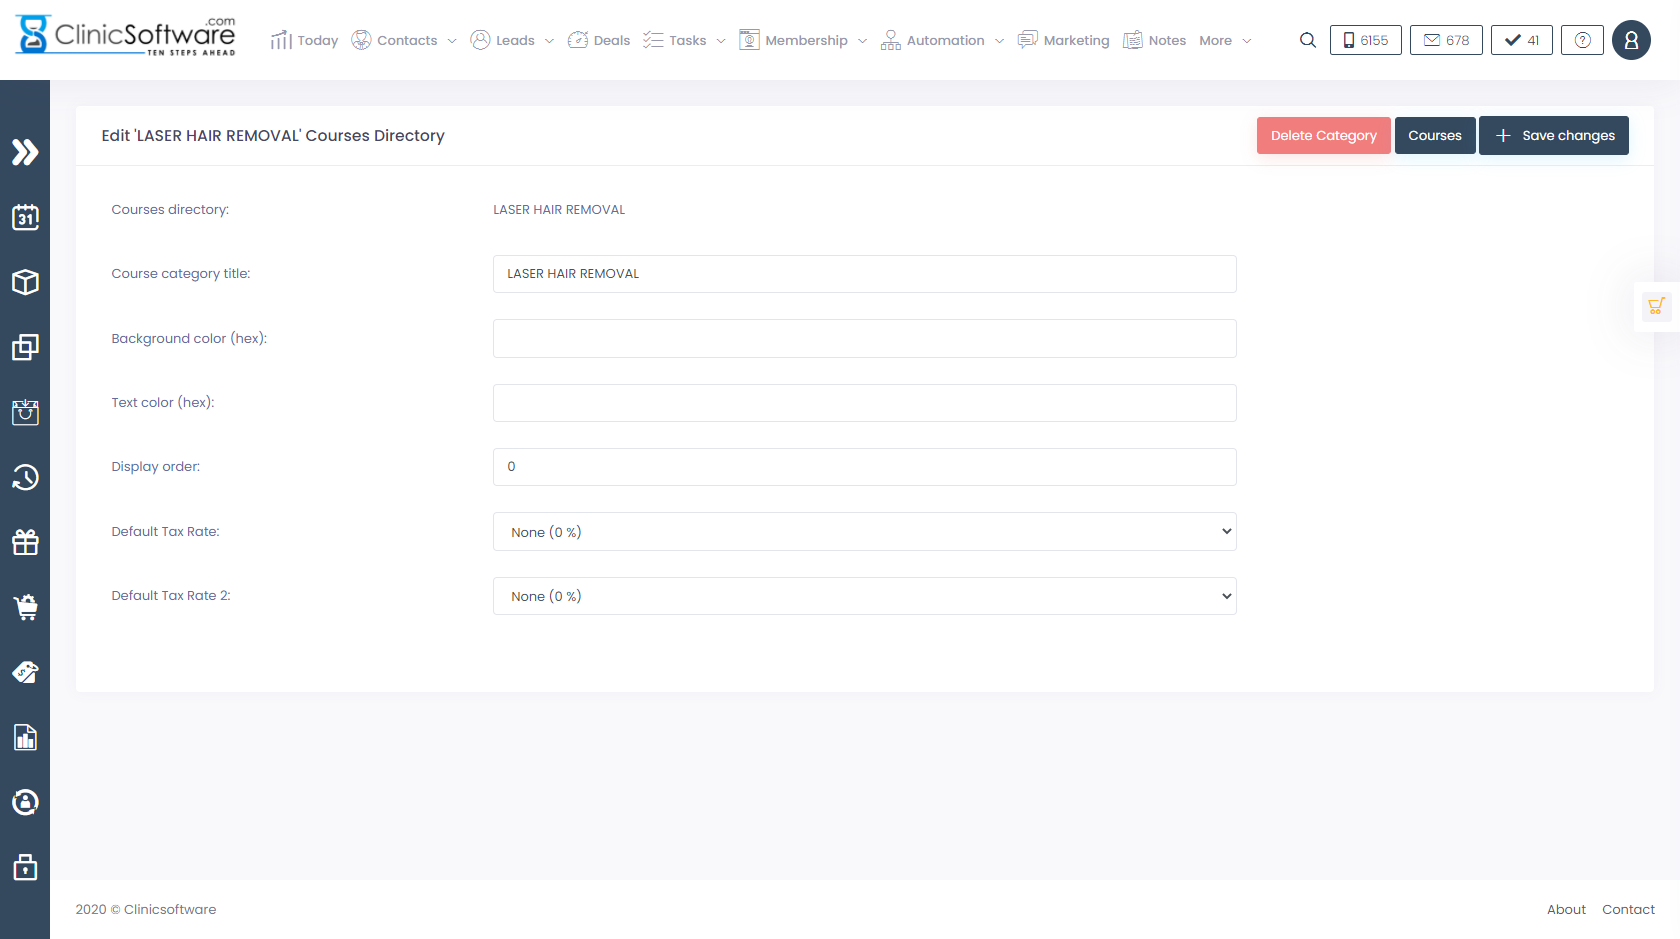
To view the directory courses, press the “Courses” button of the directory from the directories list page (main courses and sessions page) or use the bottom shortcuts button from the edit directory page.
Press the “Courses” button from the directories list page:
Or the “Courses” button from the directory edit page:

To filter the list and display only the courses of a particular category, use the category drop box from the top section of the page.
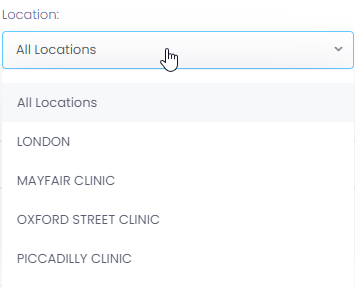
To filter the list and display only the courses available at a particular location, use the location drop box from the top section of the page.
To add a new course into the selected courses directory, press the “Add New Course” button located at the bottom of the page.
![]()
From this section, you also have a shortcut to the selected directory modules to assign the newly created course to modules and create course variants (e.g. per session, course of 6).
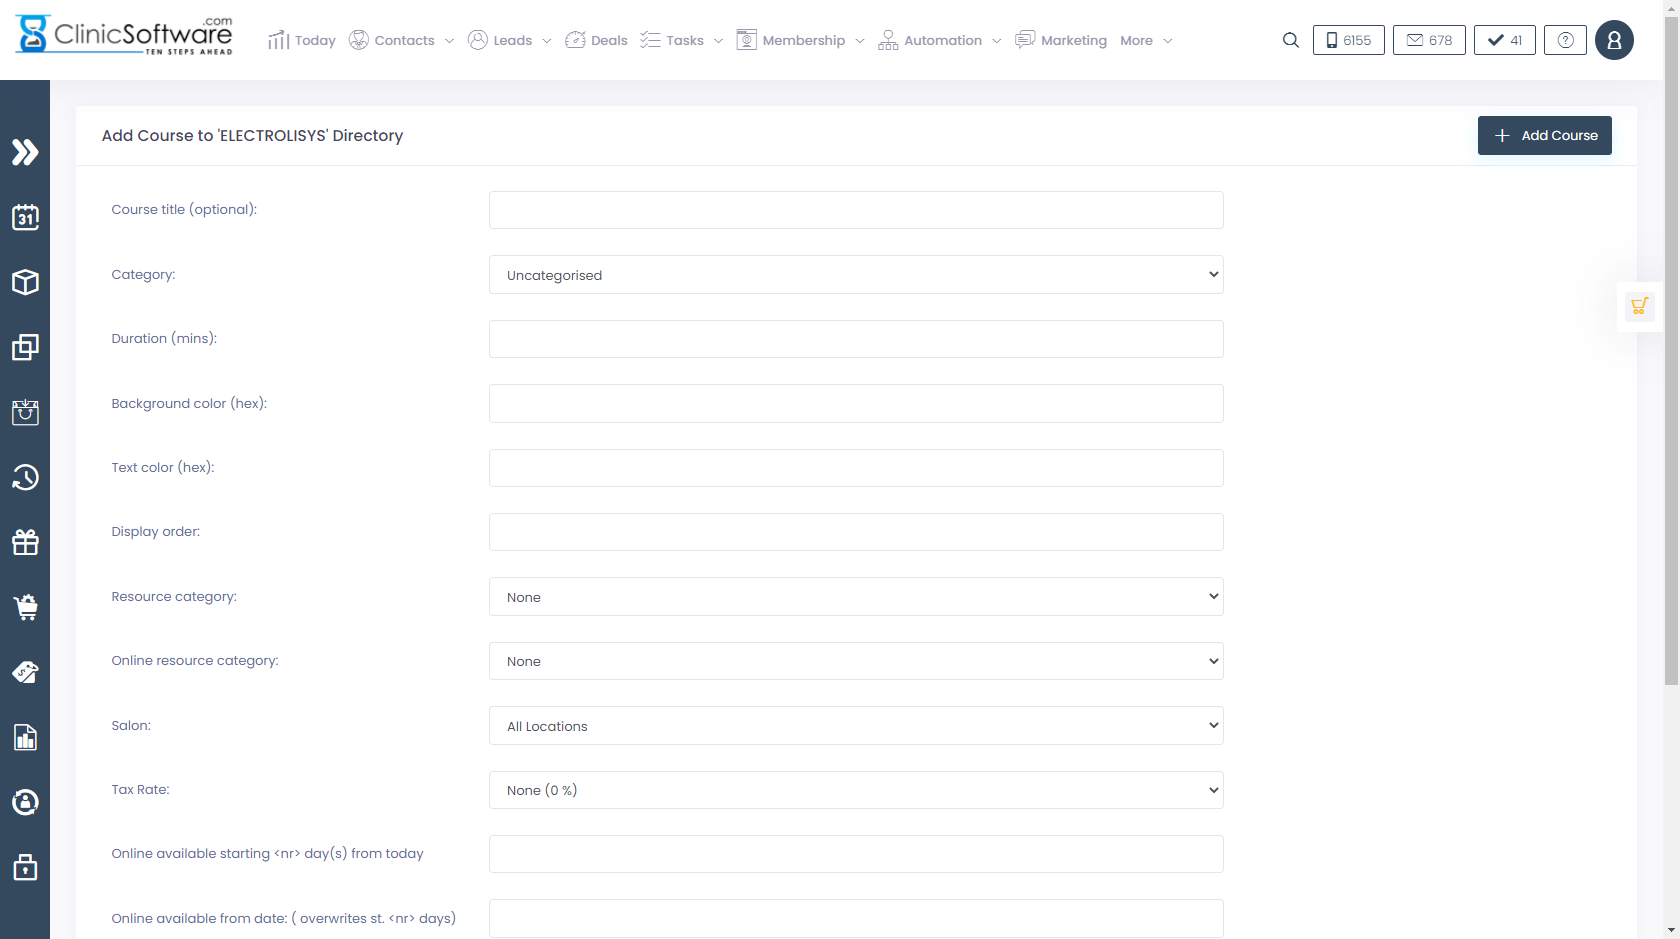
The course title is optional and will be displayed in the system as DIRECTORY title| MODULE title if left blank.
From the category drop box we specify if we wish the course to be part of a category or not (uncategorised).

The background and text colour fields will inherit the settings from the category or module if left blank.
To use a custom display order, specify the order in the “Display order” field.
You must also set this value for the other courses in the category or directory (if uncategorised) if you wish to order the courses manually.
By default the system orders the courses alphabetically.
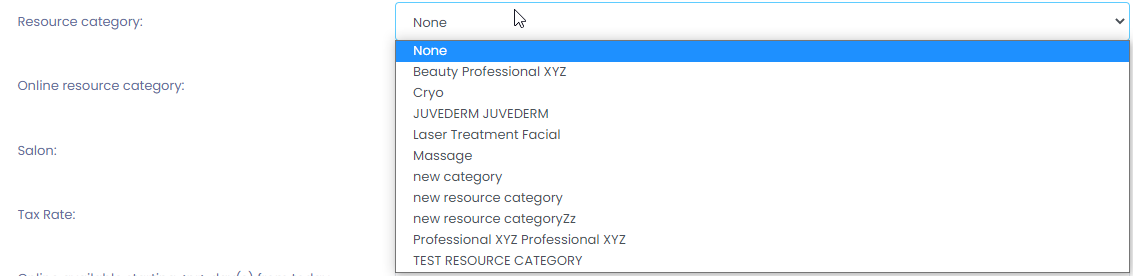
The “Resource category” drop box is used to specify what resources the courses will need for the resources system.
The resources are added independently per location and then assigned to resources categories.
The resources categories are then assigned to treatments (services/courses/patch-tests).
When the treatment is booked, the system uses the resource category to determine what resources a particular treatment requires.
To assign a resource category, select the category from the “Resource category” drop box.
The “Online resource category” drop box is used to specify what resources the courses will need for the resources system on the online booking website.
Unlike the main software where resources can be either mandatory (required) or optional and allows you to share resources between appointments, the online booking website is more strict and will require that all of the resources specified in the resource category be available for booking.
We recommend using different resources categories for the main software and online booking website for more flexibility.
The “Salon” drop box is used to specify the availability of the course.
A course can be available for all locations or only for the selected location (e.g. cannot be booked and will not be displayed in the system in other locations).

Complete the addition of the course by pressing the “Add Course” button.
Editing or removing a directory course
To edit a directory course, first access the directory courses by pressing the “Courses” button of the directory from the directories list page (main courses and sessions page) and then the “Edit course” button of the course that you wish to edit from the courses list page.
Press the “Courses” button from the directories list page:
Or the “Categories” button from the directory edit page:
Press the module “Edit course” button.
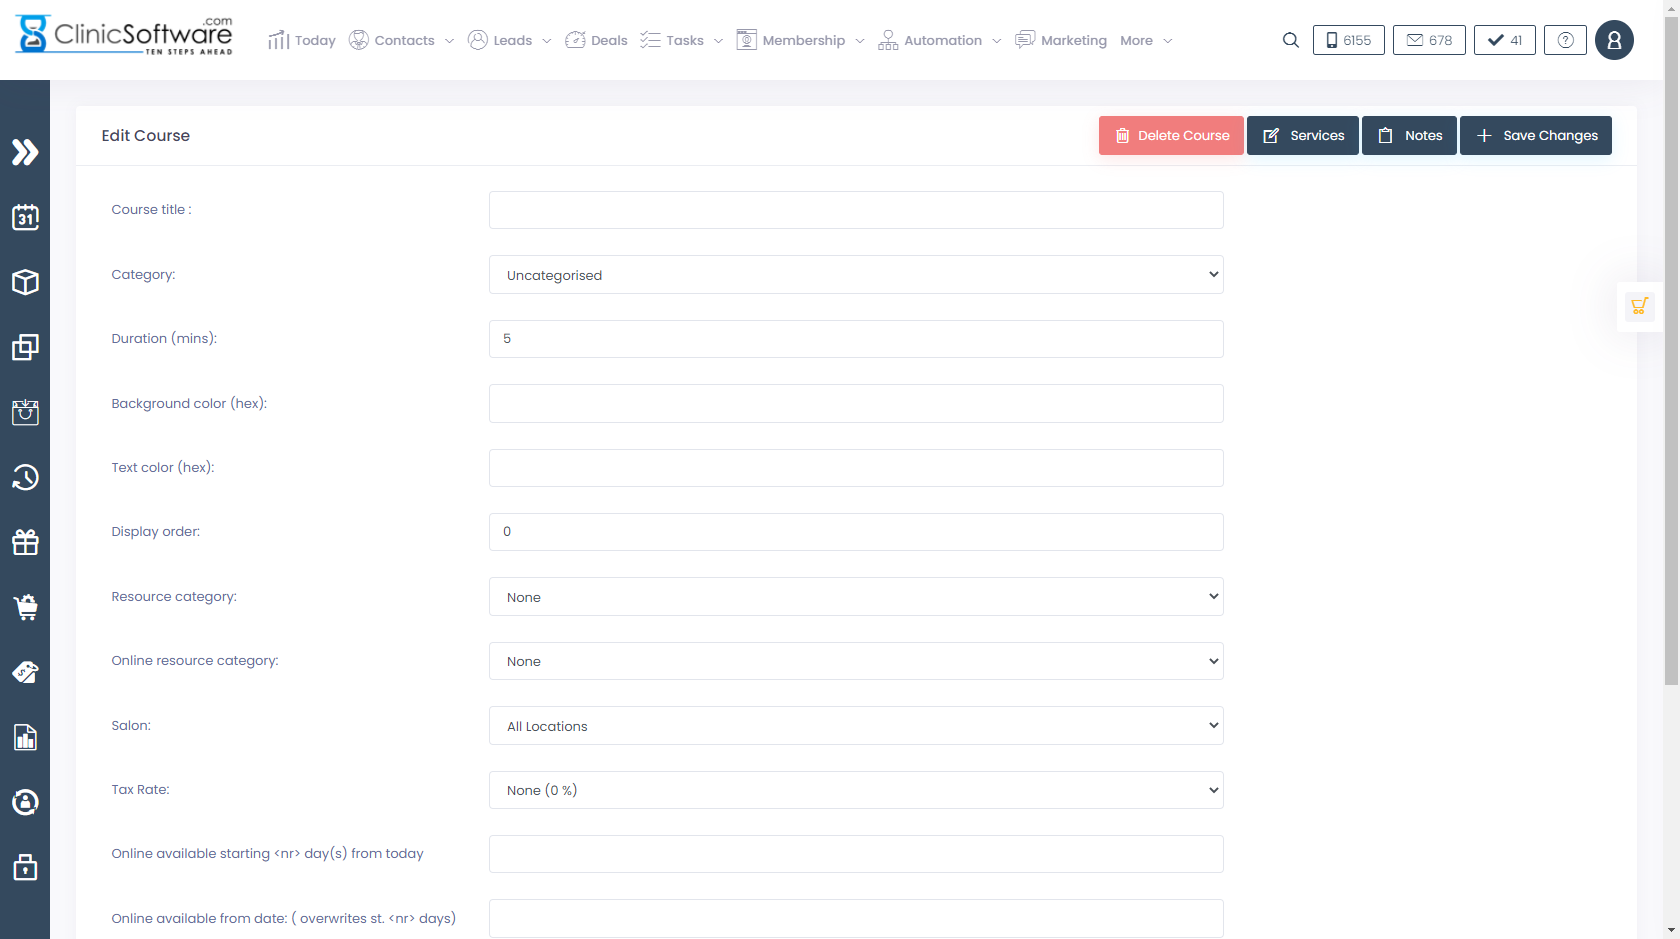
Make the necessary changes and then press the “Save changes” button.
Each field is detailed in the “Adding a directory category” section of this User Guide.
![]()
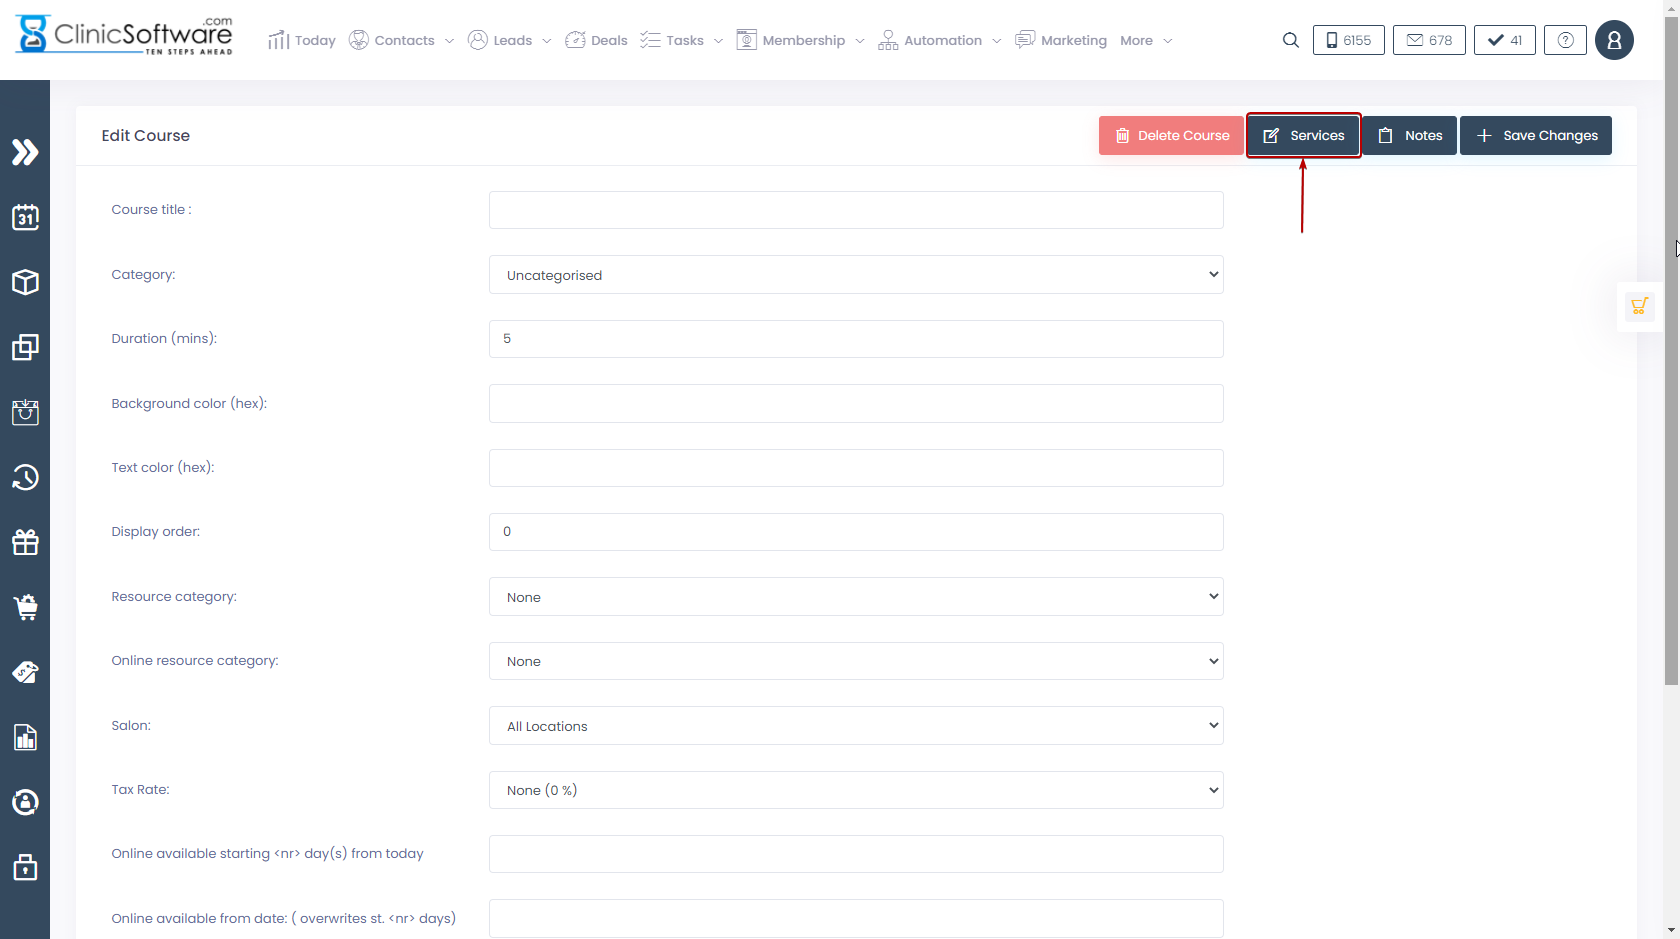
From the “Services” button you can manage the selected course services.
The services are only available for sessions based courses and are optional; the system will display the course name as a service if no services are specified.
![]()
More details on managing a course’s services in the “Managing a directory course’s services” section of this Use Guide.
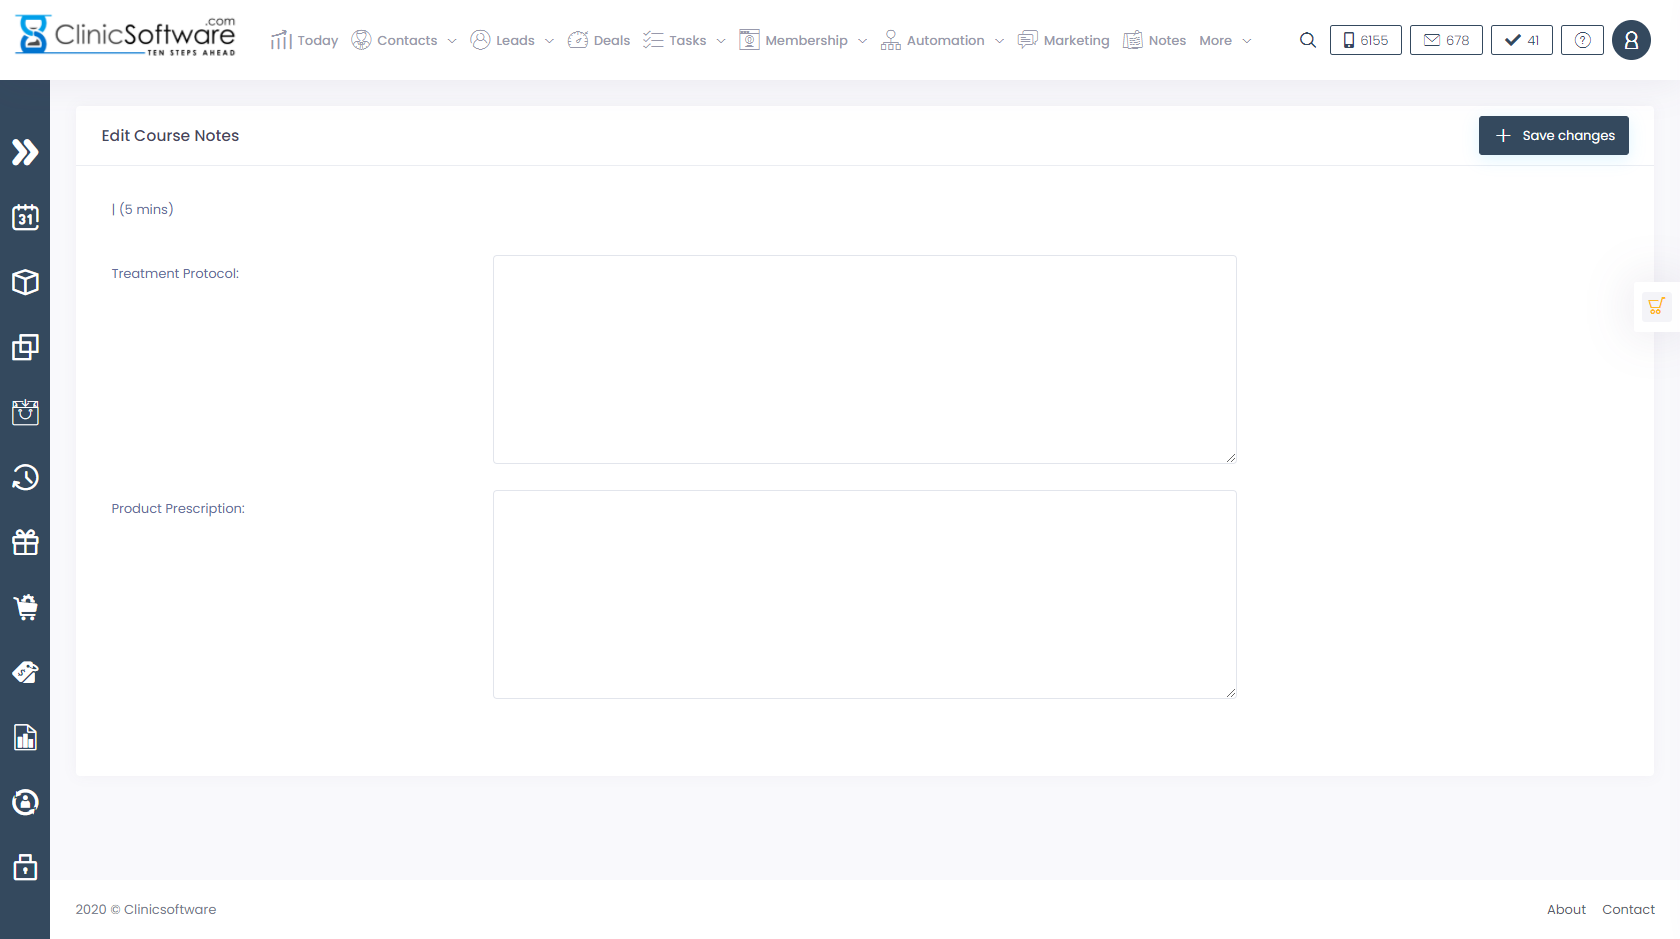
From the “Notes” button you can set the course’s “Treatment Protocol” and “Product Prescription” notes that will appear in the appointment details window when pressing their corresponding buttons.
The course’s “Treatment Protocol” and “Product Prescription” notes are optional.
To set them, press the “Notes” button, fill in the fields and then press the “Save changes” button.
![]()
To delete the course, press the “Delete Category” button located in the bottom section of the page.
![]()
Managing a directory course’s services
This section of the User Guide is only applicable for sessions based courses.
Minutes based courses don’t use services.
Services are only available for sessions based courses and are optional; the system will display the course name as a service if no services are specified.
You access the courses services list by pressing the “Services” button from the courses list page or edit course page.
To access the course’s services from the courses list page first go to the directories list page / directory courses / services.
To access the course’s services from the courses edit page first go to the directories list page / directory courses / edit course / services.

(Above screenshot course “Edit” button and then press the “Services” button from the bottom of the page).
To add a new service, press the “Add New Service” button located in the bottom section of the page.
Fill in the service name and then press the “Add service” button.
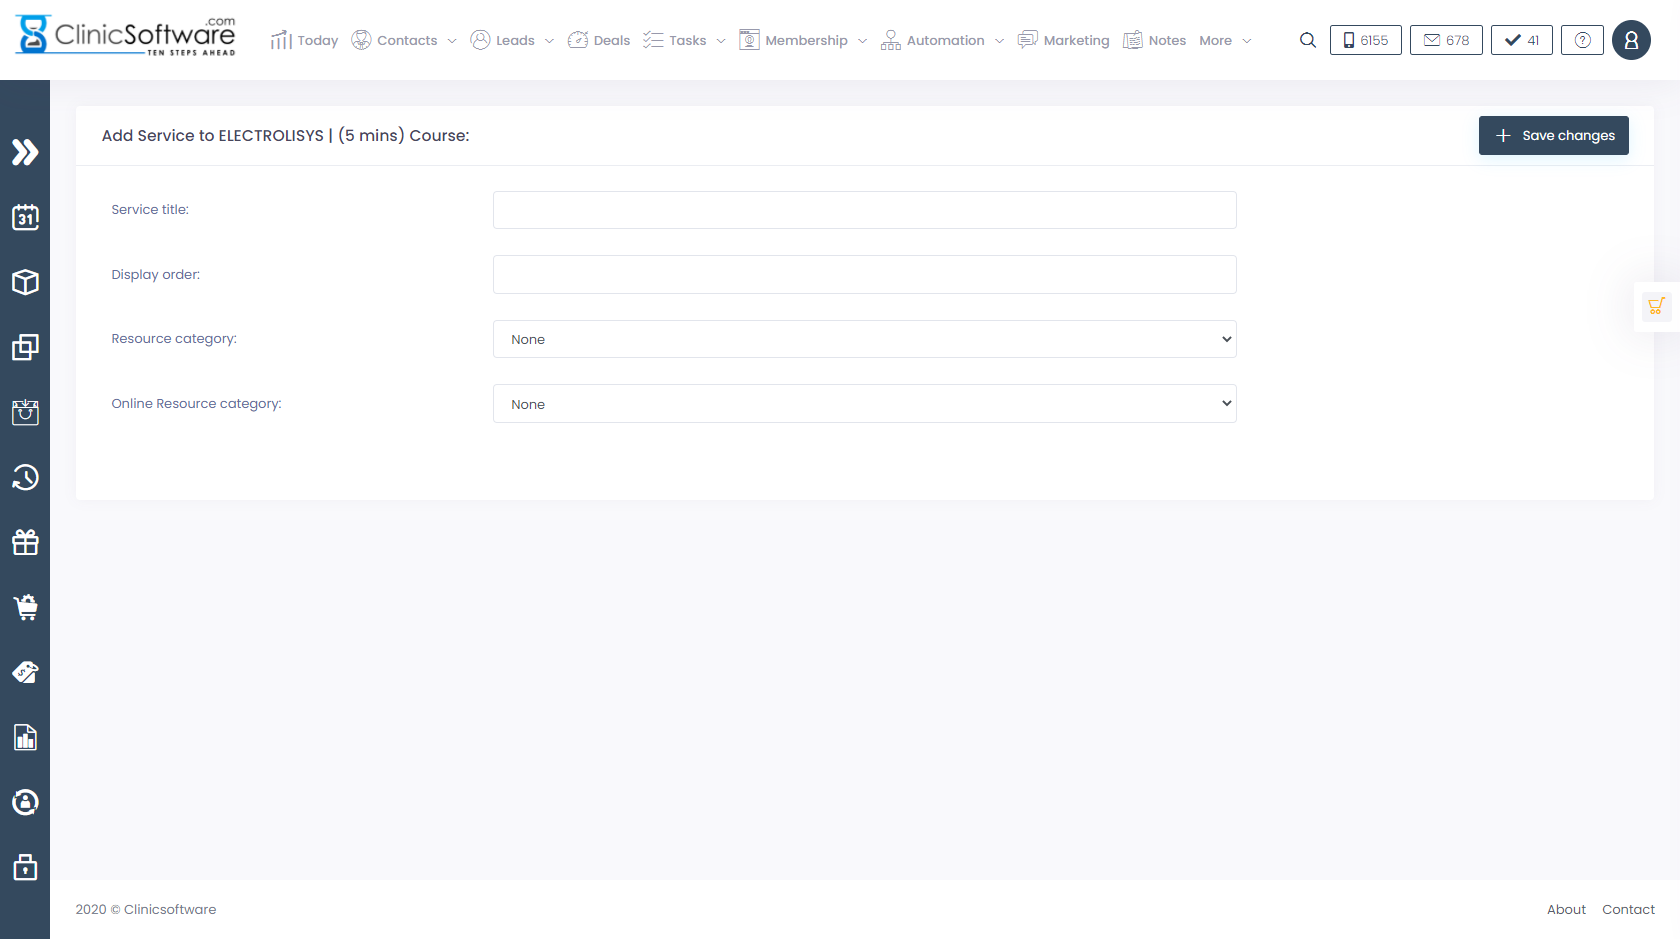
The “Resource category” drop box is used to specify what resources the courses will need for the resources system.
To edit a service from the selected course, press the “Edit service” button of the service from the course’s services list page.
Make the necessary modifications and then press the “Save changes” button.
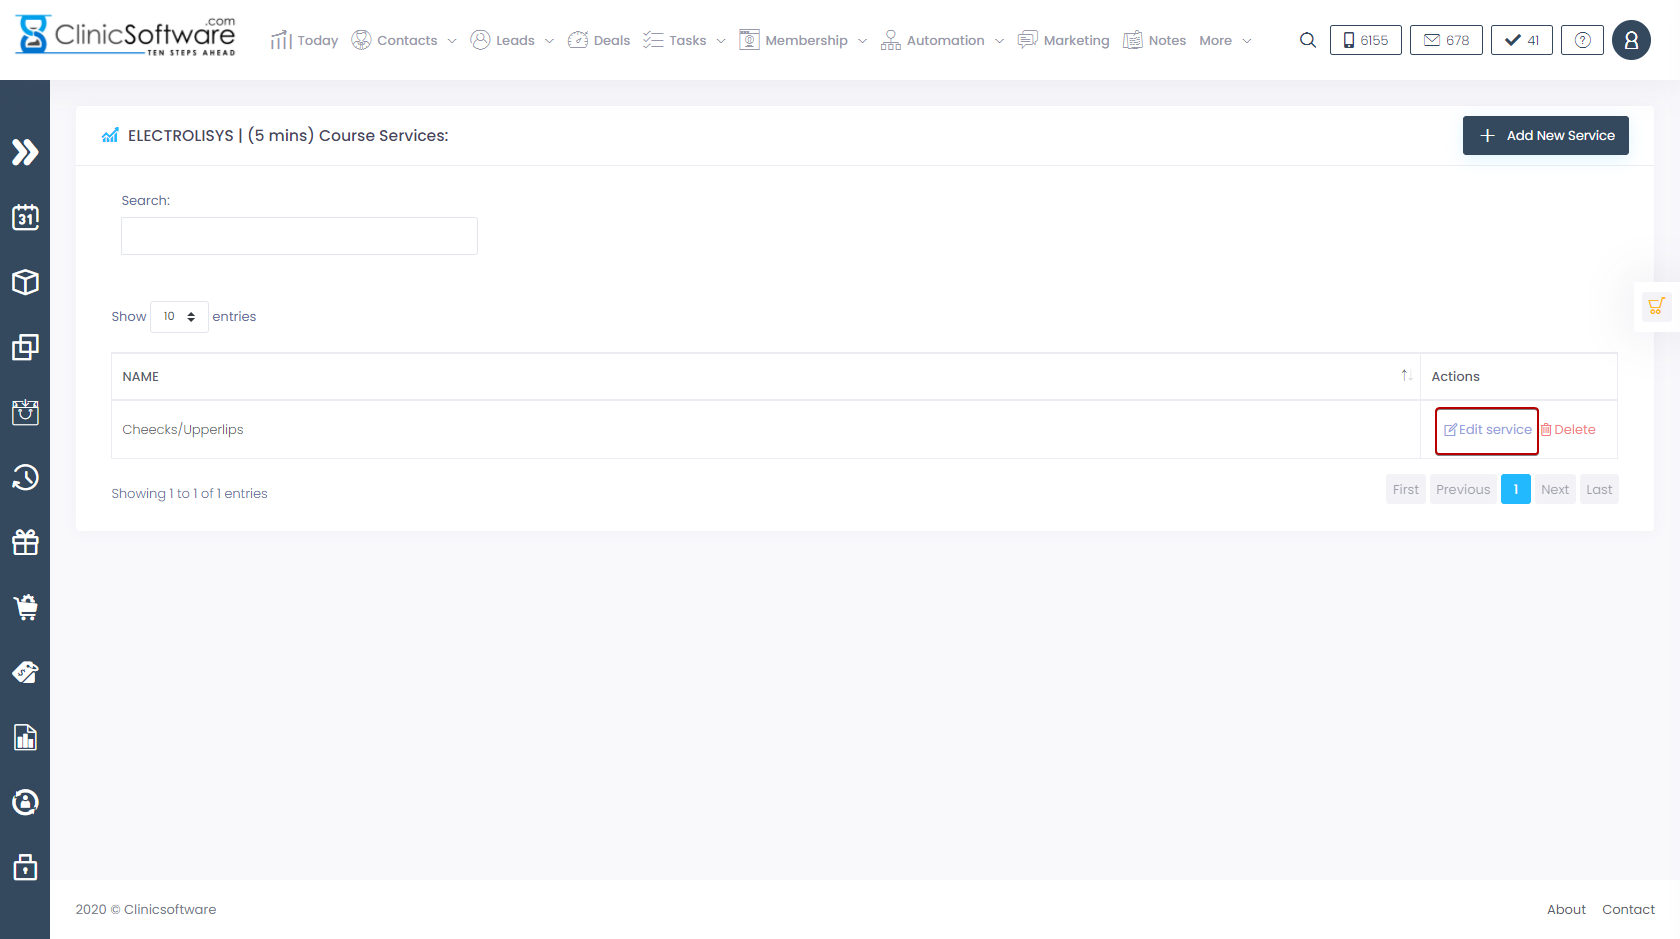
To delete a service from the selected course, press the “Delete” button of the service from the course’s services list page.

Assigning courses to modules (creating course variants)
This section of the User Guide is only applicable for sessions based courses.
Minutes based courses don’t use modules.
To be able to order or book the course we must first assign the course to a module to specify its price and create a course variant (E.g. per session, course of 6)
To assign a course to a module we need to add the course to the module’s courses list.
To access the module’s courses list, we first access the directory’s modules from the directories list page (main courses and sessions admin page).

We can also access the modules list from the directory edit page by pressing the “Modules” button located in the bottom section of the page.
From the modules page we press the “Courses” button of the module.

From the module’s courses list page we press the “Add Course to list” button located in the bottom section of the page.
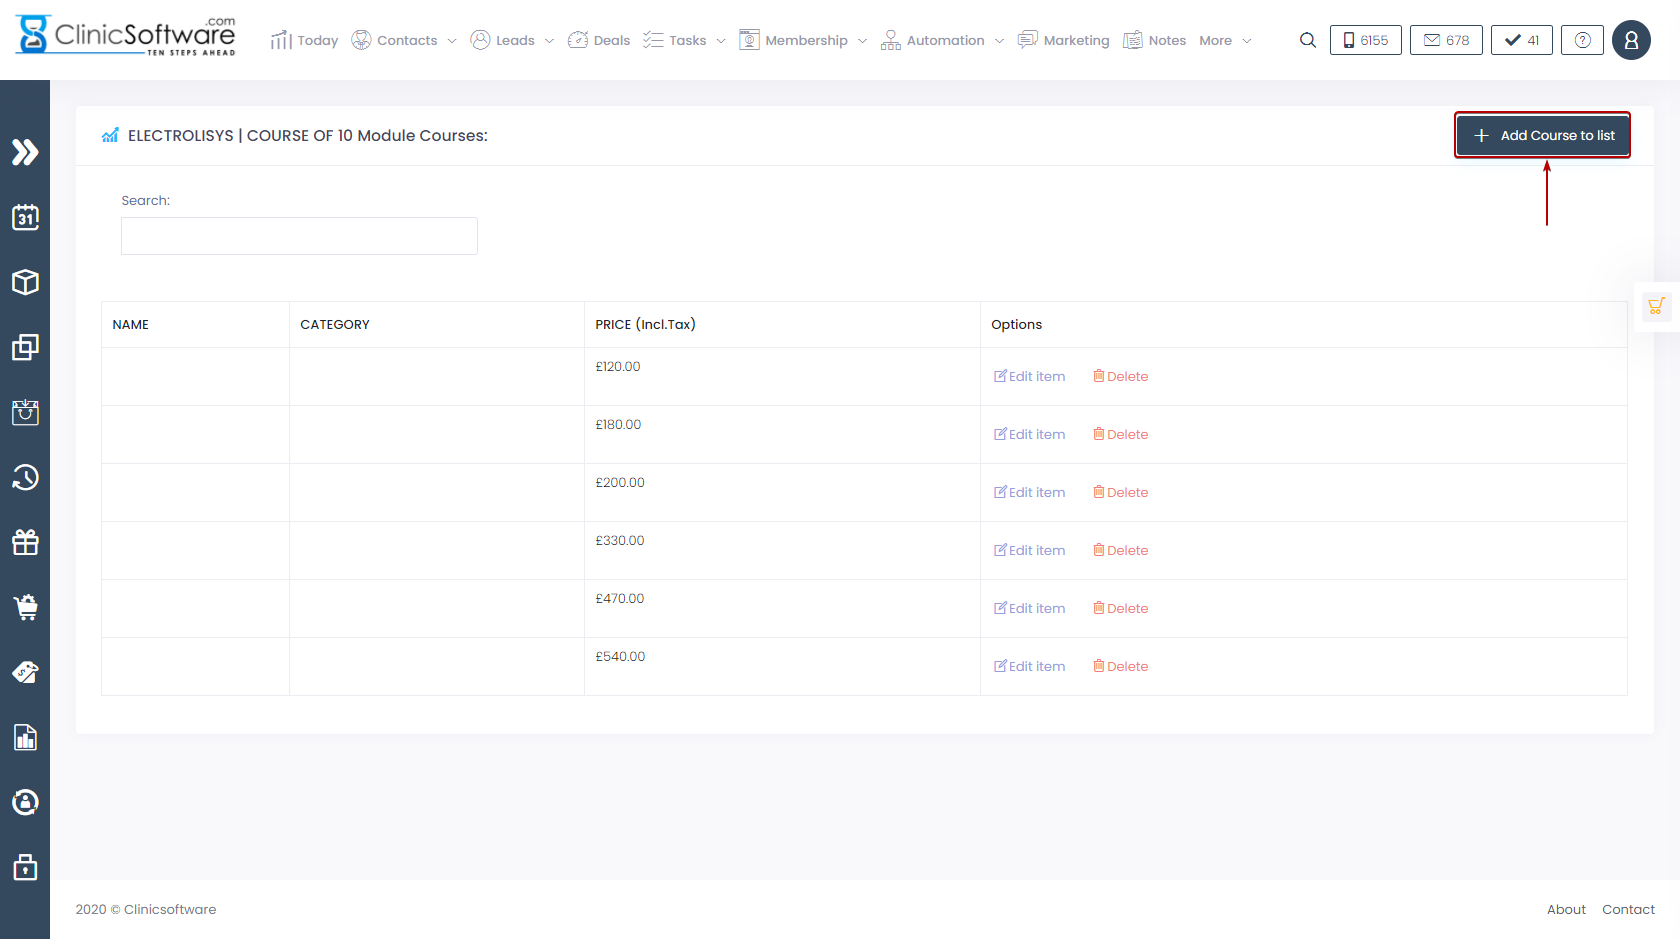
Select the course and enter the price for the variant of the course (in this case “PER SESSION”, from the module name).

Note that only the courses of the current directory that have not yet been added to this module are displayed in the “Available course” drop box.
The “Allow course to be booked online” checkbox specifies if the course will be displayed and can be booked from the online booking website.
Complete the operation by pressing the “Add course to module” button.
You can change the price and the availability of the course for the online booking website by pressing the “Edit item” button from the module’s courses list page.

To remove the course from the module, press the “Delete” button from the module’s courses list page.
Minutes course add/edit page
When adding minutes based courses, the layout of the “add” and “edit” pages is slightly different from that of the sessions based courses.
The pages include all the fields that are divided for the sessions based courses in modules and modules assignment pages.
The price, resources, location and online booking availability is set directly from the add/edit pages for minutes based courses.
The “Online Session Duration MIN (mins)” field specifies the minimum duration that can be booked from the course in the online booking website.
The “Online Session Duration MAX (mins)” field specifies the maximum duration that can be booked from the course in the online booking website.
The “Online Session Duration Step (mins):” field specified the duration drop box selection steps when choosing how many minutes to book in the online booking website.
All other fields have the same function as in for the sessions based courses.
