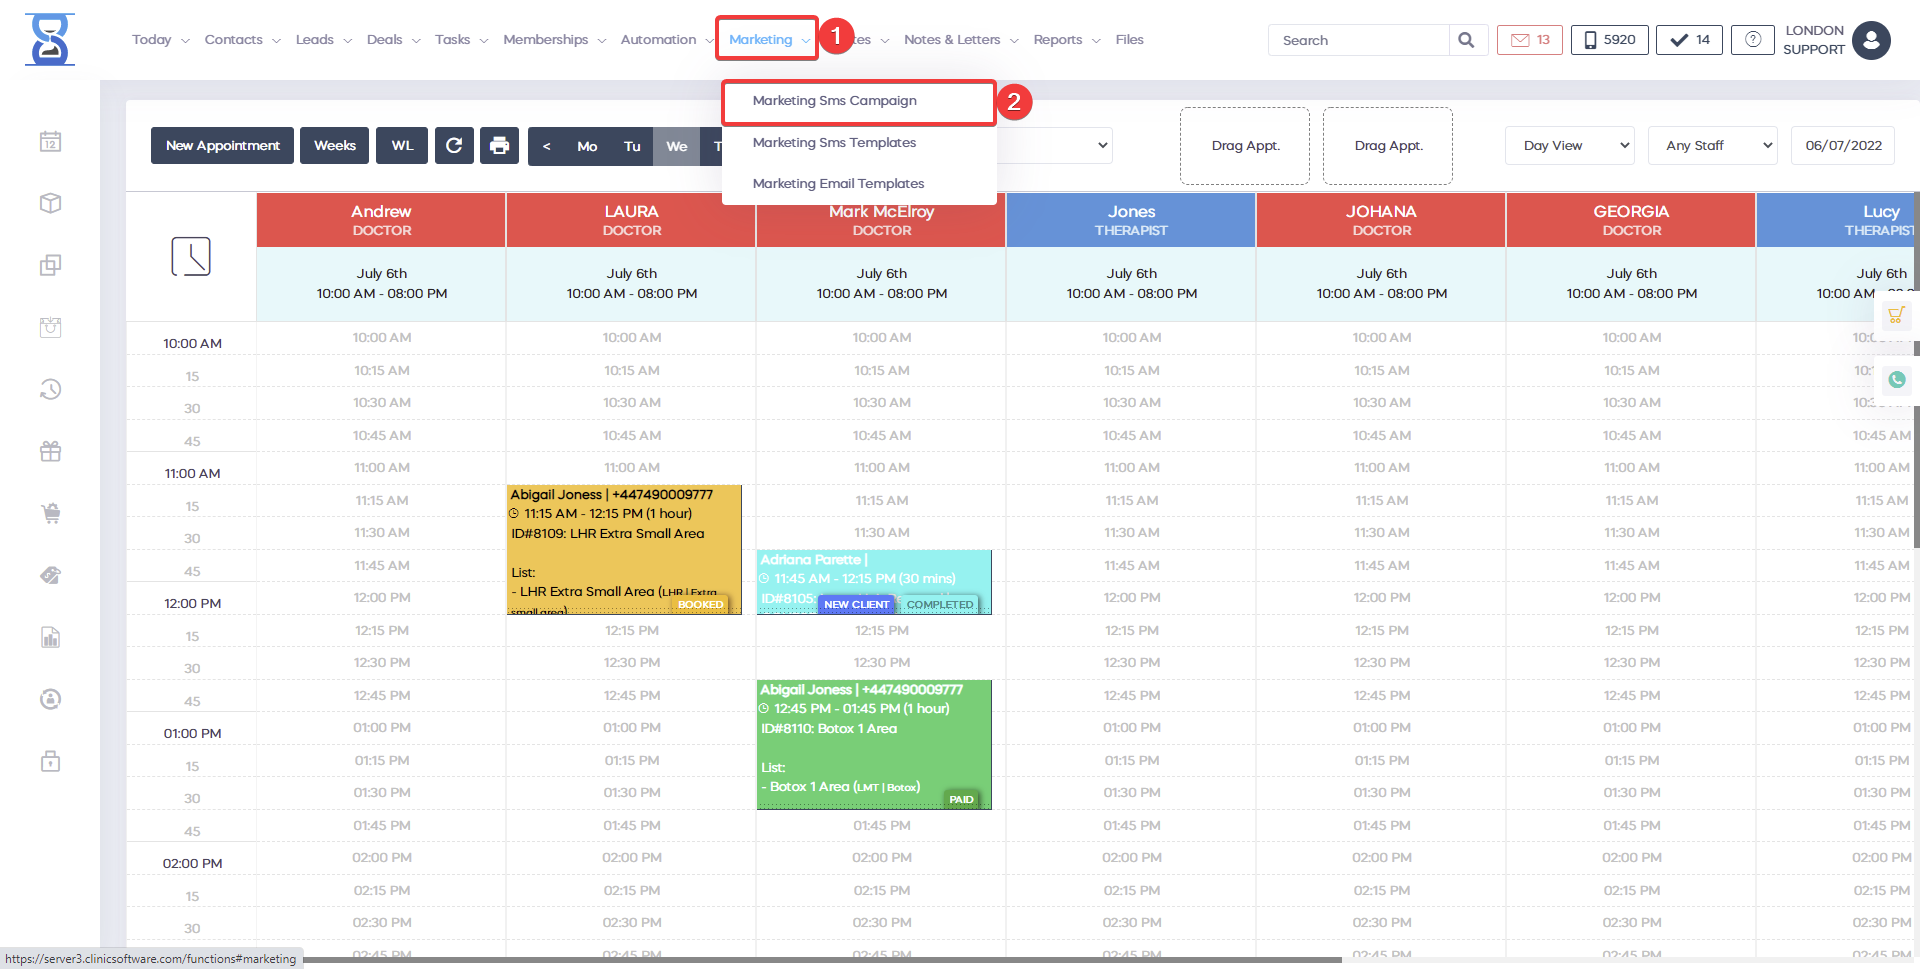
From this page, you can send SMS and email messages for marketing or information purposes (appointment notifications). To access the SMS TEXT page, go to the "MARKETING" option from the navigation bar.

You have the capability to select an existing list, create a new list, or add manually each client of clients for the campaign.
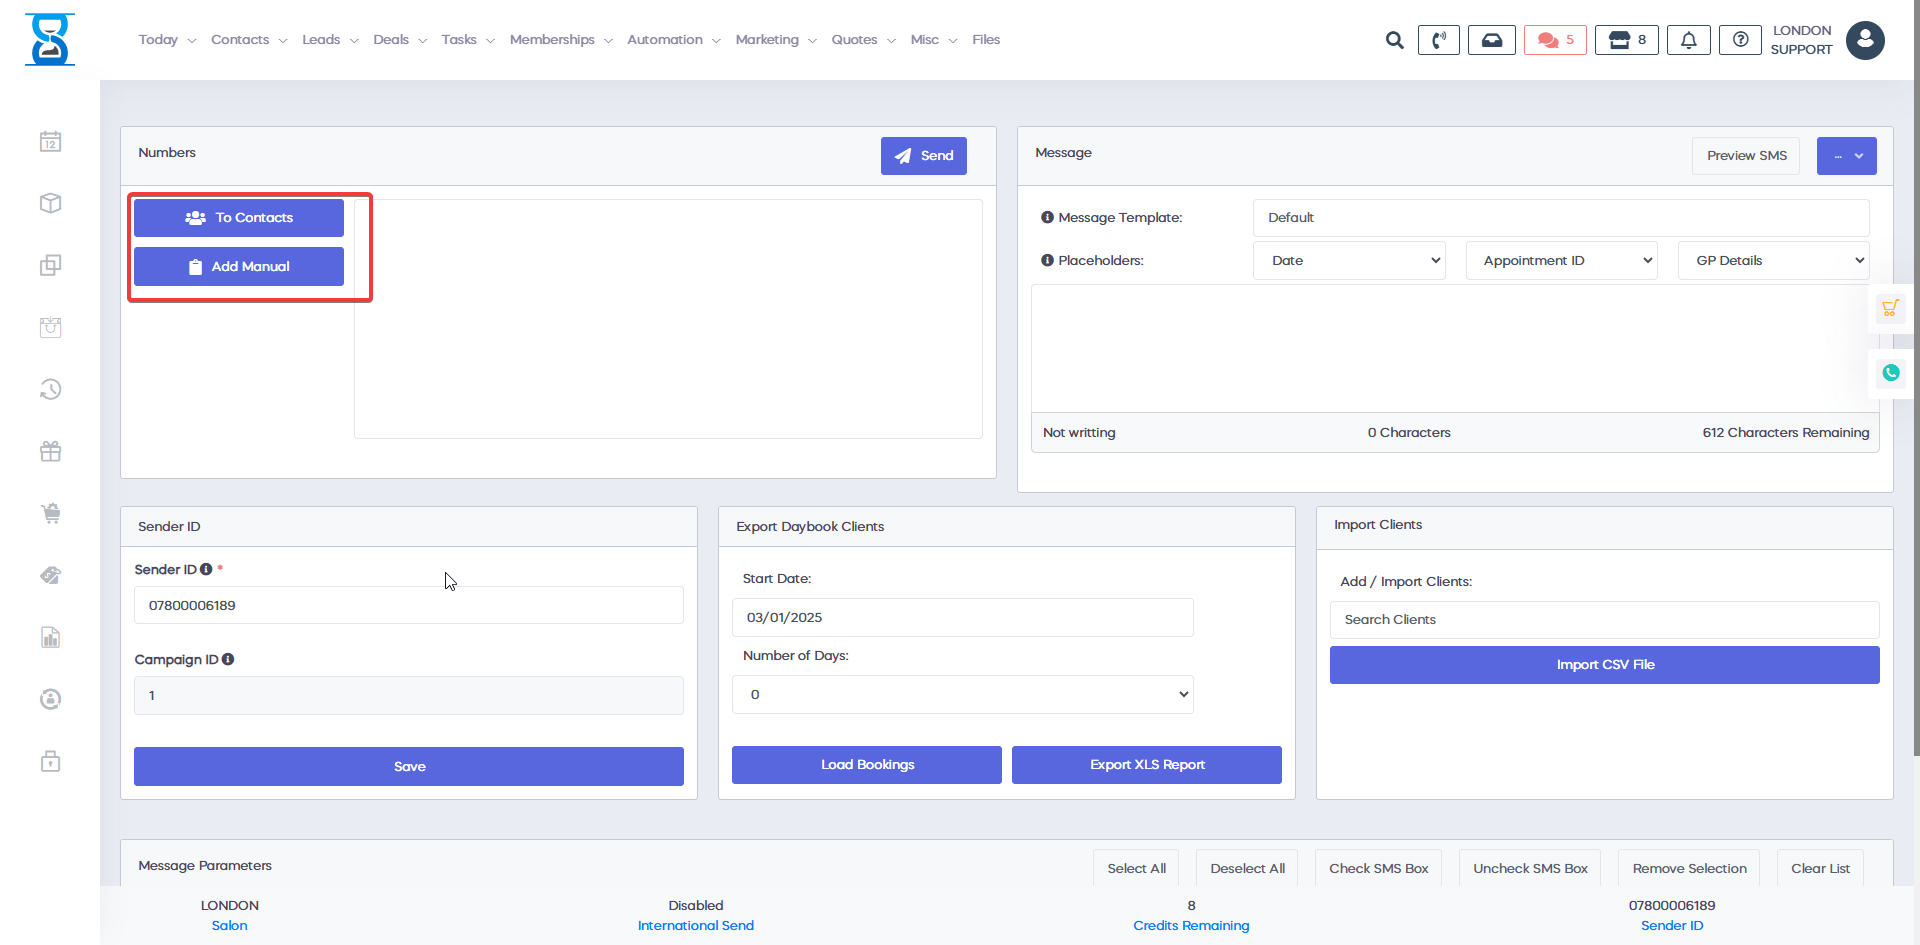
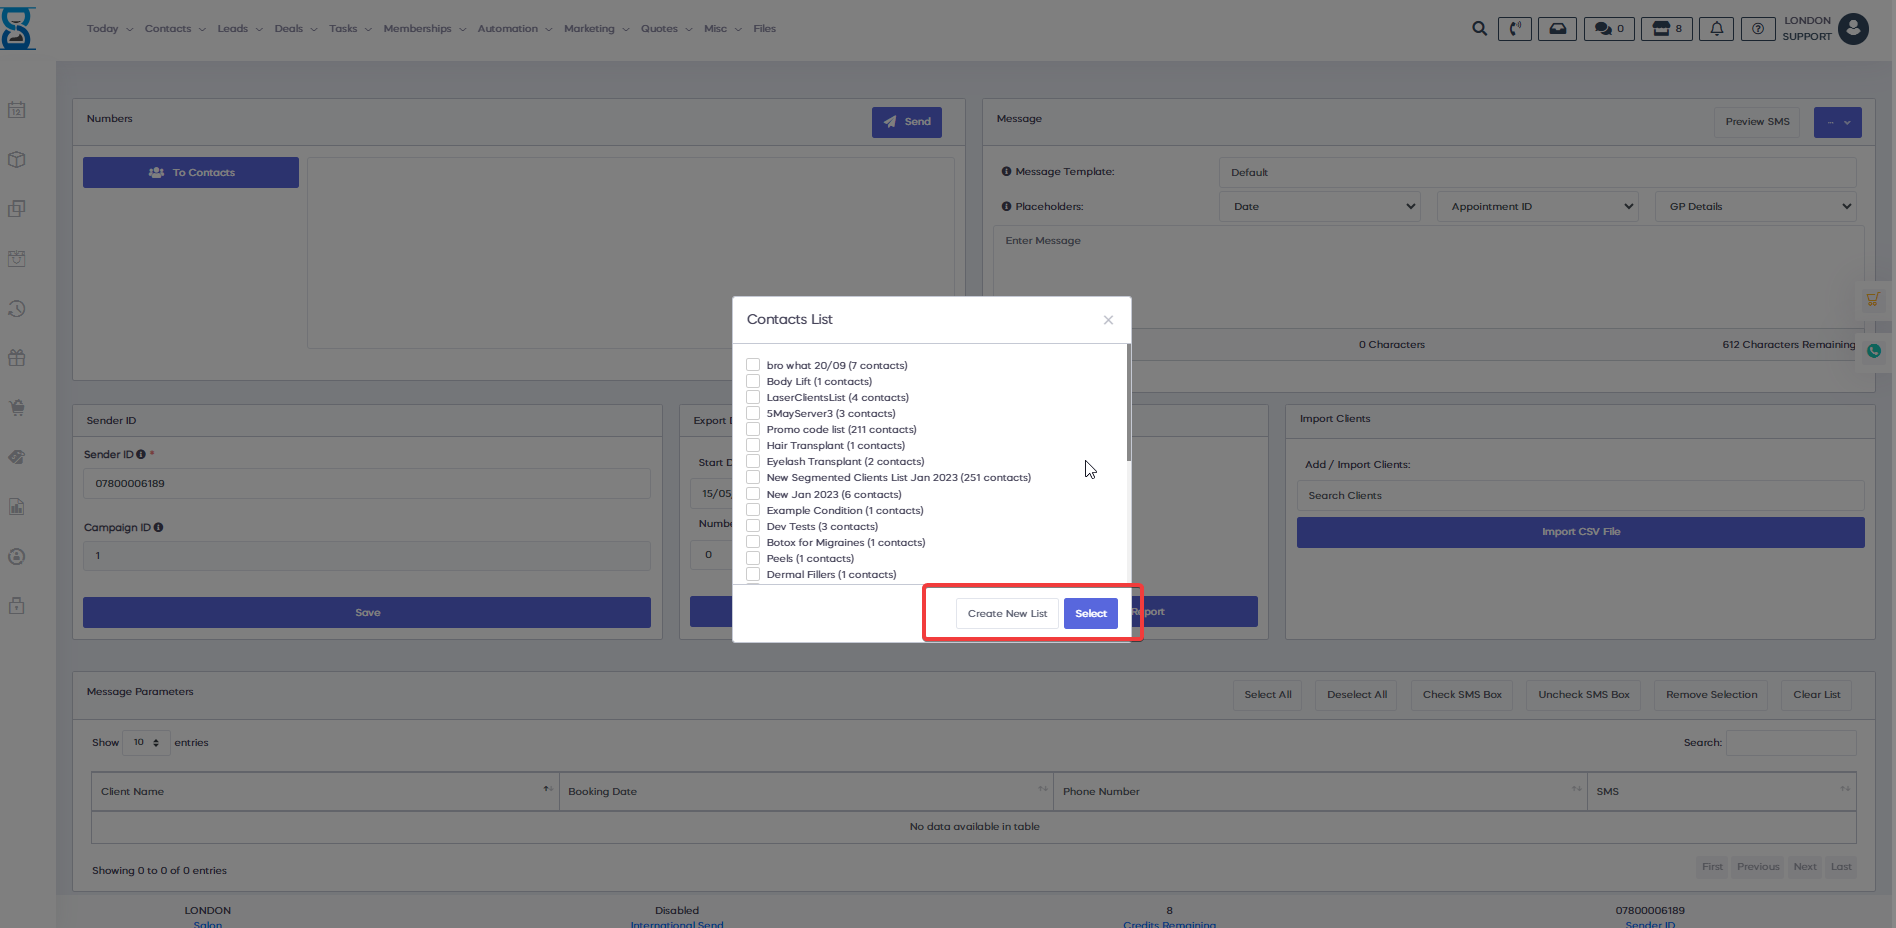
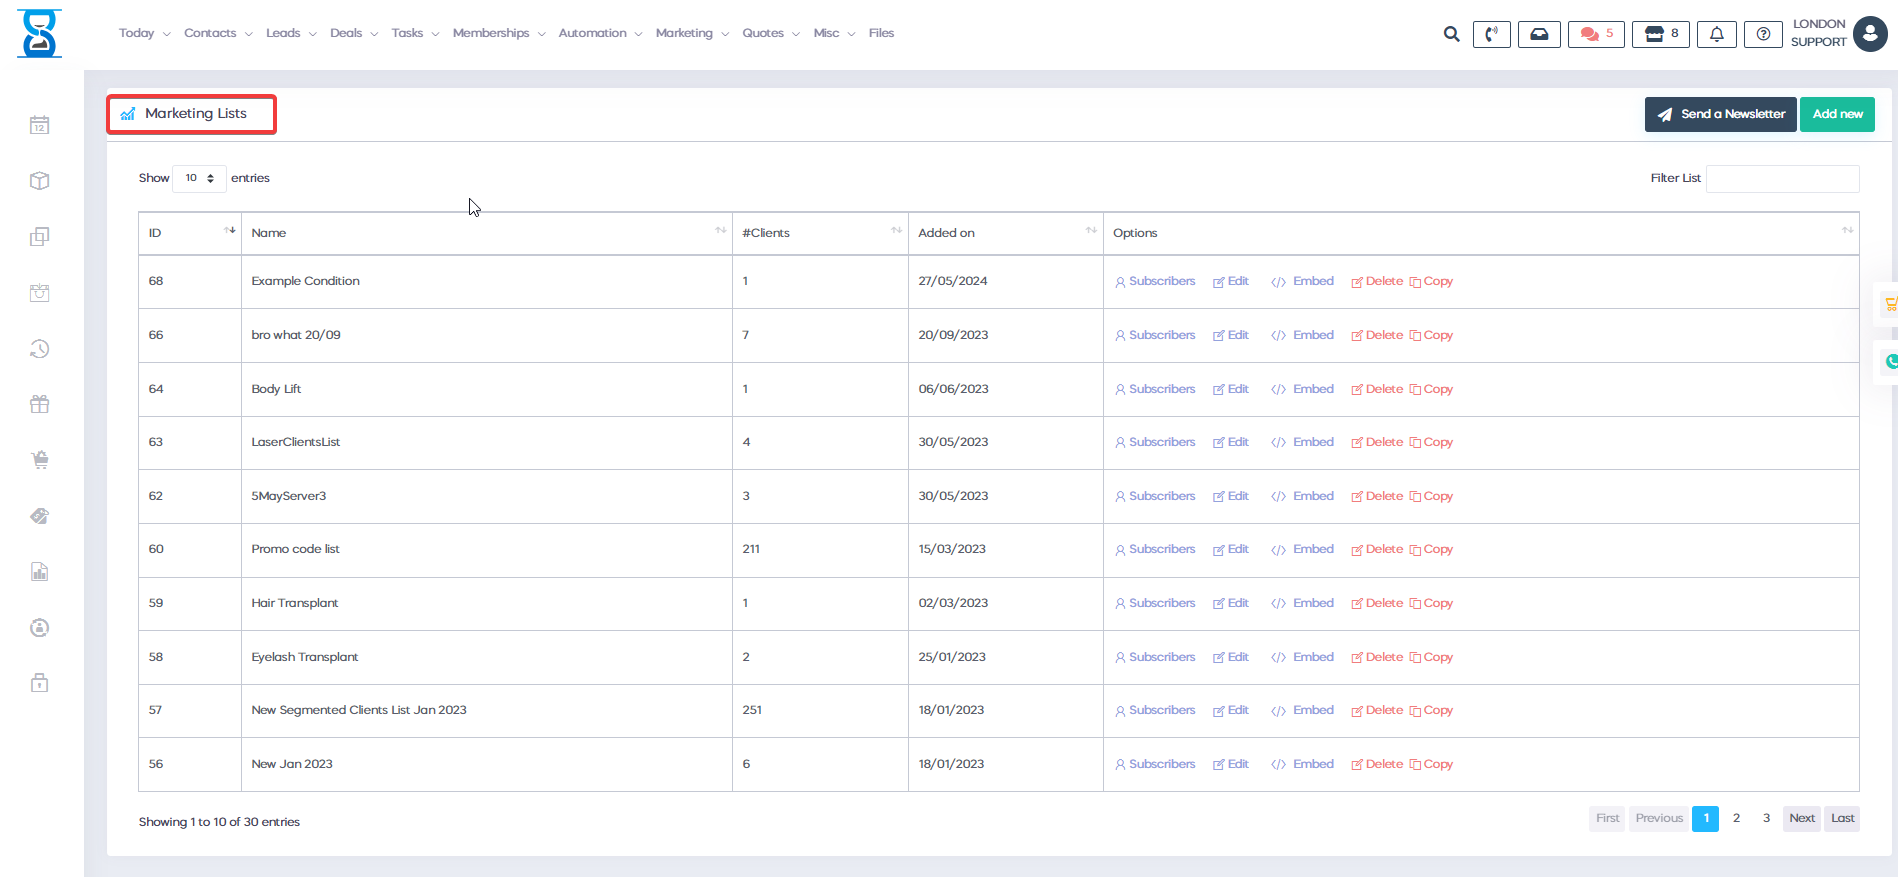
Click the "To Contacts" button and check the list that you want, or click Create New List to create a new one.
For more information about how to create a marketing list, you can find if you click CREATING A CLIENT LIST OR ADDING A NEW CLIENT
If you go to Admin Area=>Marketing List, you have the capability to edit or delete your existing lists.
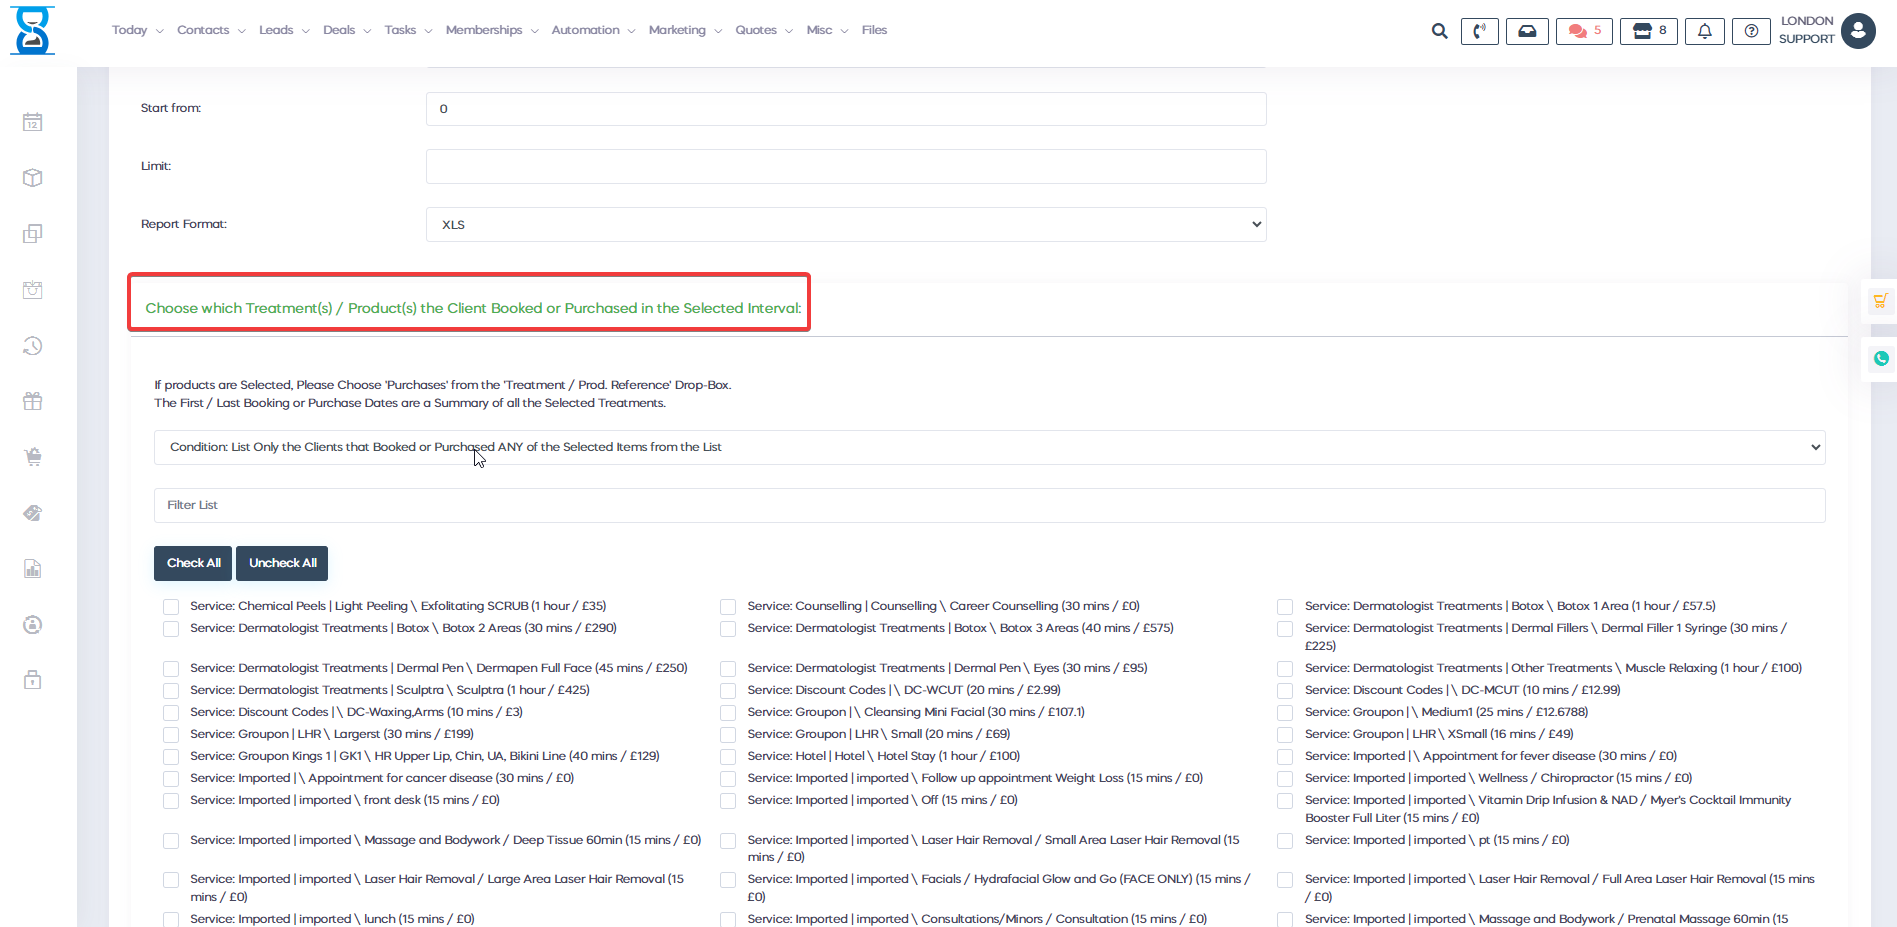
Another very helpful feature for creating a client list is the marketing client list report. This can help you create a client list based on the client service or course that she or he got or on the products.
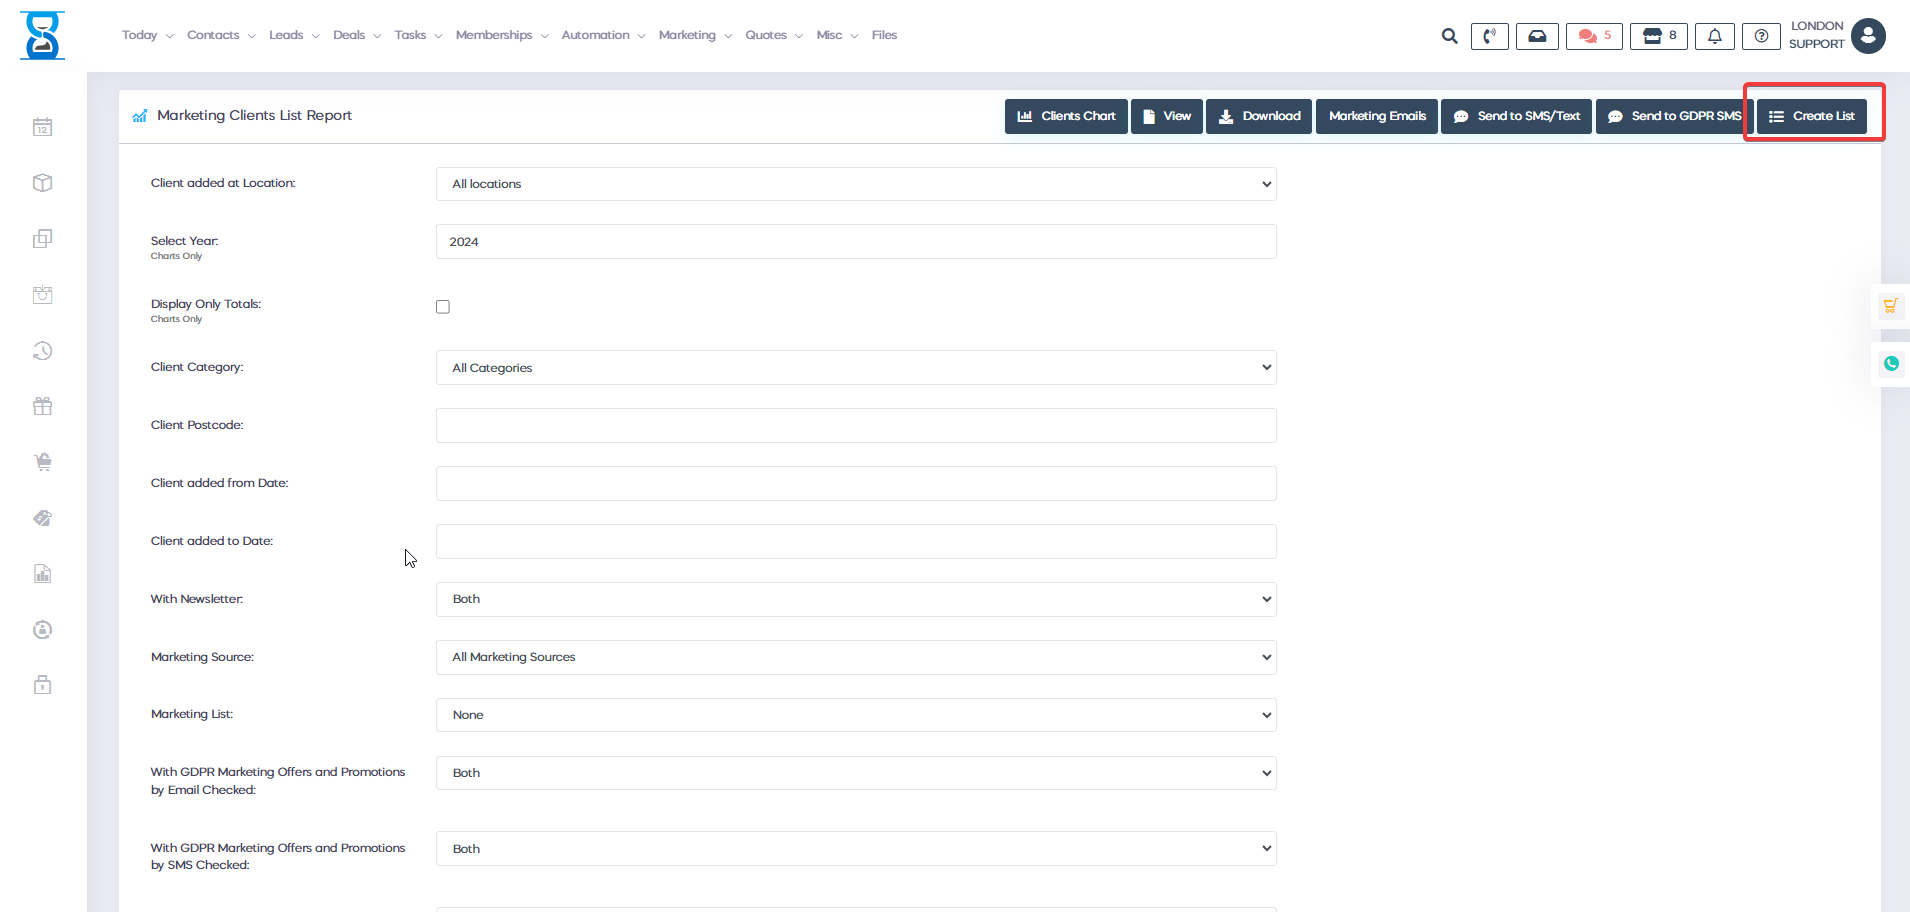
Just go to the admin area and go to Reports => Marketing Clients List Report. Select the options that will help you, and then press Create List.

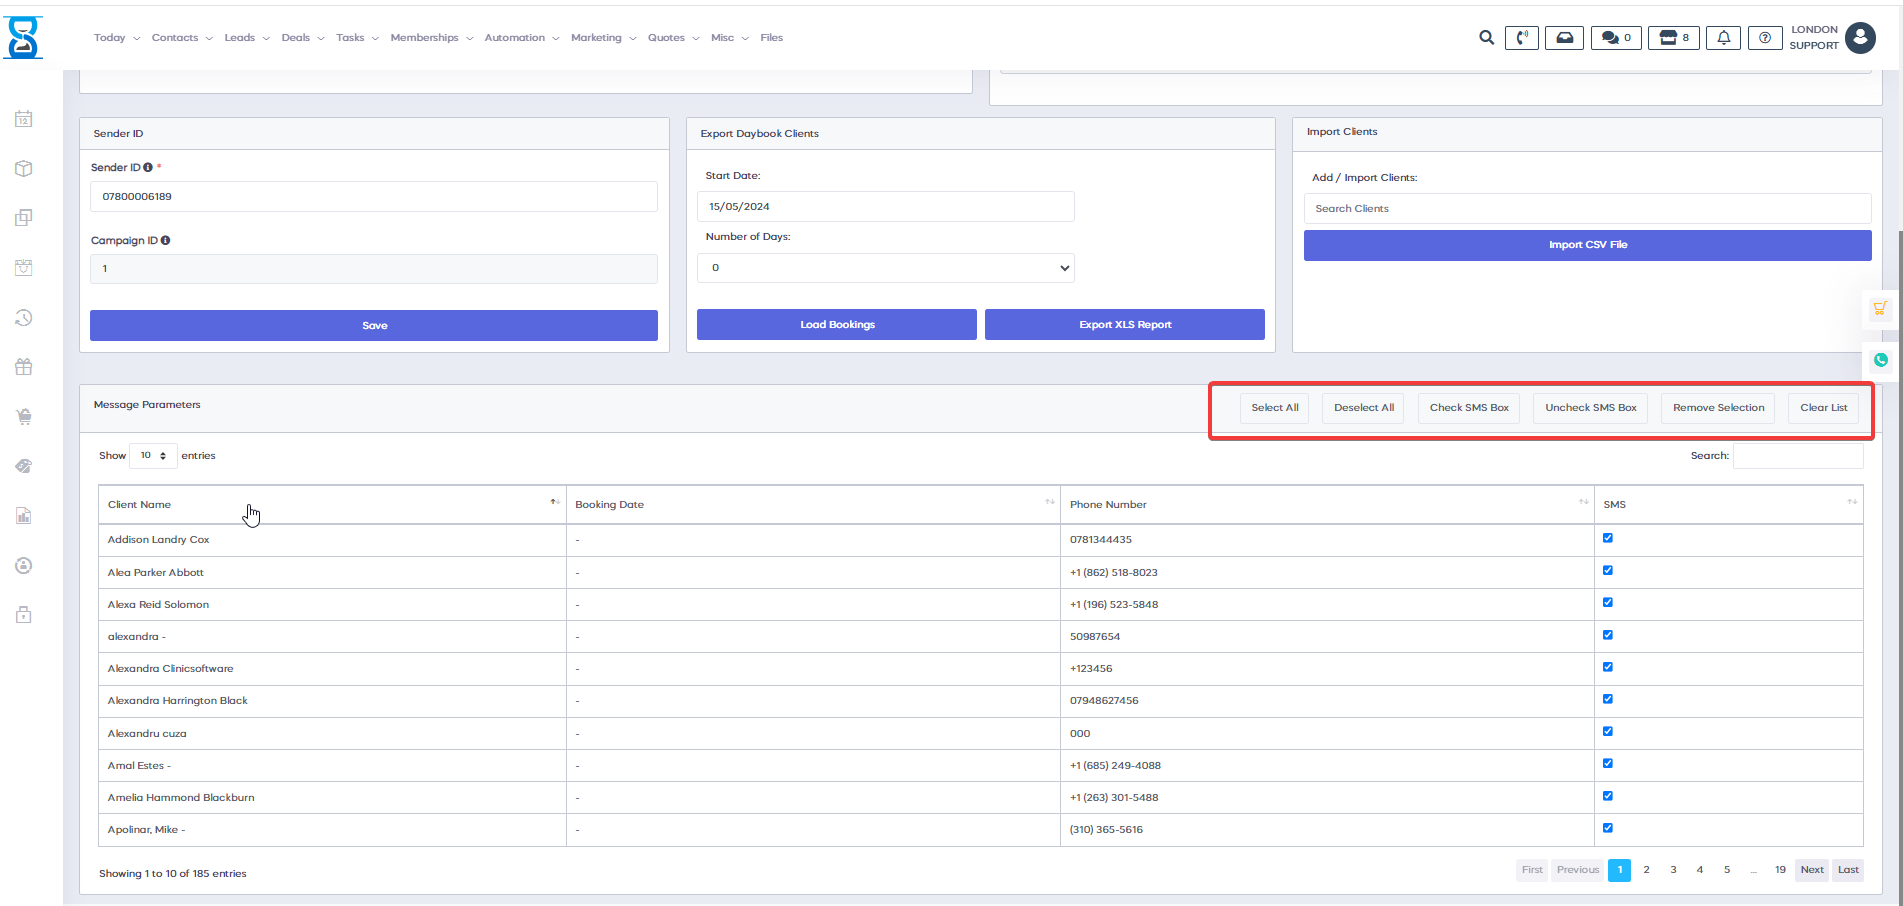
After you create or select an existing list, a list of clients will appear under the Message Parameter.
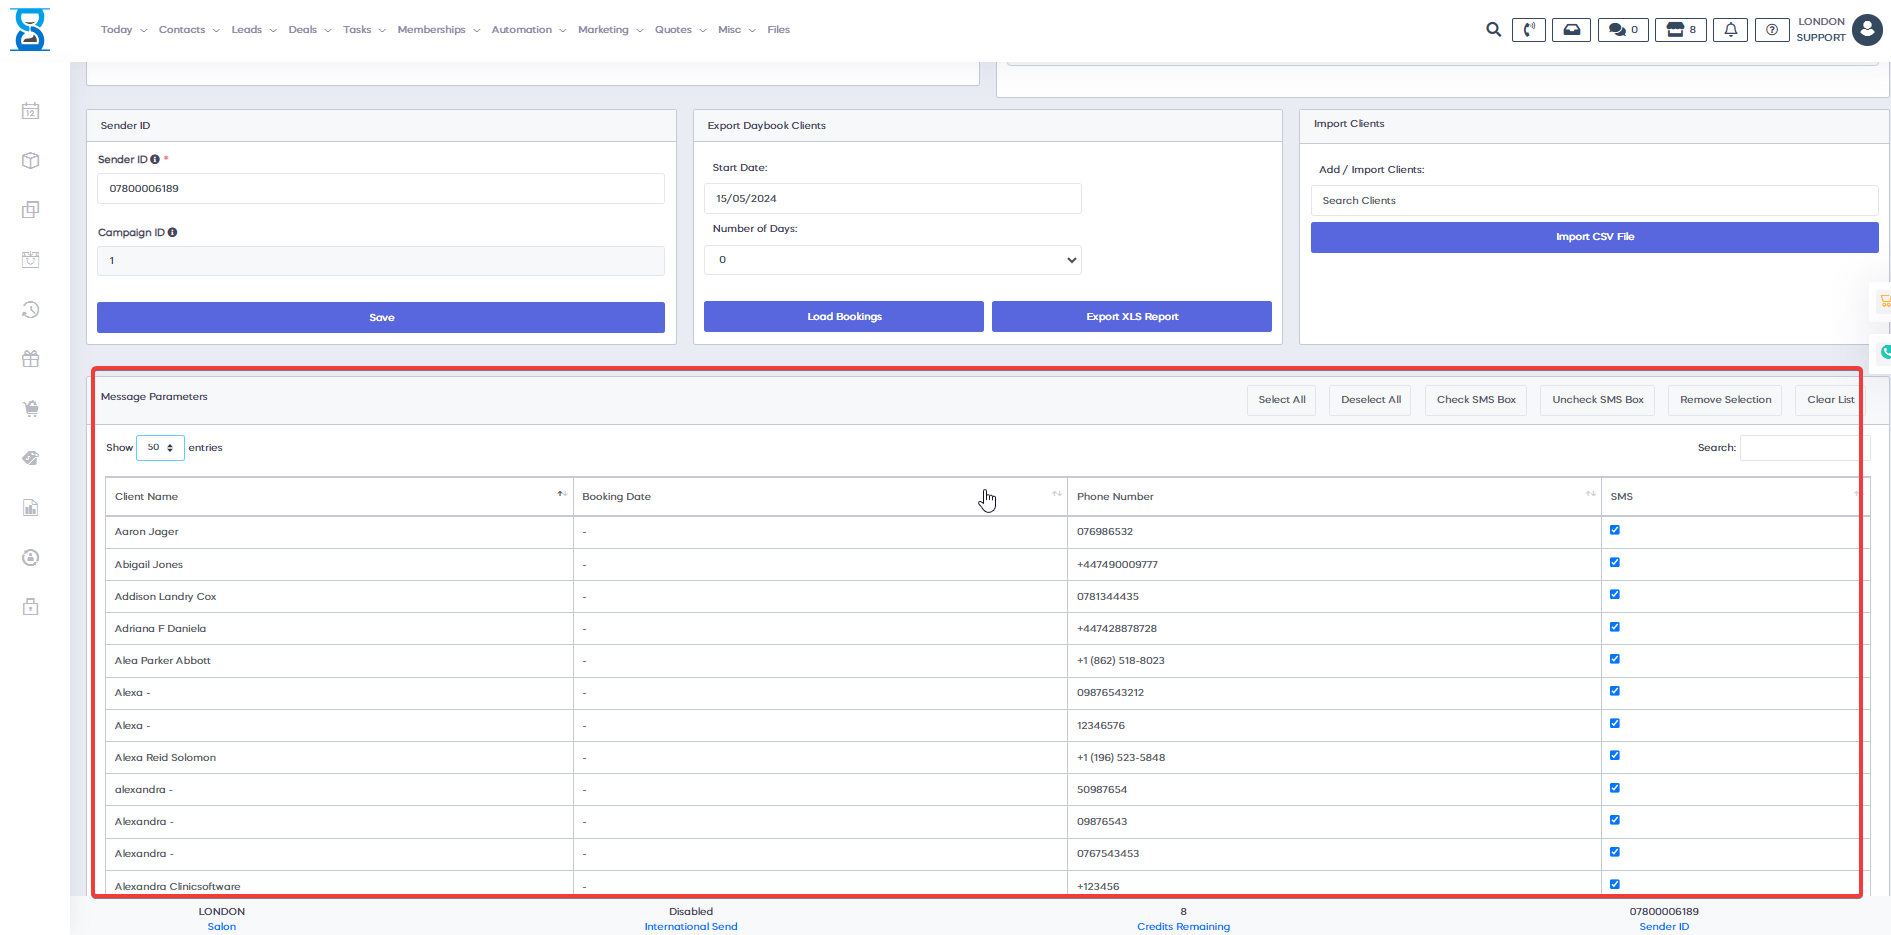
e) From Message Parameters you have the capability to Select/Deselect All ,Check/Uncheck SMS Box, Remove Selection and Clear List
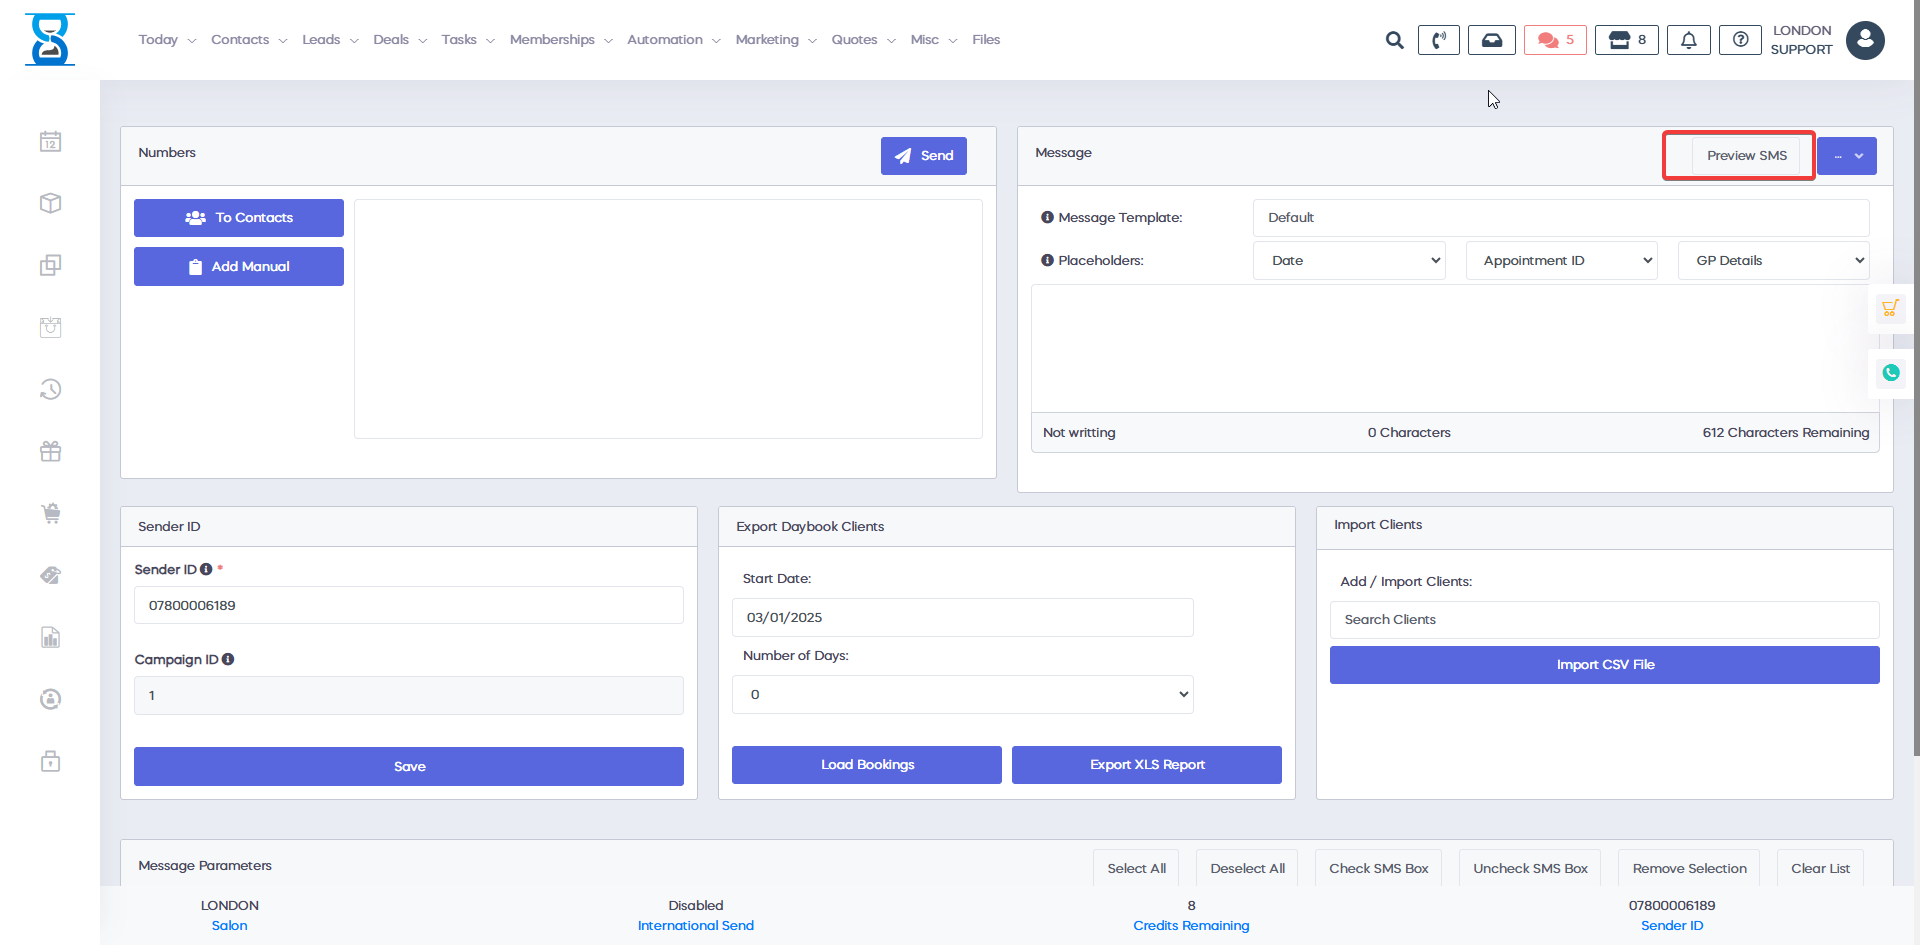
The SMS Message can be a template that you already have or you can create a new one.
If you have a template that you want to use, just select it from Message Templates.
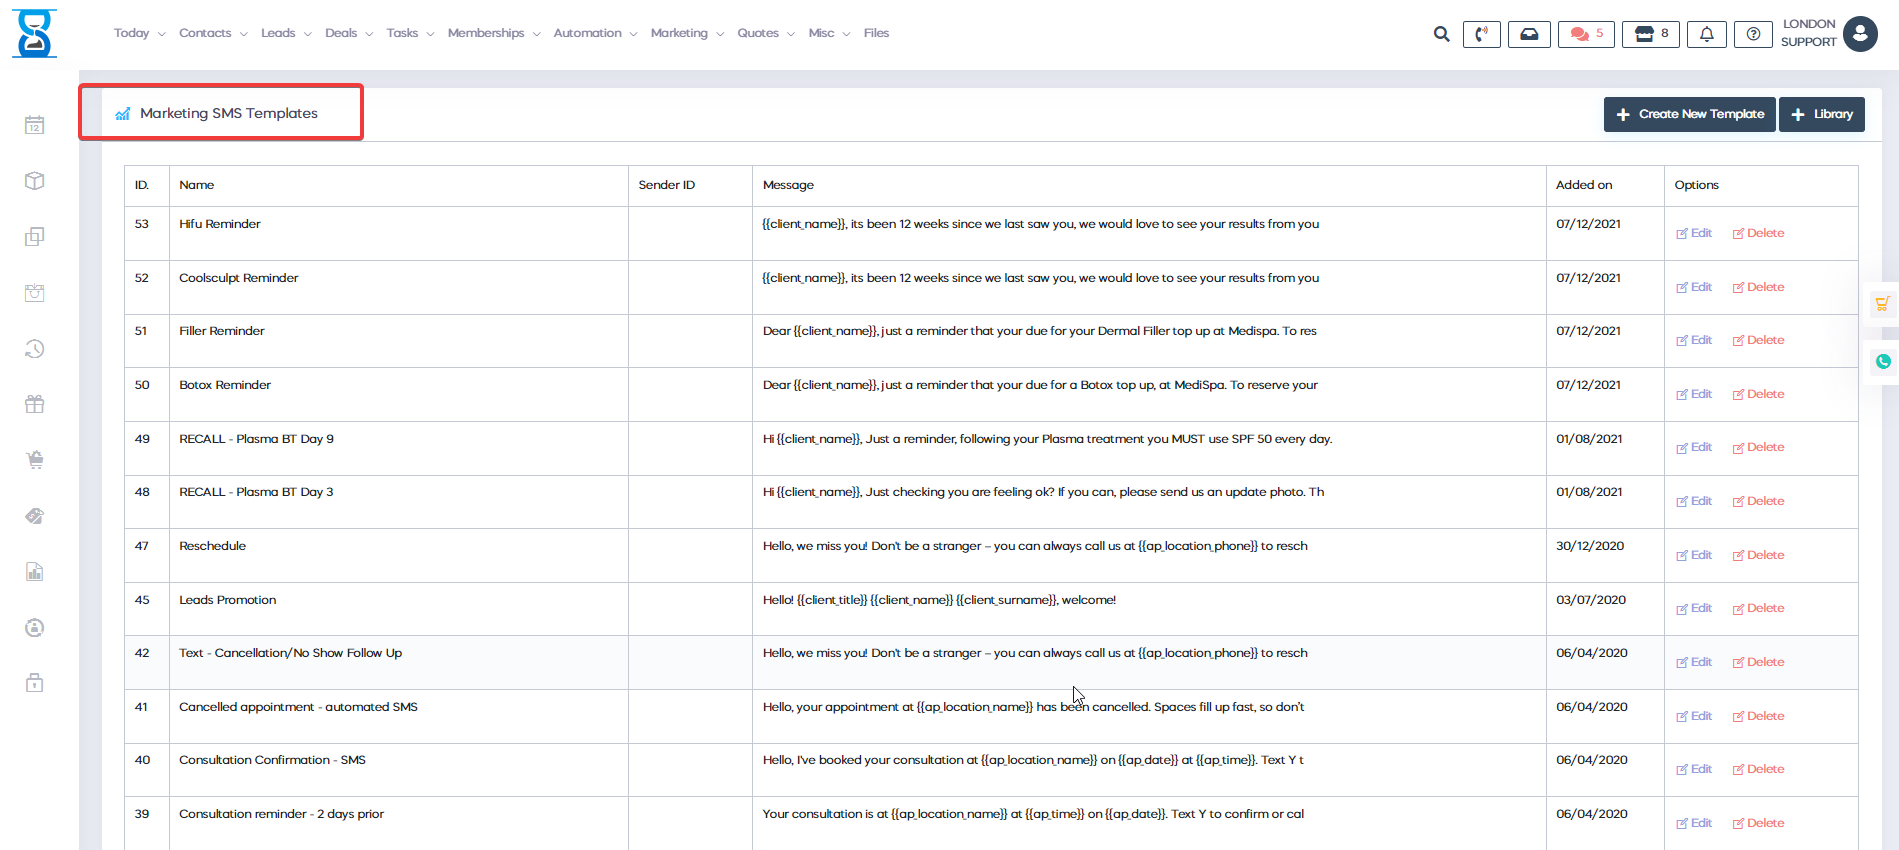
You can go to Admin Area=> Marketing SMS Templates to create/edit a template.
To create a new message, you can use the placeholders to customize the message as you want.
Before you send it, you can preview the SMS if you press "Preview SMS."
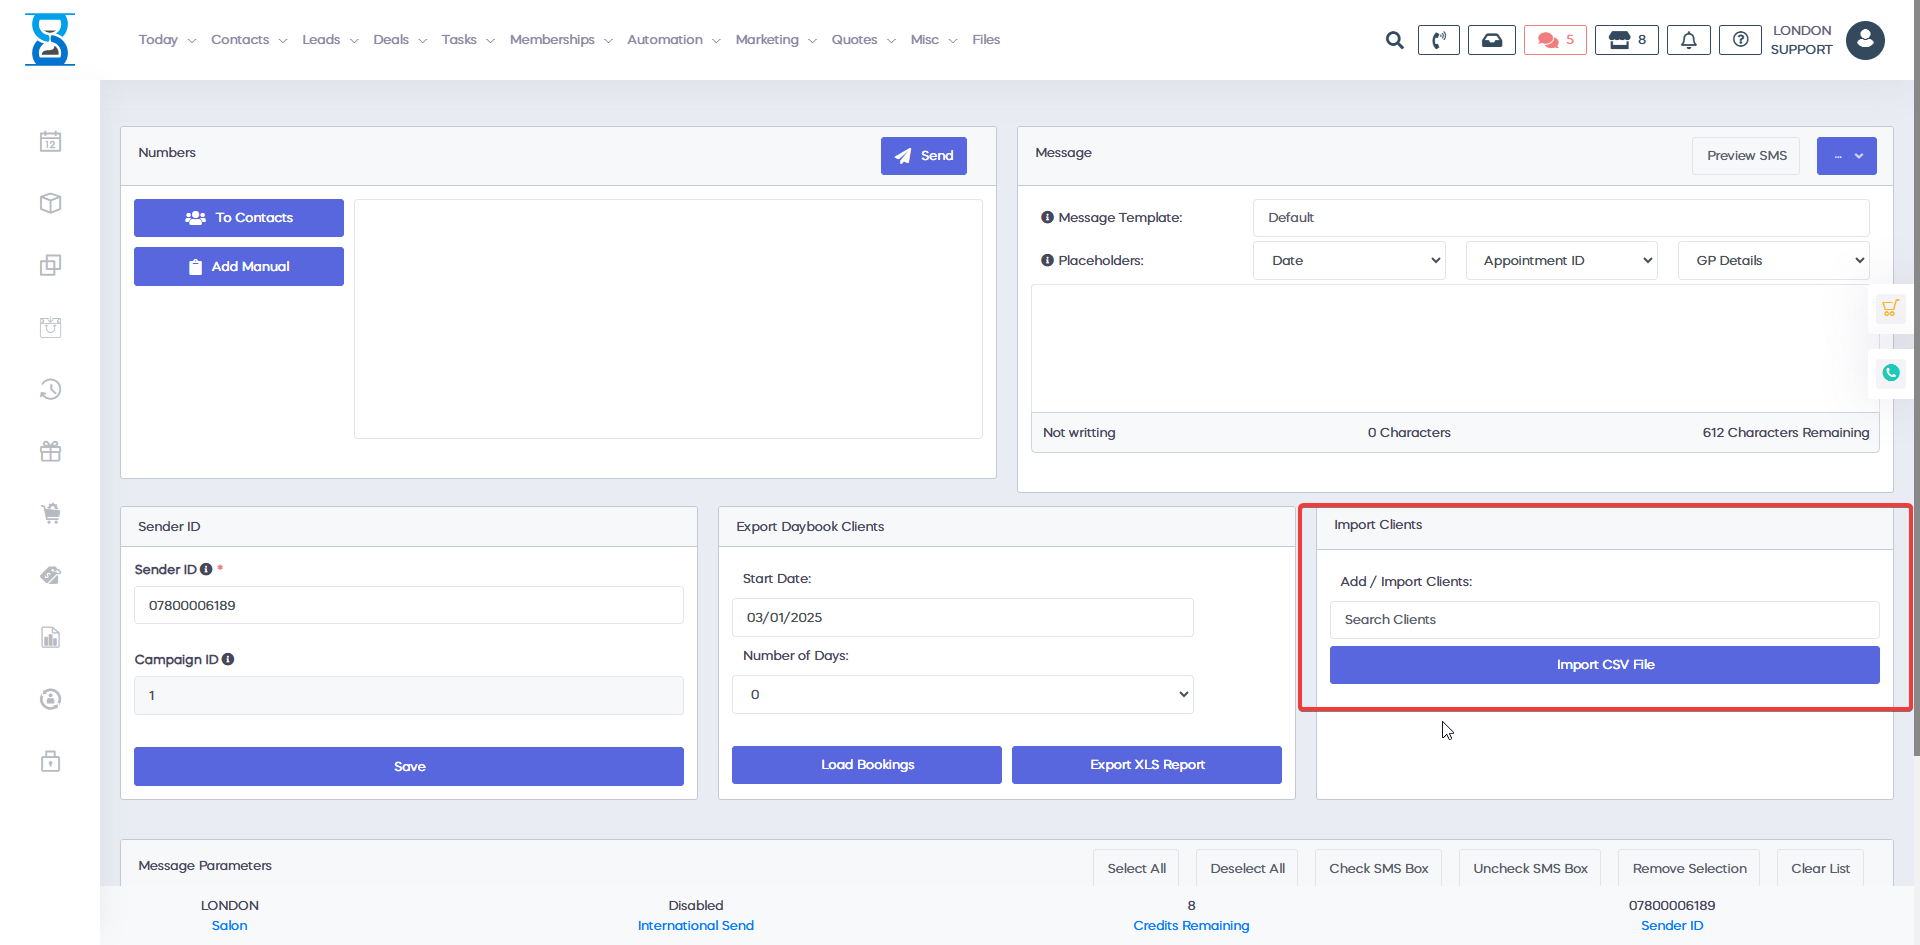
Import Clients, you can search for a specific client or import a client list that you have.
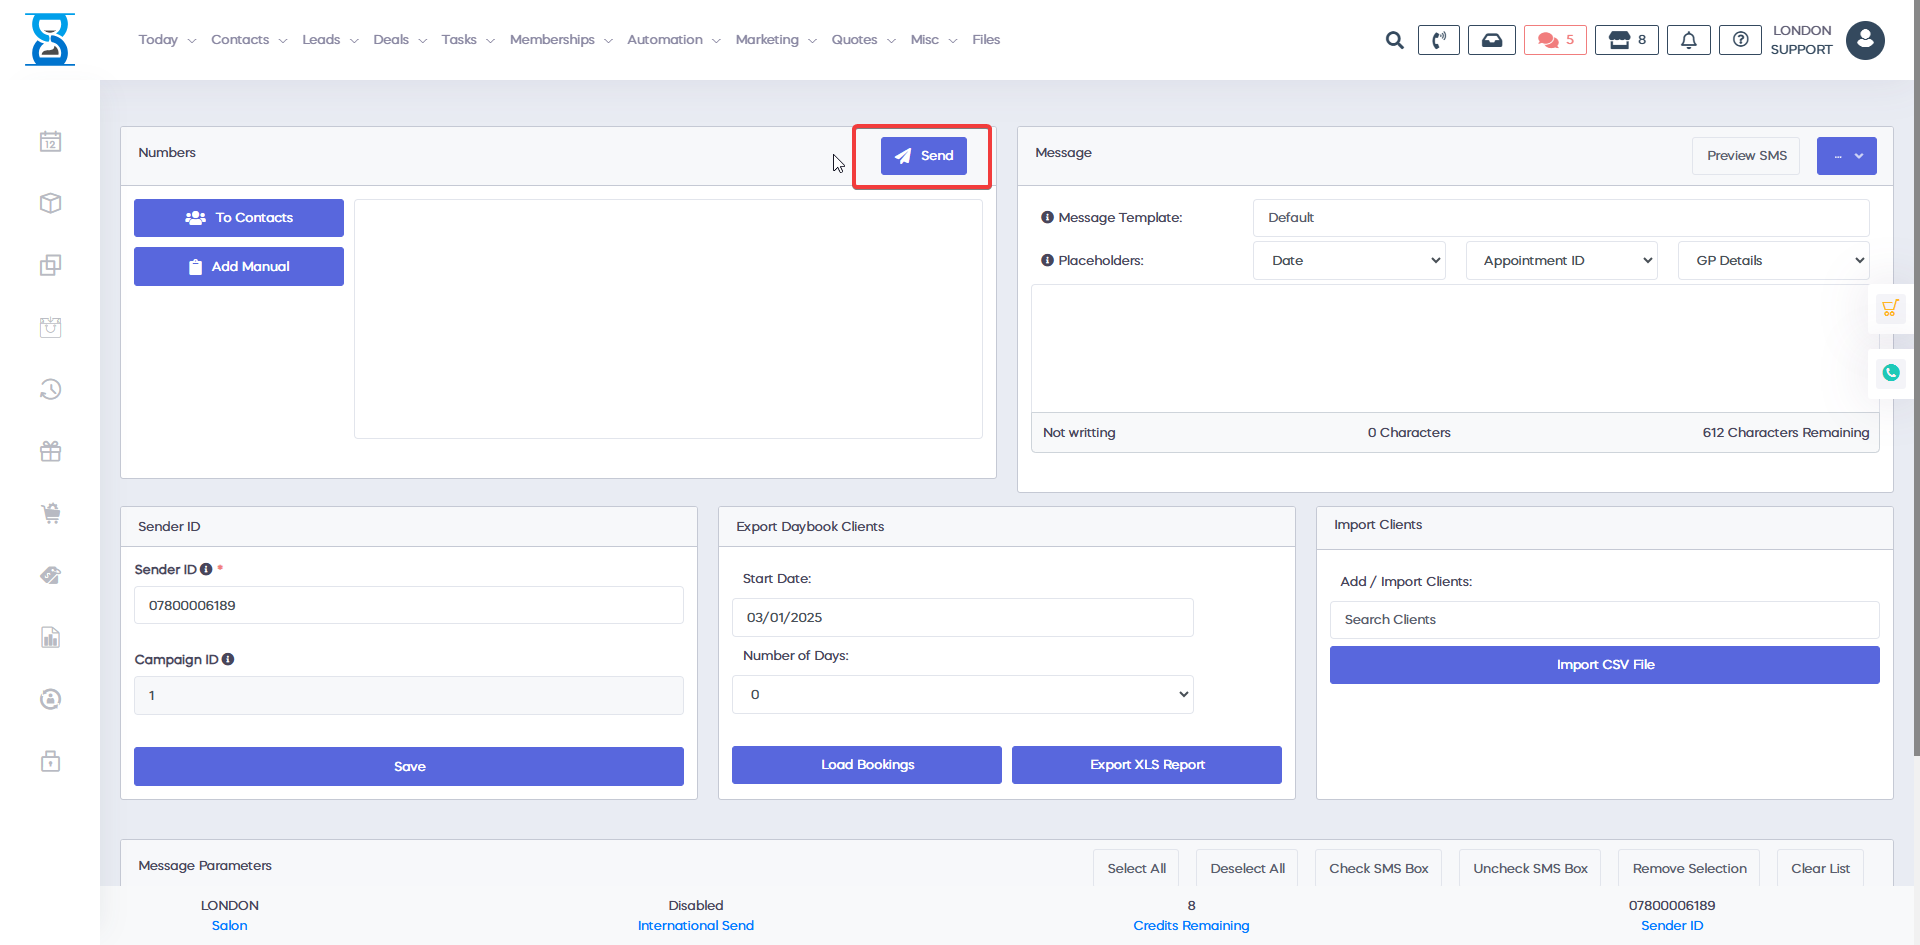
After you complete all the steps, just click on Send and press "Yes" to confirm.