
From this page, you can set up notifications to be sent by email to the staff on the client arrival (appointment “Arrived” status) based on the number of behaviour stars and client loyalty category.
E.g. to inform on client preference or to warn of the troublesome client.
The entries on this page contain the message with placeholders and a set of rules.
The placeholders are replaced automatically with the client, staff and appointment data when the notification is sent.
E.g. send this notification when the client is in the diamond category and the number of stars is (any/more than/exactly) <X>.
The system determines what notification to send based on what is configured in the client profile and the rules defined in this page.
The loyalty category and behaviour stars from which the notification is selected is configured from the client profile edit page (clients / view details / edit).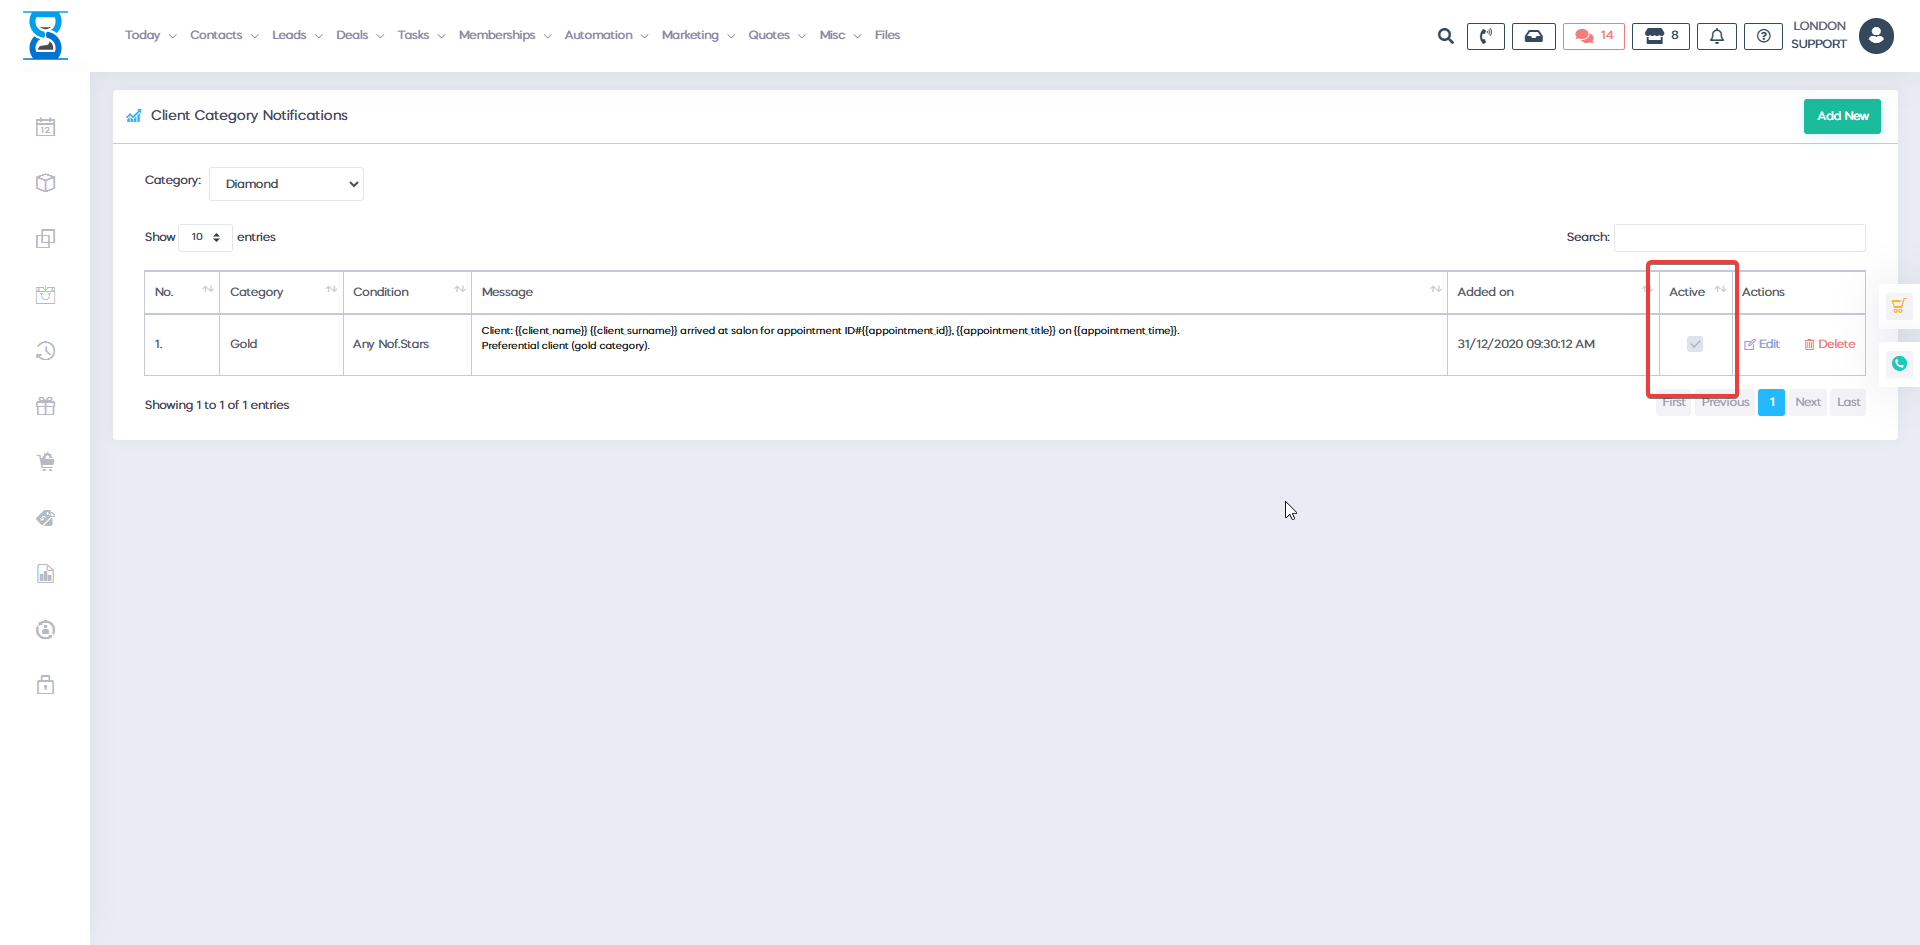
To filter the list by the message, use the Search field from the top section of the page.
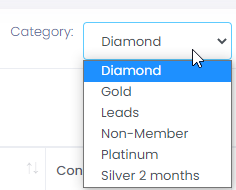
To filter the list by the client loyalty category type, use the loyalty category drop box located in the top right section of the page.
To toggle the active state of the notifications, use the “Active” checkbox of the entry.
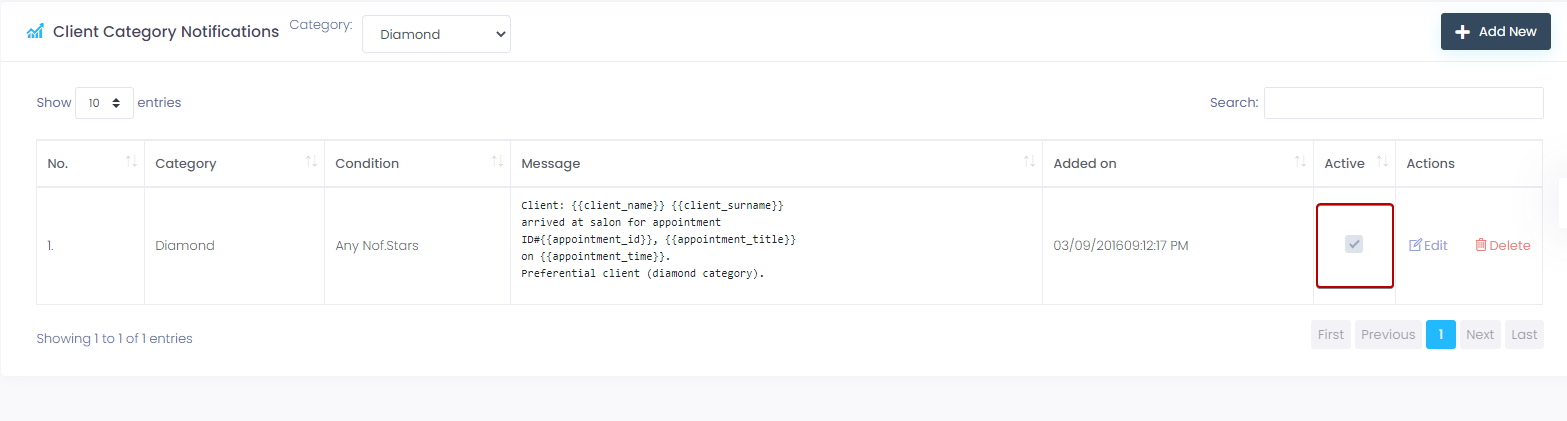
Checked – active
Unchecked – inactive (system ignores the entry when determining the notification to be sent).
To add a new notification entry, press the “Add New” button from the top left section of the page.
The client category, condition and number of stars fields make up the rules on when the notification is sent.
The condition can be one of “Any number of stars”, “More than” and “Exactly” the number of stars from the “Nof. Stars” field.
In the left column of the window the placeholders that can be added to the message are listed.
Add them (including the brackets) in your message for substitution with the relevant data when the message is sent.
Complete the addition of the notification by pressing the “Add Notification” button.
To edit a notification entry, press the “Edit” button of the notification from the notifications list page.

Make the necessary changes and then press the “Save changes” button.
To delete a notification entry, press the “Delete” button of the notification from the notifications list page.
