
To book a courses type appointment:
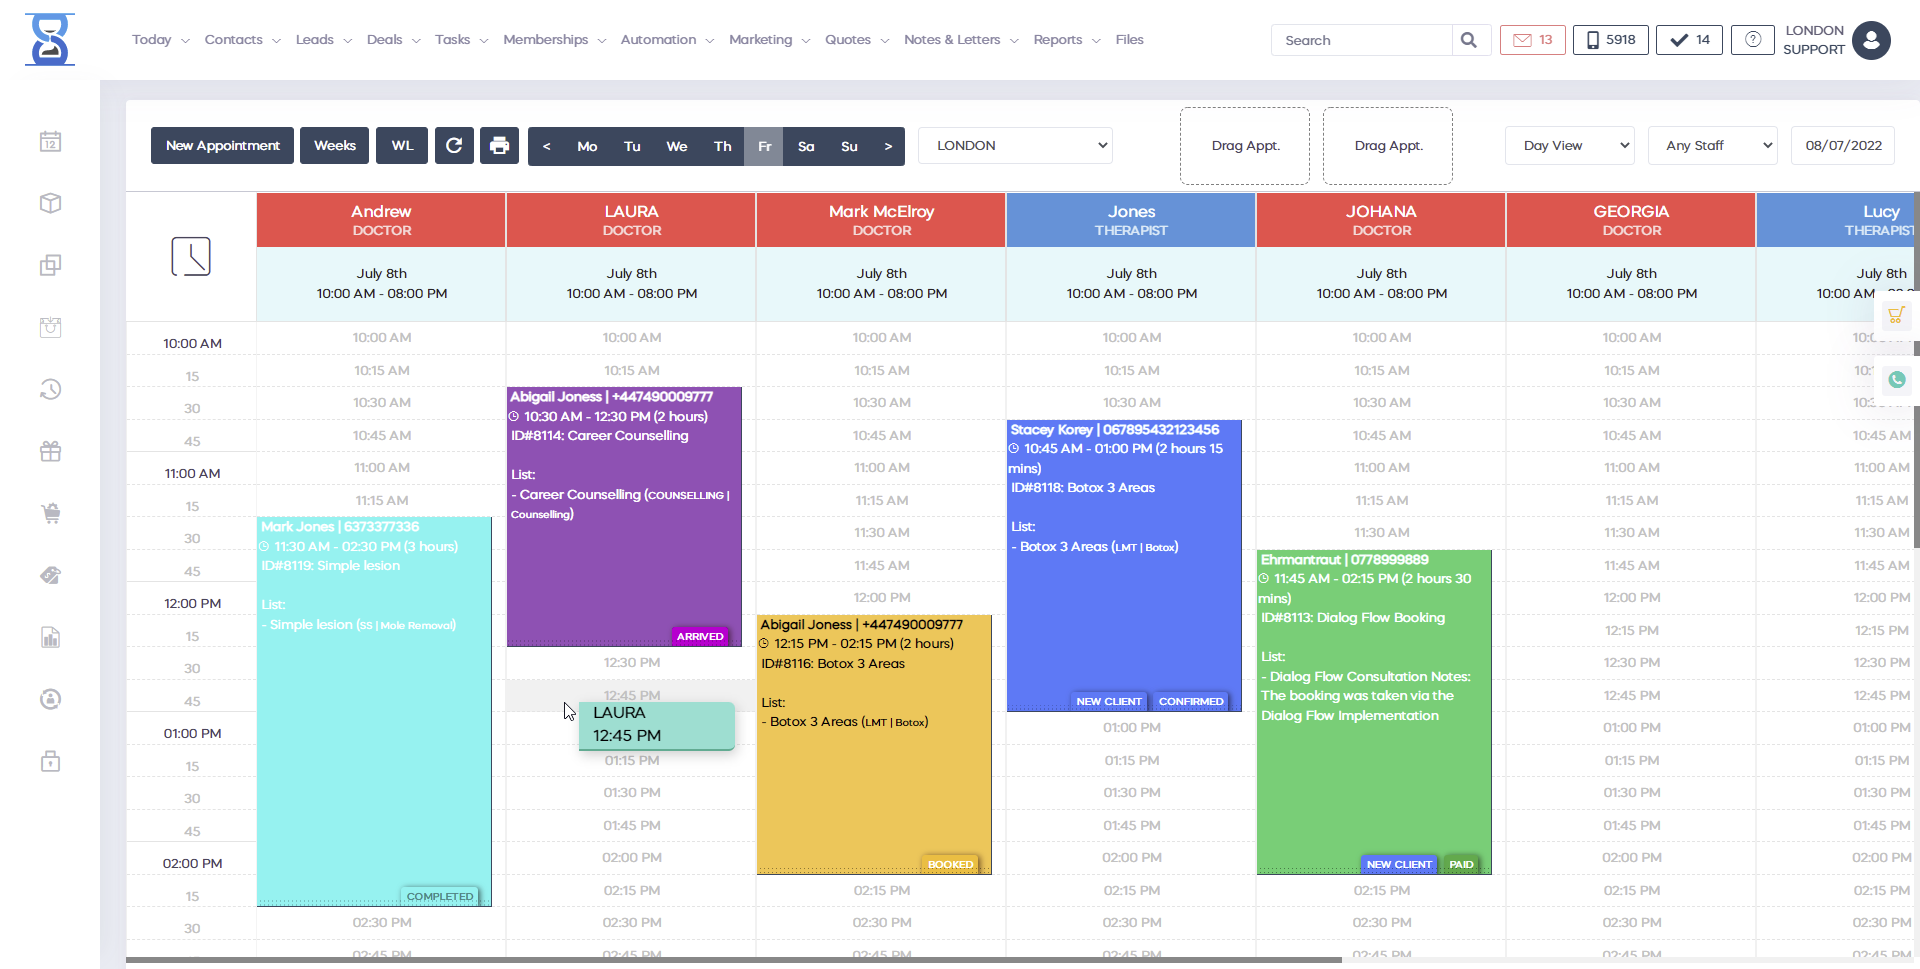
1) Click on an empty time slot on the Day Book for the desired Staff and choose the “Add Appointment” option from the window that opens up (this will automatically select the staff and time in the New Appointment window) or press the “New Appointment” button from the top section of the page.
Example of booking an appointment by clicking on an empty spot:
You can also add a new appointment by pressing the “New Appointment” button located on the top section of the page:
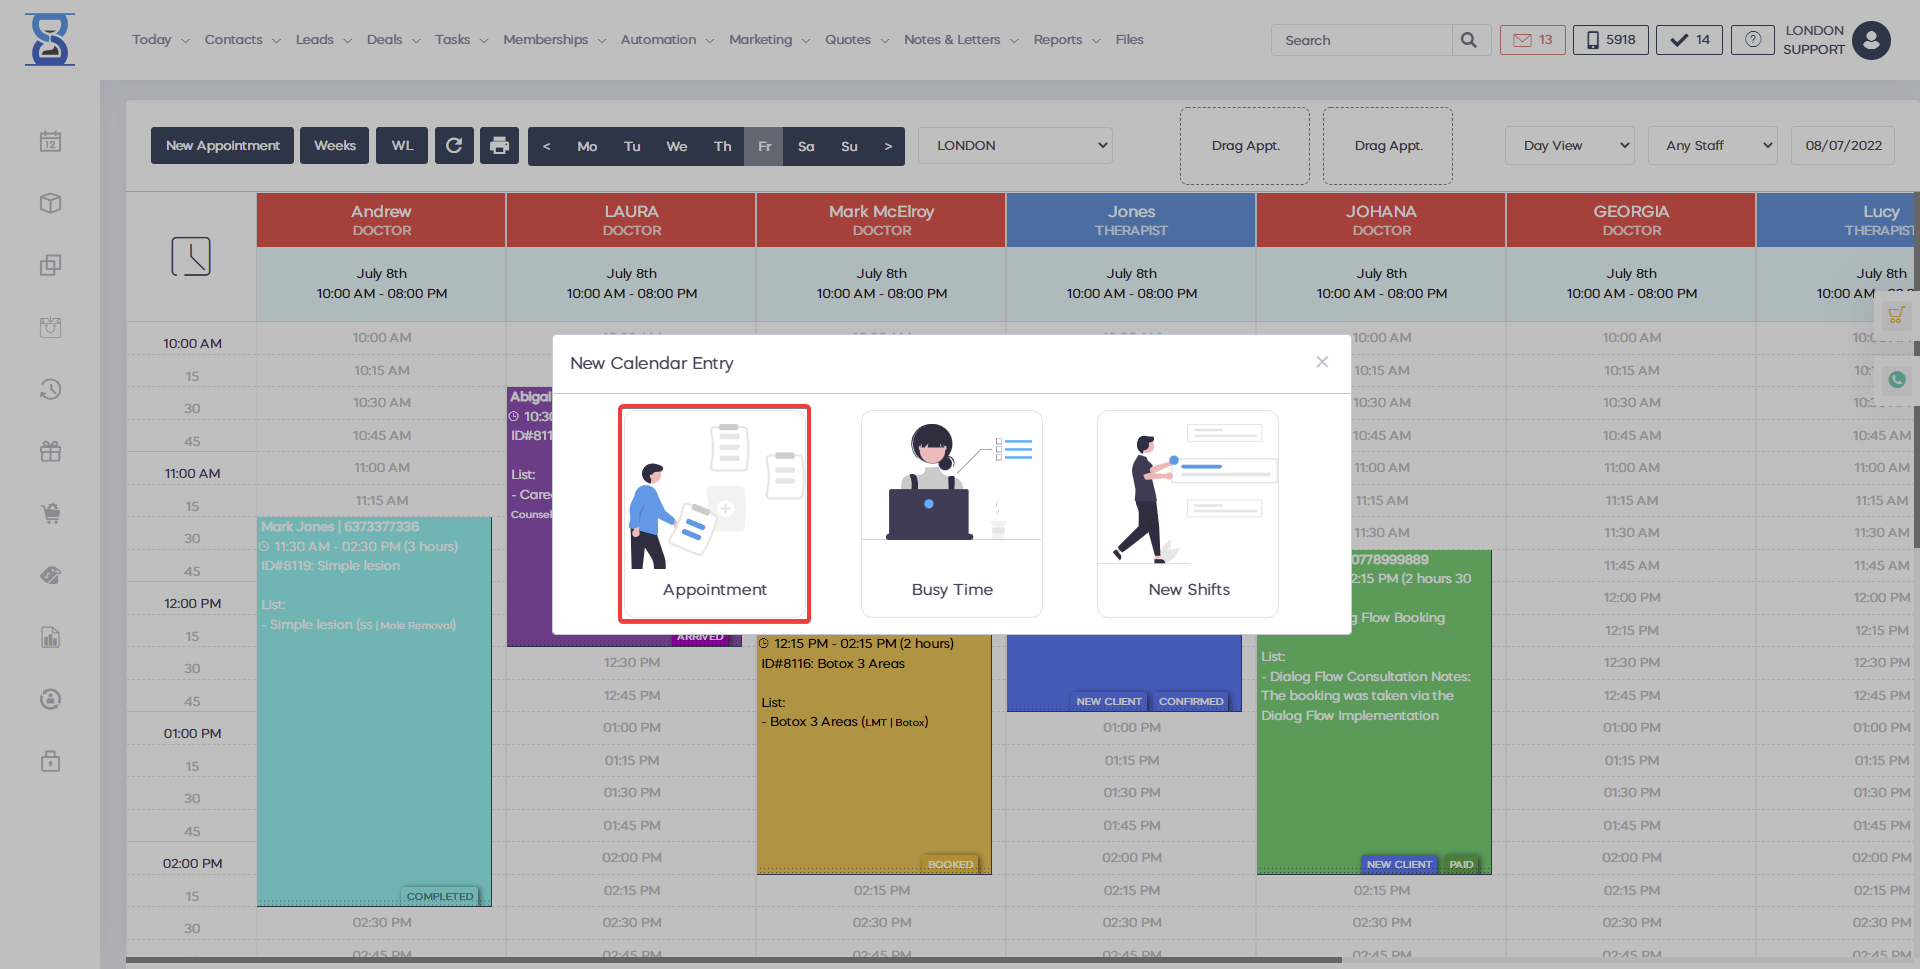
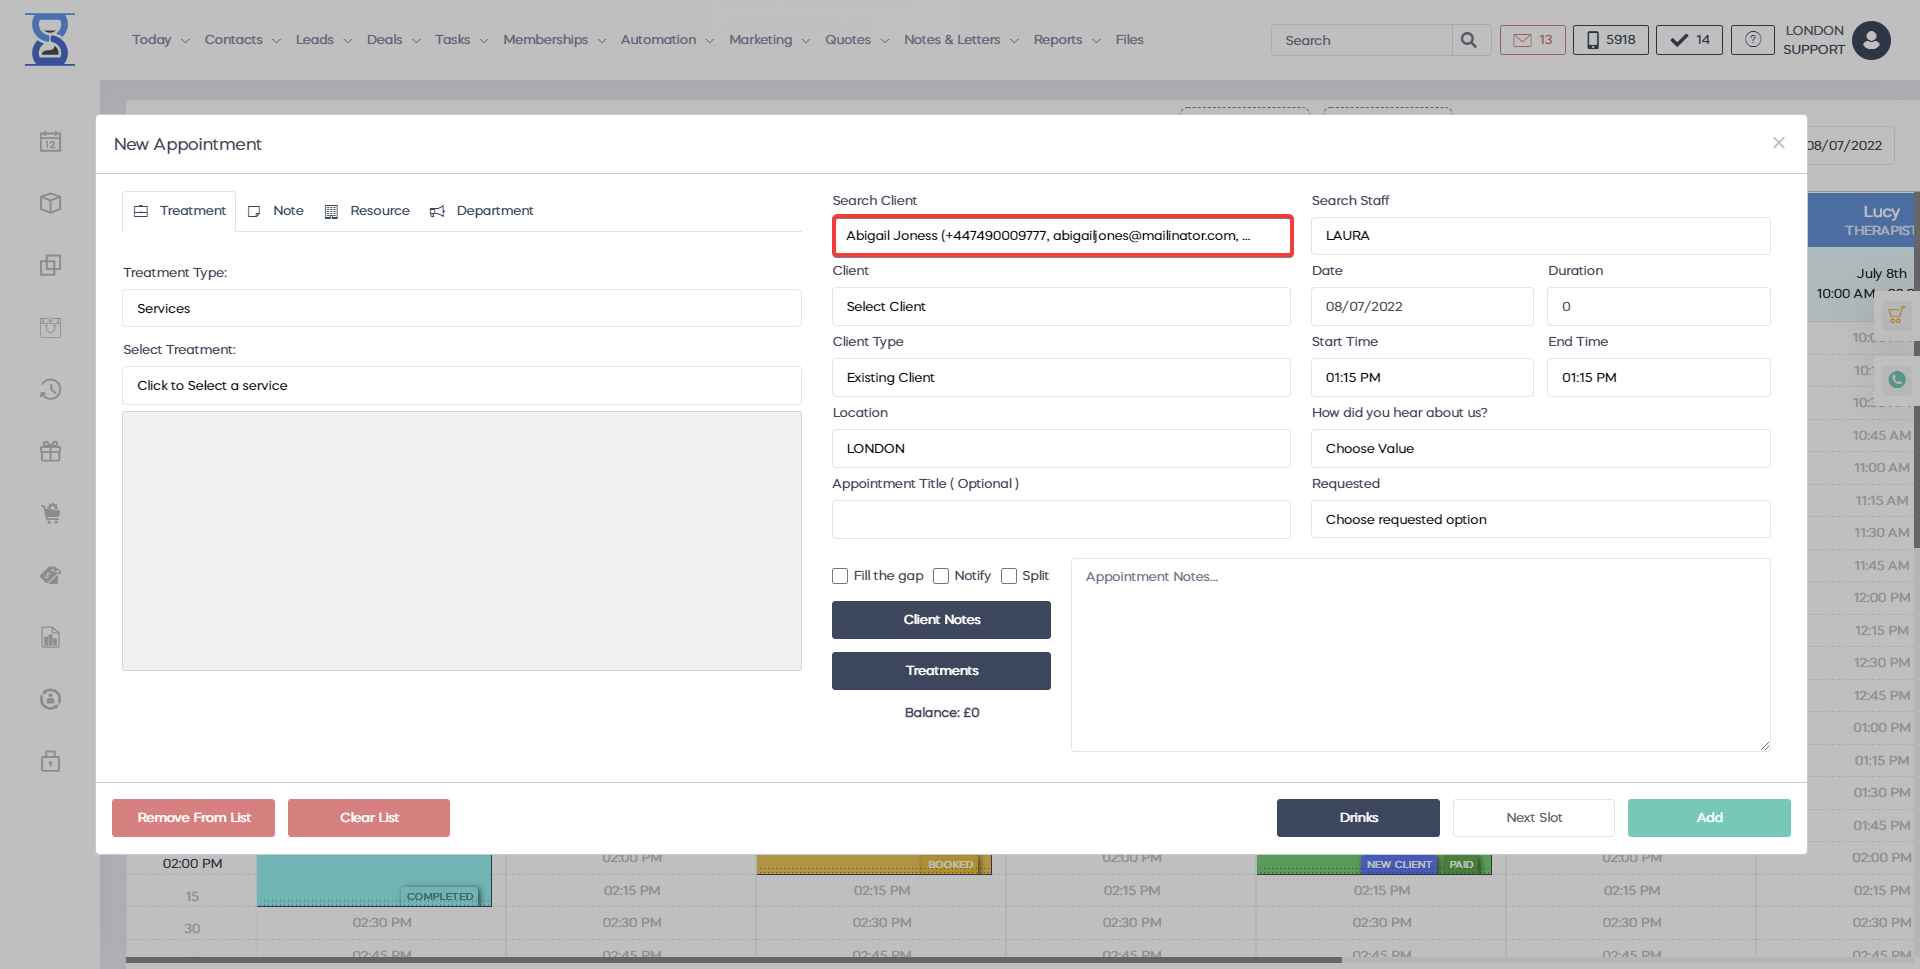
After you have pressed the “Add Appointment” or “New Appointment” buttons, the “New Appointment” window will open up:
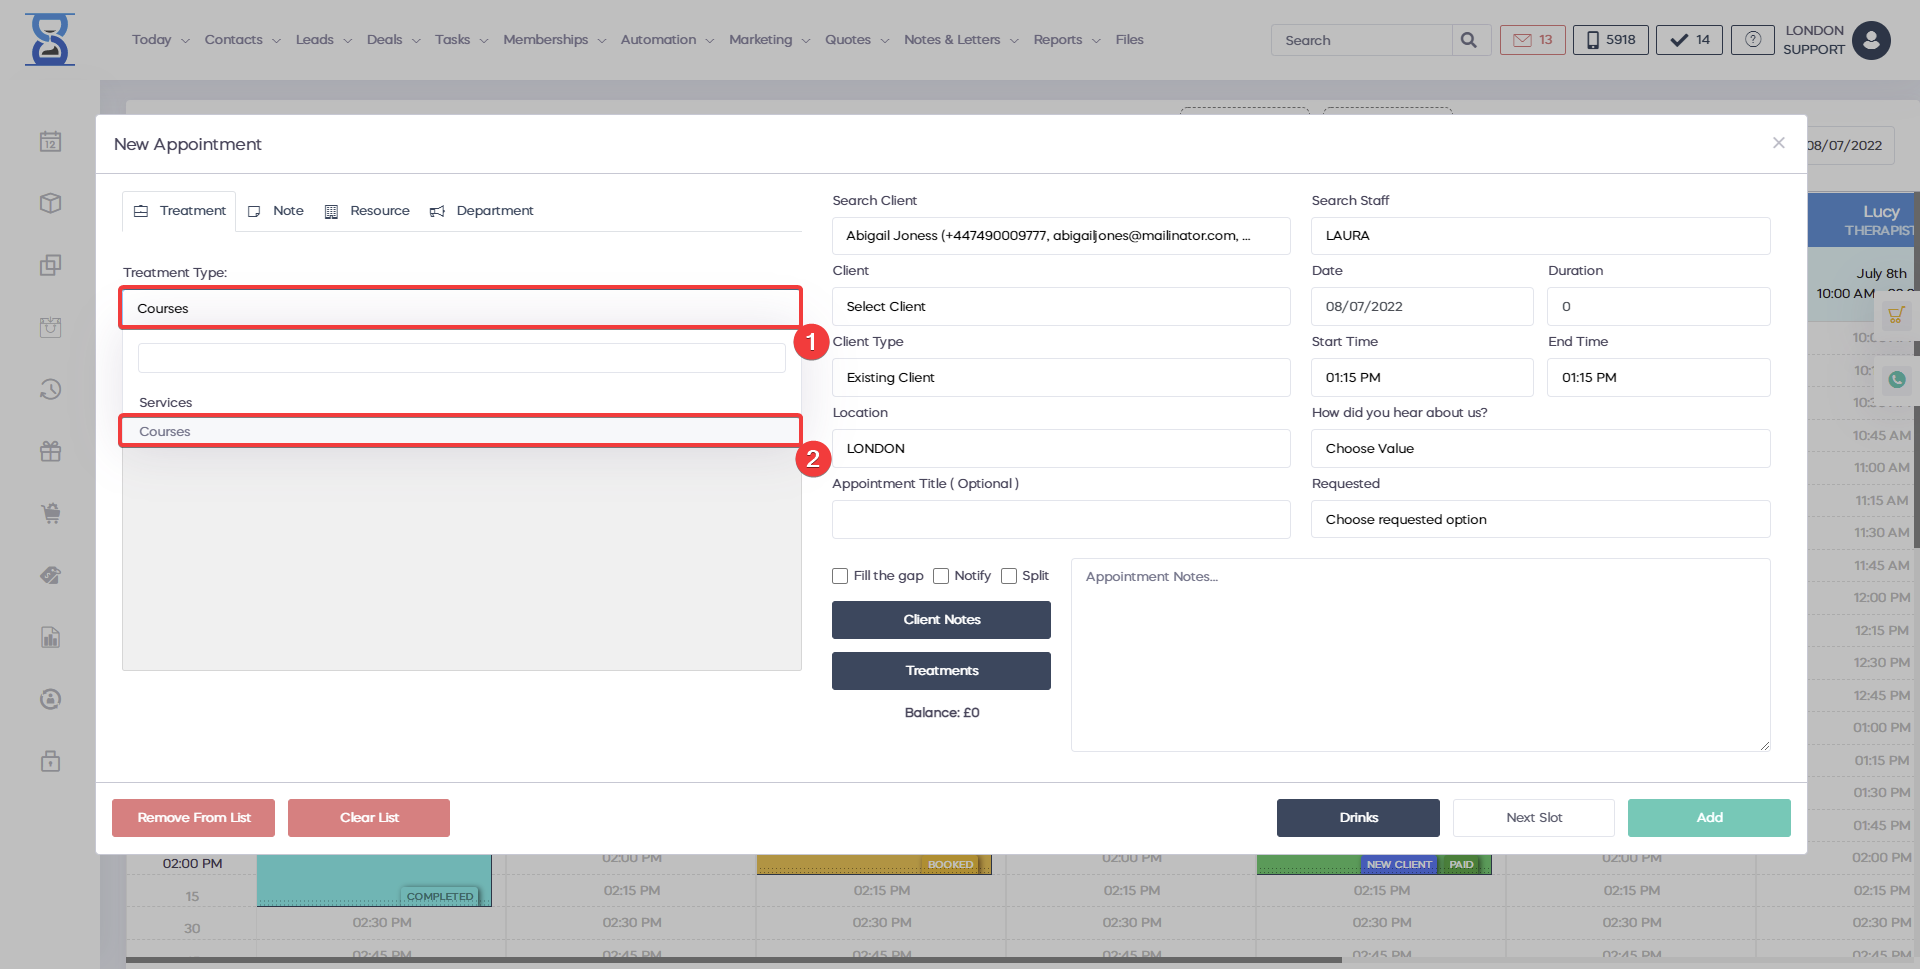
Next we have to change the “Appointment type” selection to “Courses” as illustrated below:
After the selection, the window will update to courses mode:
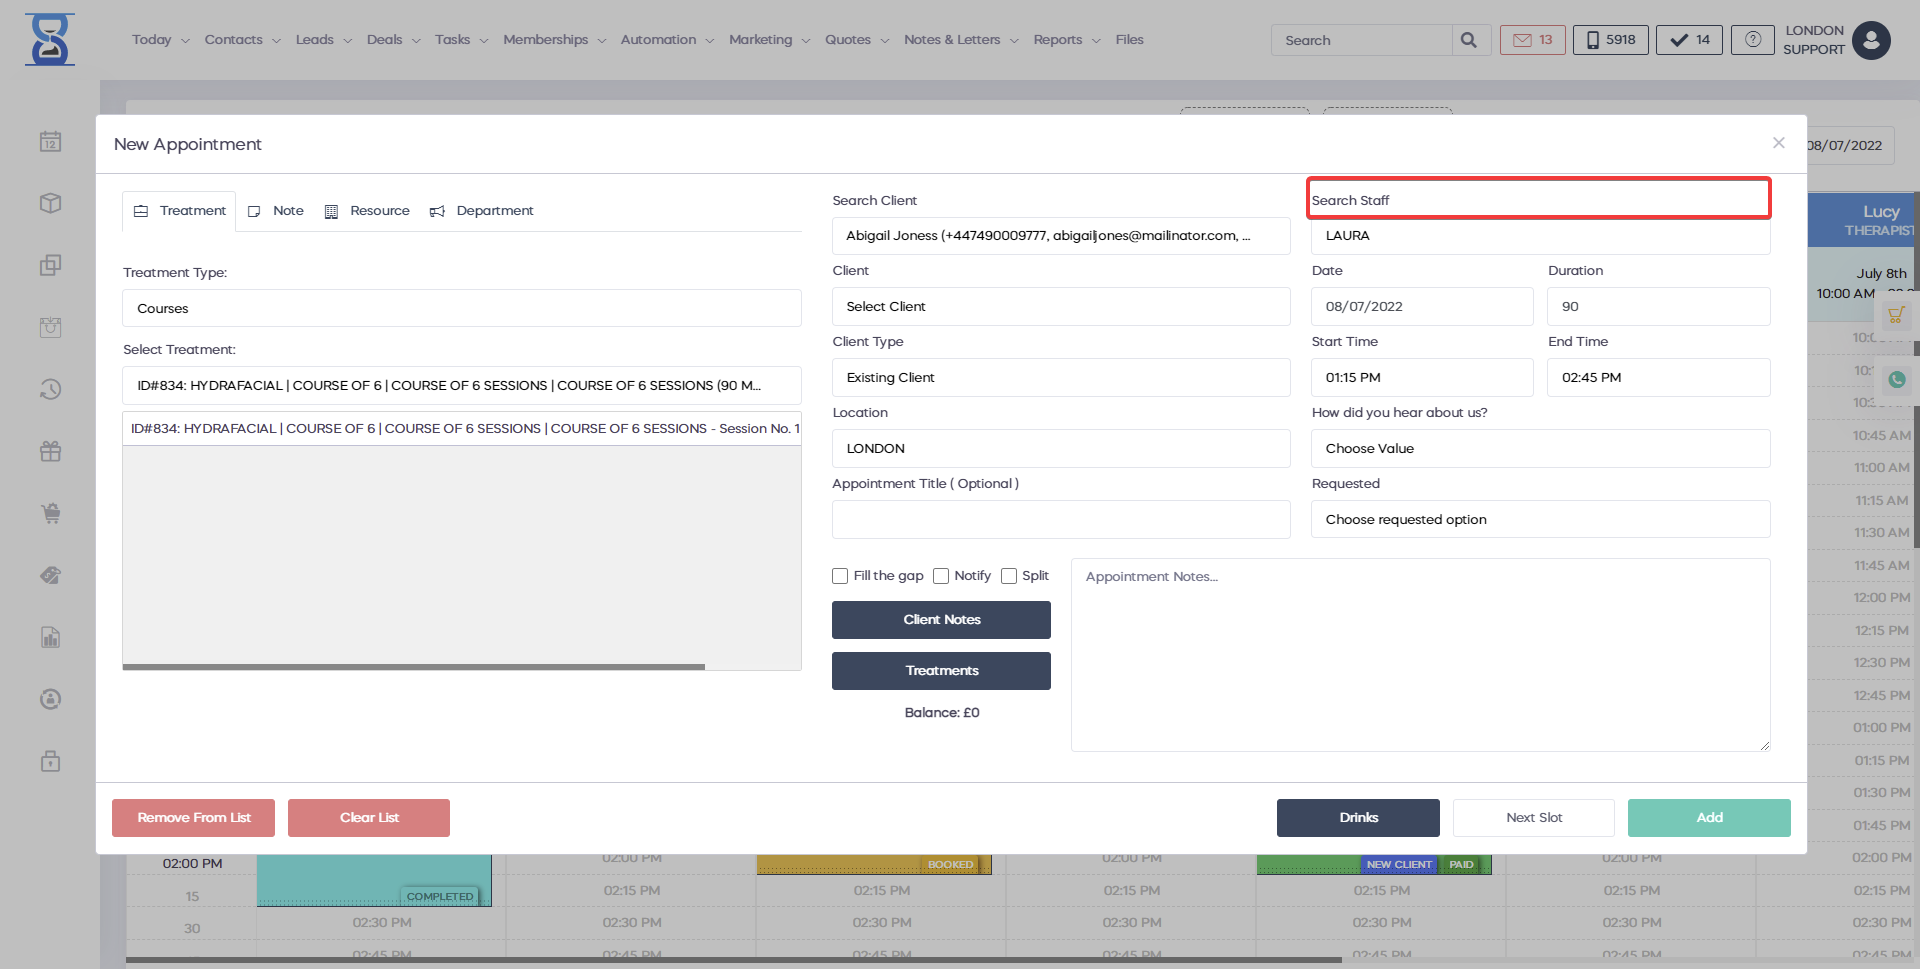
This window is divided into 2 columns:
- The left column from which you set the appointment parameters (salon, type, date, time, staff, client, title and notes.
- The right column from which you specify the courses that the appointment will contain.
The “DRINKS” and “RESOURCES” options are covered in their corresponding User Guide sections below the “BOOKING A PATCH TEST TYPE APPOINTMENT” section.
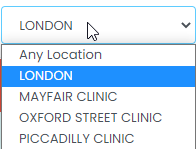
If you have multiple branches and wish to change the location at which the appointment is created, you can use the “Salon:” drop box (top left) to select a different location.
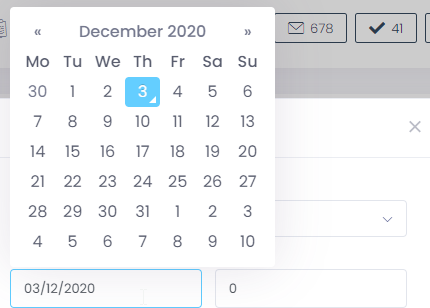
If you wish to change the date at which the appointment is created (defaults to selected Day Book day) you can change it from the “Date:” field (top left); click on the field and select the date from the calendar.
Comparing to booking services:
- When we book courses the first step is to select the client so that we can load its available courses list (courses that are not fully booked).
- The “Select Client” will now load all clients with available courses instead of the list of clients with the most recent activity.
Clients can be selected from the “Select Client” drop box or by searching in the “Search Client” field.
Clients can be searched by name, phone (mobile or home/work), email address, postcode and the courses card barcode.
Upon typing in the “Search client” field the client will show up below the search box; click on it to select it automatically in the “Select client” drop box.
For courses type appointments we can only select existing clients because we are booking sessions or minutes of courses already bought.
If you need to add a new client you must add it from the clients page.
Please refer to the “CLIENTS” section of this user guide on how to add clients.
If the client needs a new course then we must first order it from the “COURSES / SESSIONS” page before we can book its services or use its minutes for minutes type courses.
Please refer to the “COURSES / SESSIONS” section of this user guide for details on how to order a new course.
After the client has been selected, the window will update the client’s available courses list (right column):
After a client has been selected the system will also show the “Client Notes” and “Clinic Notes” buttons which will both open the windows discussed in the client profile section of the User Guide.
There are 2 types of courses in the system:
- Sessions based courses
- Minutes based courses
For sessions based courses we book each session of the course (E.g. for a course of 6 sessions we can create 6 appointments for sessions 1 to 6).
We also indicate whenever the course session that you are trying to book is marked as used in the track sessions page with an “| N” or “| Y” suffix as in the image below:
For minutes based courses we book minutes from the course’s total minutes until the count reaches 0. (E.g. for a course of 30 minutes we can create one appointment of 10 minutes and another of 20 minutes).
In this example, the total minutes of the course when bought were 60 of which only 45 minutes are left for booking.
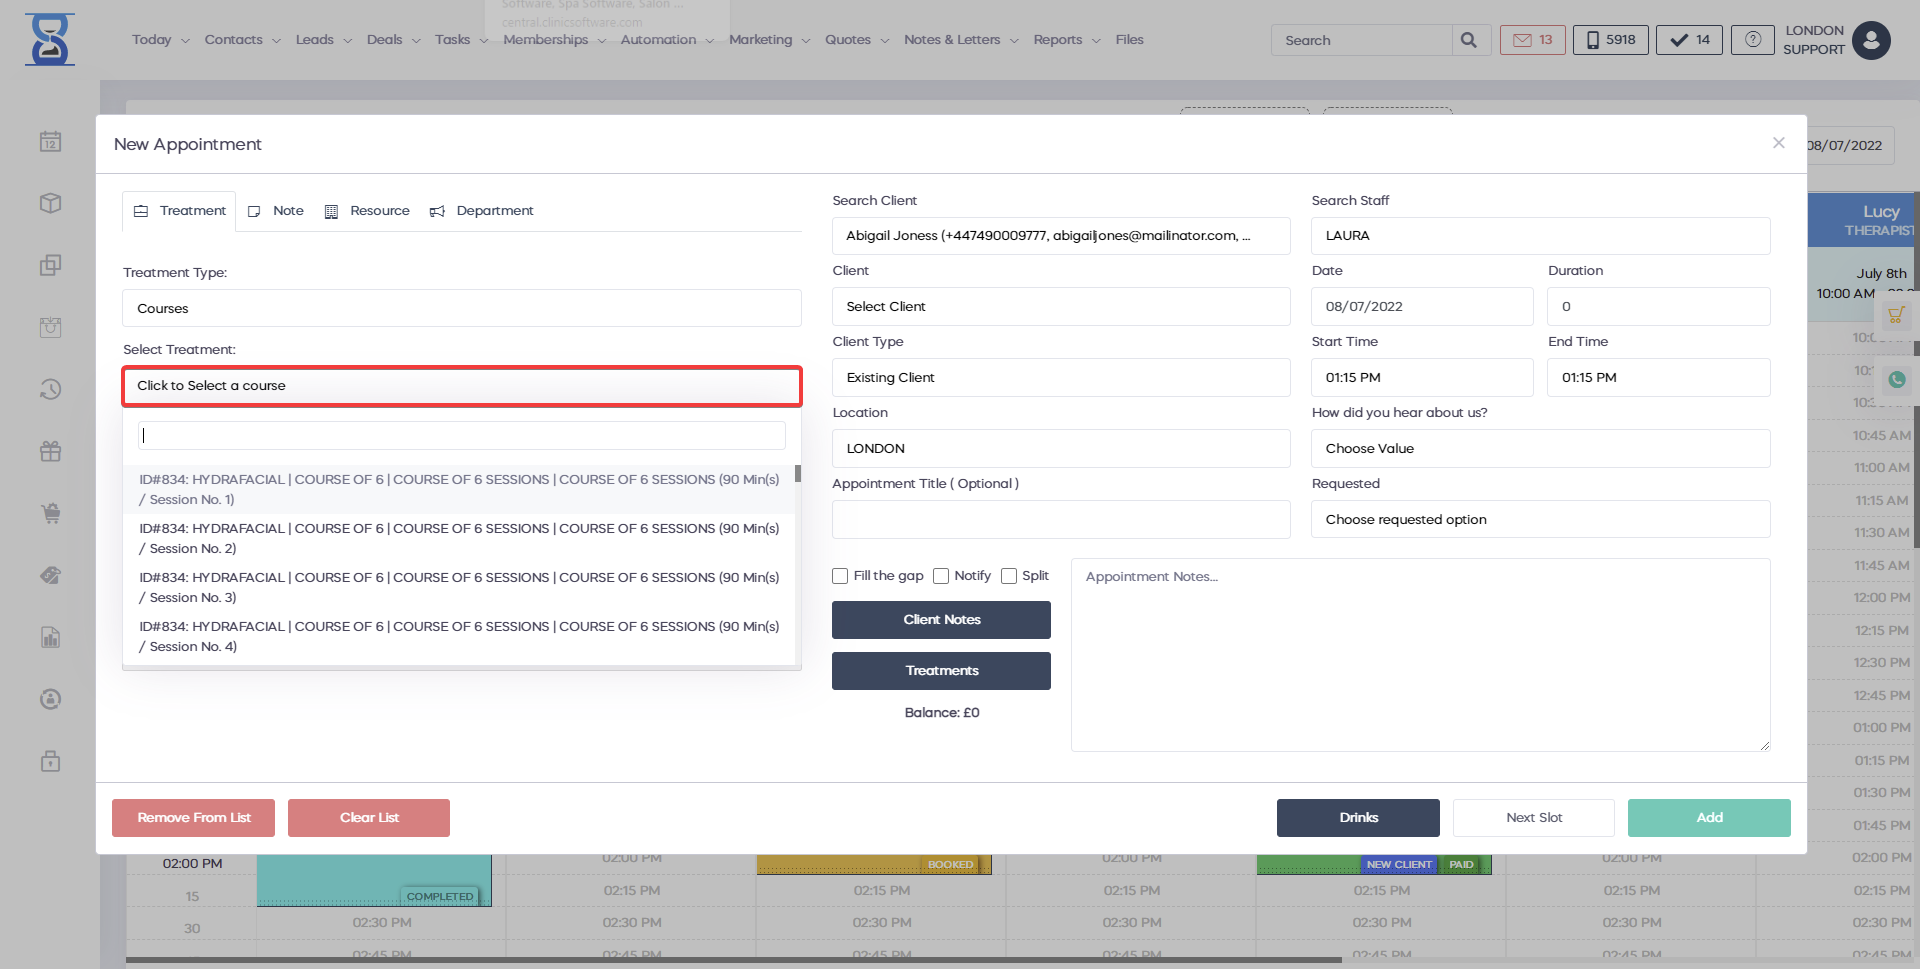
The courses are selected through the “Select client course” select box.
We can also access the client’s courses track sessions page by pressing the “TRACK SESSIONS” button.
More details in the TRACK SESSIONS (COURSES / SESSIONS SUBPAGE) section of the User Guide on how to use the track session page.
By default when a client is selected, the “Select client course” drop box will be automatically opened and focused so you type directly the course / course session you are looking for.
When you have found the course, press the Enter key or click on the course to add it to the list.
You can also navigate through the search results by using the up and down arrow keys on the keyboard.
The “ADD TO LIST” adds the course that is already selected in the “Select Service” select box.
The system will not allow you to add the same course session a second time into the list:
When adding a minutes type course to the list the system will ask you how many minutes of the course you wish to book:
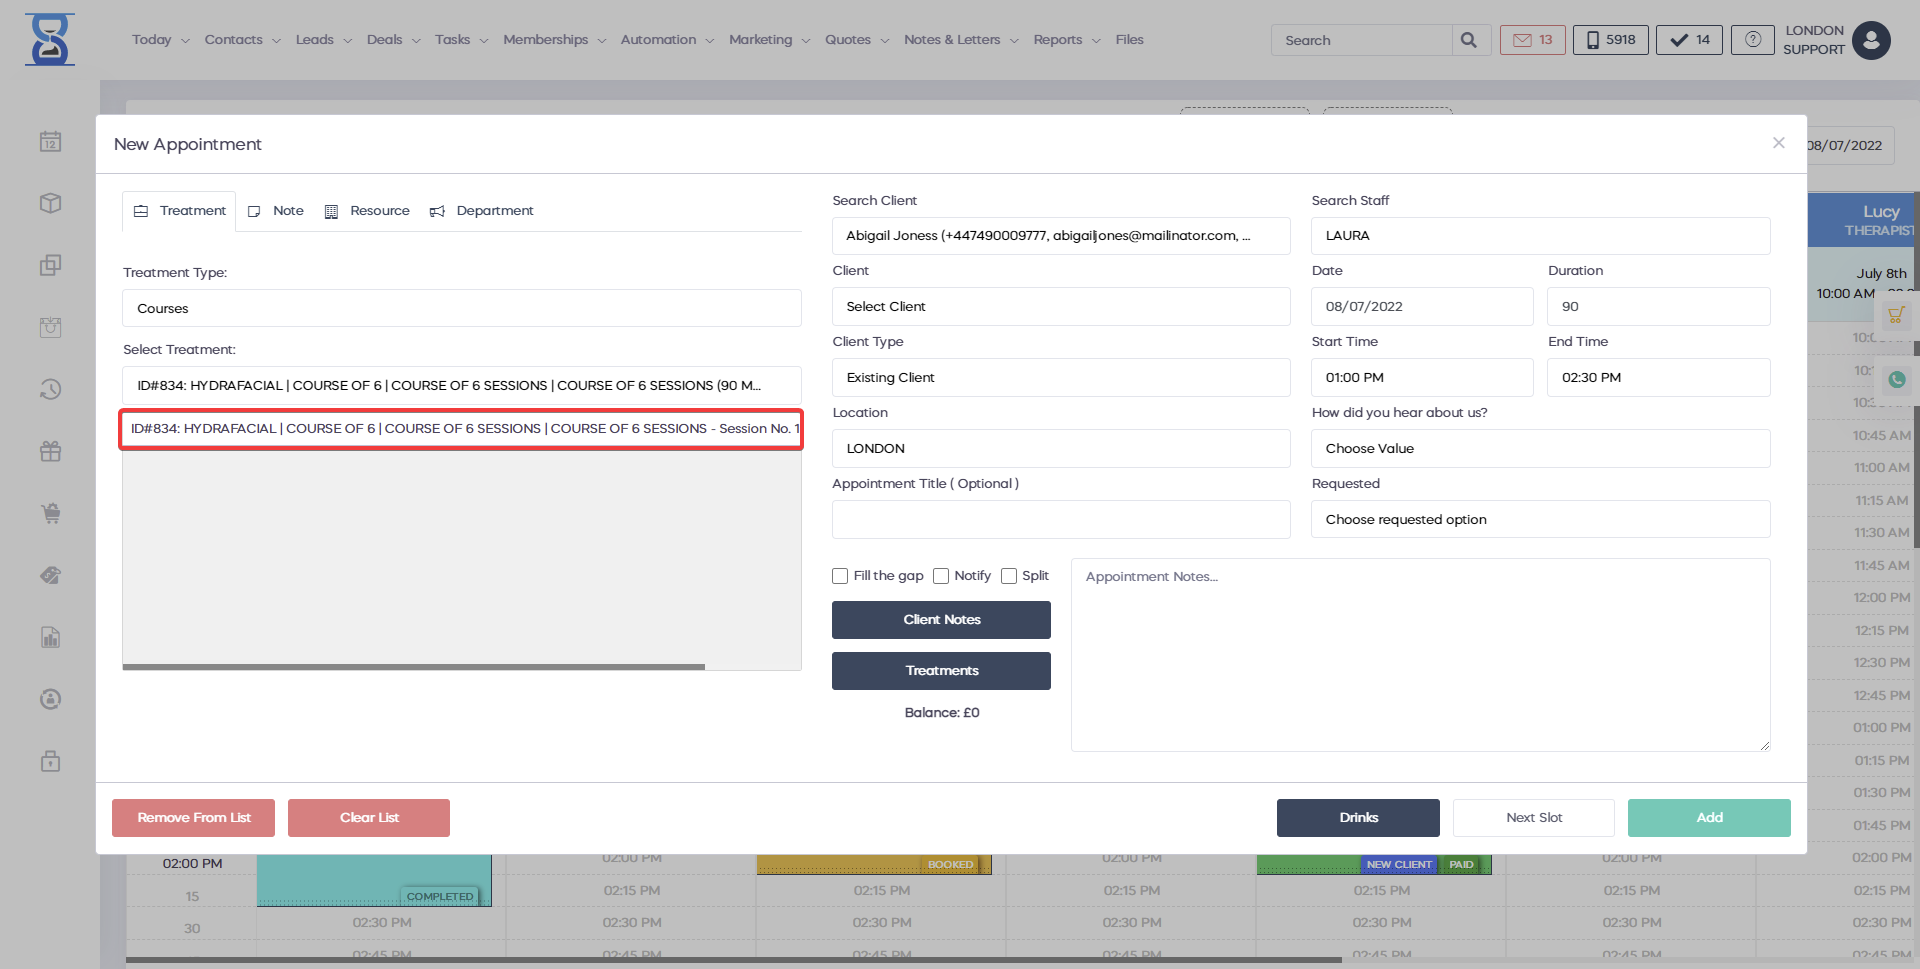
To select a course from the courses list, click on it.
The selected course will be displayed with a blue background.
We also include payment (installments and total amount paid) and utilization data (sessions marked as used, minutes left of total) in each course in the list for easy identification (E.g. in the above example “2 / 8 sessions used and 3 / 4 installments paid).
The “REMOVE FROM LIST” will remove the selected course from the courses list.
If no course is selected in the list then pressing this button will result in the removal of the last item from the list.

The “CLEAR LIST” button will remove all courses from the list.
When the courses list is modified by the addition or removal of courses, the system will display the number of courses, calculate the total duration of the appointment and load the staff list that are authorized to perform all the courses and are available for booking (have a free time slot available for the duration of the appointment).
The system will maintain the chosen staff if the new appointment window was opened by clicking on an empty slot in the Day Book but, if it cannot find a free time slot for the desired staff then it will automatically select the first available staff that can perform all the courses from the list.
The appointment title field can be used to specify the title that you wish the appointment to have.
If left blank it will behave in 2 ways:
- If there is only one course in the list then it will take the name of that course
- If there are more than 1 course in the list the title will be <X> Sessions where <X> is the number of courses on the list
You can also select the “Type” field (e.g. Walked in, Email, Phone) to help you identify your appointment sources in the reports.
The values present in the “Type” field are managed from within the admin area.
Please refer to the Admin Area / Appointment Type section of the User Guide for more details on how to add or remove entries for the “Type” field.
You can also specify notes that will appear in the appointment details window by filling in the “Appointment Notes” field.
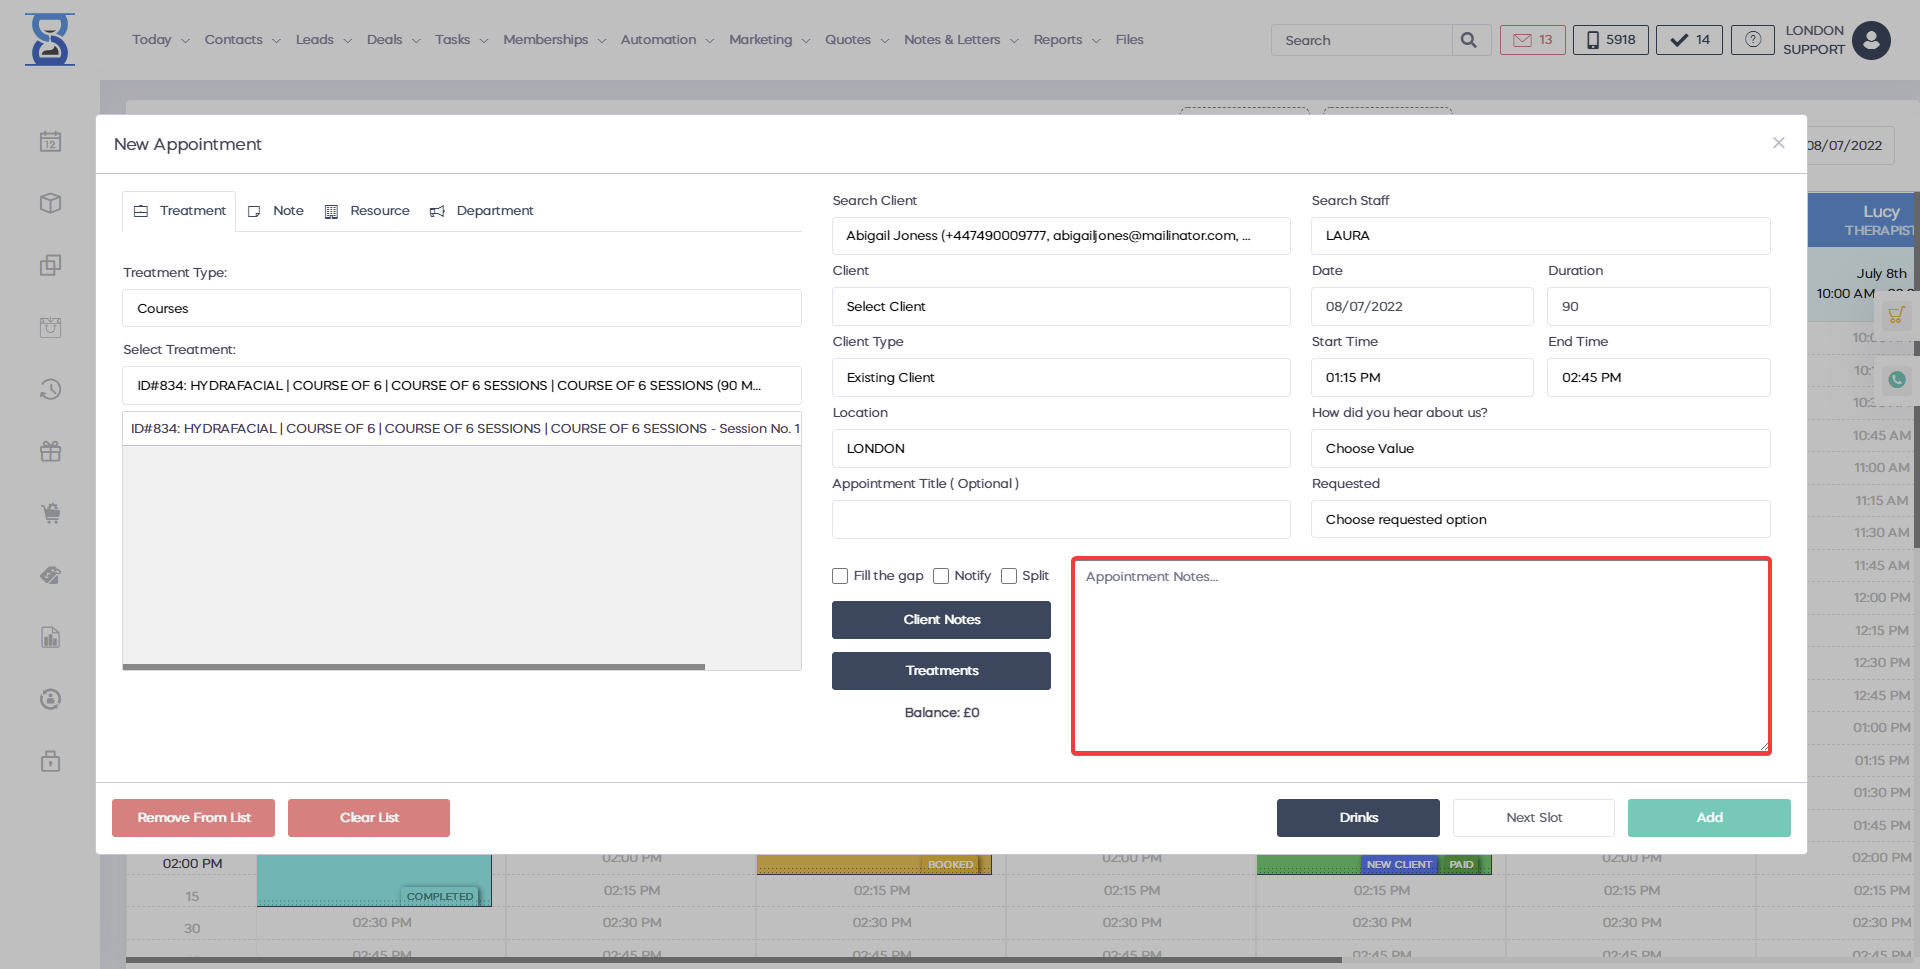
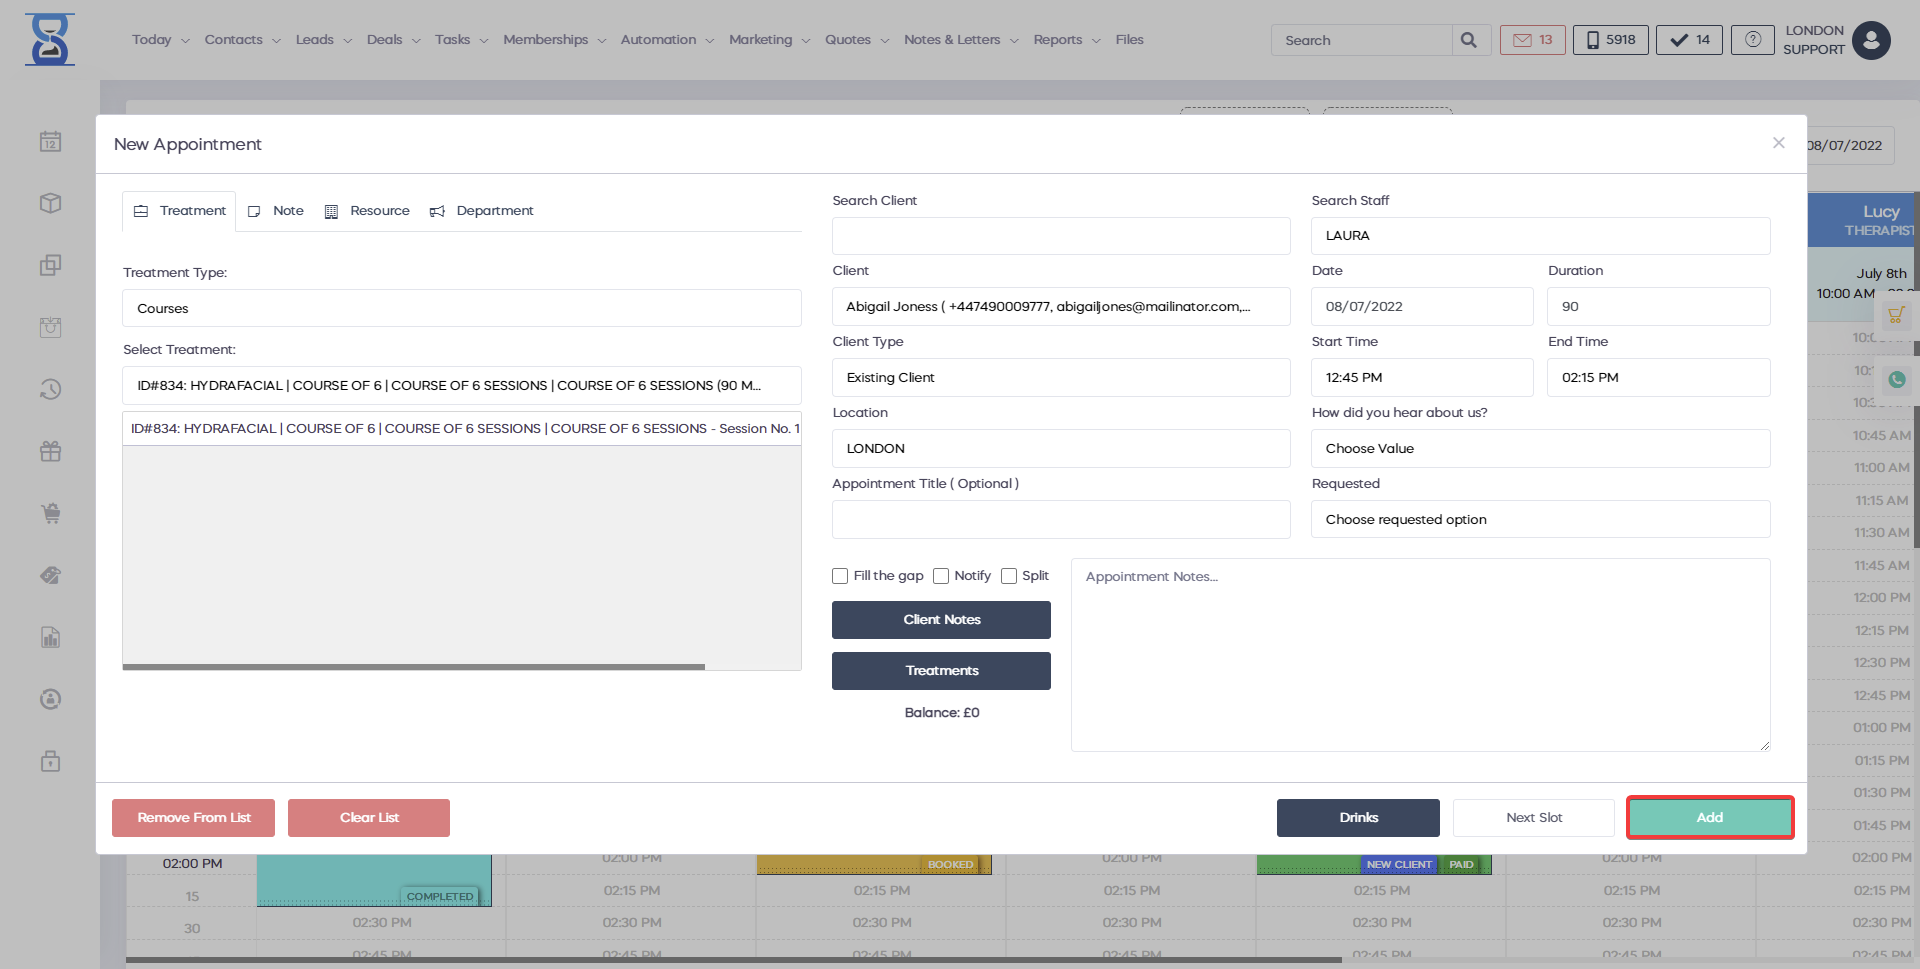
To finalize the creation of the appointment press the green “ADD” button.
With the Courses function you can manage the procedure packages, access track sessions and installments in progress. For example, you can easily enter the laser hair removal section to choose whether you want to sell a six-session course or an eight-session course. Then there are the body sections - special packages for face and body. You have the ability to book and purchase a course, depending on the area you are treating. You can charge the customer the full price, you can provide a discount and you can specify if the customer had any sessions before. You can process the payment in full, or in installments. If you choose the installments, you will see a different function here that will give you the possibility to split the total payment in eight installments, for example. You can choose any number, the system will automatically split the total amount for each installment and you are given the option to load the first payment if you wish or you can cancel it completely.
The system will calculate the difference depending on what the customer is able to pay. You may add the receipt and process the payment now, or pre-order if the customer will pay at a later stage. You have the opportunity to process a payment in cash or use another payment method listed on the right hand side. If you have a different payment machine, which is not connected to the system, you can process the payment with the pdq terminal, which is connected to the system. If you have any fees from the merchant's account, you can enter the fee - either by value or percentage. The system will print the invoice and can send it to the customer. If you return to the calendar section, you have the option to book a service or a meeting. You also have the option to book an appointment from the services tab. If you need to book a series of courses or package statements, you need to go to the courses section and select the client. After selecting the client, the system will automatically check if you have any active courses, already paid into the system and will provide you with the option to book the next session.
With the software you will follow up the availability of sessions, installments, how many payments have been completed and how many sessions are left for use. you can see exactly how many installments were already paid and how many installments are left to be paid. The unused sessions tool is the big difference between a course and a treatment, though if you want to go deeper into the details of the course, you can access the course details page. On the left hand side, you have the option of session tracking as well as the ability to trace the protocols, check out the installments, planning courses and update the data file on the patient`s treatment. You can go to the Calendar and come back to the customer`s profile page at a later stage. The advantage of using a course with a package of procedures is that you can attract more customers by providing them more procedures. You can increase cash flows, enabling your clients to make a payment in installments.
The daily installment payment is the same, as you have customers who will pay for a treatment completed in eight sessions. How you can create a package of procedures? We suggest you do a market research to understand the buying behavior of target customers. You can ask someone to do the marketing research for you in your database, but through sending courses, packages and opening the idea to take contributions will increase your cash flow. You can also increase your cash flow by accepting installments for a payment and you can easily track an unlimited number of customers. Under the client`s account, every course is divided into a different number of sessions, on the basis of their course selection. You can choose how many installments can be paid by your customer, you can process an installment before each session and you can easily prepay for a session.