
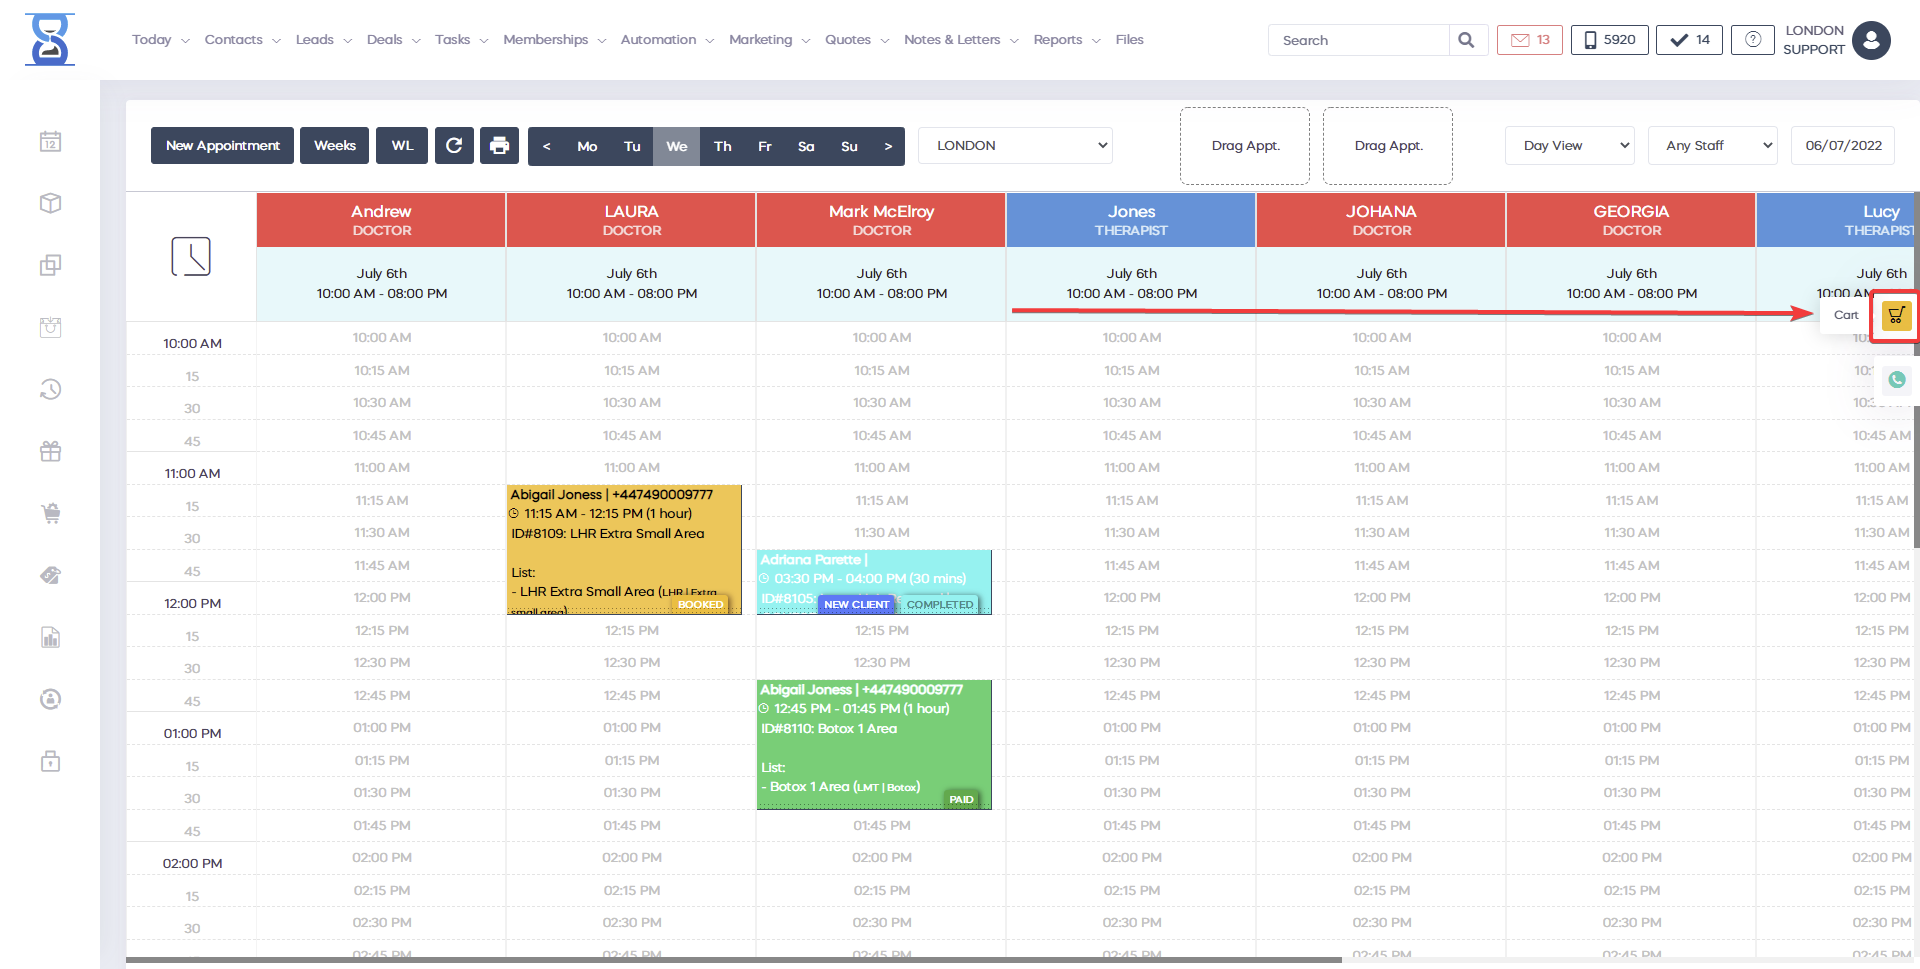
CART SECTION
The cart lists all items that will be billed on the receipt and the total amount to be paid. When adding an item to the cart it will appear here. To remove an item from the cart, click on the cart list rectangle and then press the “Delete” button of the item that you wish to remove.
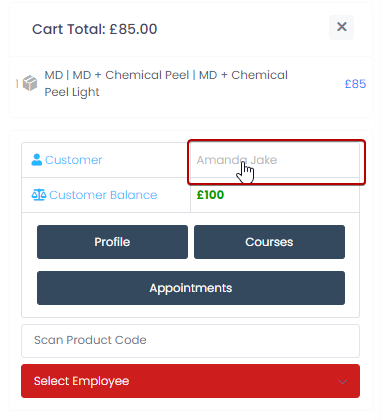
SELECTED CLIENT SECTION
The selected client section displays the selected client and includes controls for account balance, profile, appointments and courses.
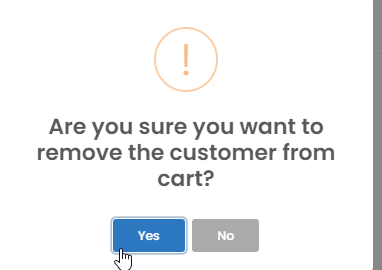
The client is selected from the clients list page by pressing the “Select Client” button. Please see the “Clients” section of the User Guide for more details. To remove the client from the receipt/cart, click on the client name and confirm the action.

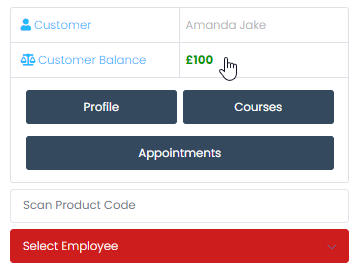
SELECTED CLIENT ACCOUNT BALANCE
The selected client’s balance is displayed in the selected client section, below the name. The account balance value is displayed in green colour when the client has a positive account balance and in red colour when negative (client is in debt). To manage the selected client’s account balance, click on the “Customer Account Balance” text.
This will open up the selected client’s account balance window from which you can view, deposit and withdraw funds to the client account balance.
Checkout with Stripe
CART CONTROL BUTTONS
This section includes the following buttons:
- CANCEL (clears the cart)
- END OF DAY (opens the end of day report)
- DISCOUNT (opens the discount window from which you can add predefined or custom discounts)
- LOYALTY CARD (opens a window from which you can scan or enter the loyalty card barcode)
- VOUCHER (opens the vouchers window from which you can sell, use and verify the amount on the card)
- SEND BY EMAIL (same as above buttons but instead of printing the receipt, it is emailed to the client automatically)
- PAYMENT: OTHER ( opens the custom payment methods window)
- DIRECT DEBIT (finalize the order and take payment by direct debit)
- CASH (finalize the order and take payment by cash)
- CARD (finalize the order and take payment by card)
- CASH & CARD (finalize the order and take payment by cash & card)
The Point of Sale section contains the cart, selected customer and employee sections and the cart control buttons (e.g. cash, card, voucher and discount buttons).
CART SECTION
The cart lists all items that will be billed on the receipt and the total amount to be paid. When adding an item to the cart it will appear here. To remove an item from the cart, click on the cart list rectangle and then press the “Delete” button of the item that you wish to remove.
SELECTED CLIENT SECTION
The selected client section displays the selected client and includes controls for account balance, profile, appointments and courses.
The client is selected from the clients list page by pressing the “Select Client” button. Please see the “Clients” section of the User Guide for more details. To remove the client from the receipt/cart, click on the client name and confirm the action.
The “PROFILE” button opens the selected client’s profile page. The “APPOINTMENTS” button opens the selected client’s profile / appointments page. The “COURSES” button opens the selected client’s COURSES / SESSIONS | Customer Courses | Courses Details page.
SELECTED CLIENT ACCOUNT BALANCE
The selected client’s balance is displayed in the selected client section, below the name. The account balance value is displayed in green colour when the client has a positive account balance and in red colour when negative (client is in debt). To manage the selected client’s account balance, click on the “Customer Account Balance” text.
This will open up the selected client’s account balance window from which you can view, deposit and withdraw funds to the client account balance. To deposit funds into the selected client’s account balance, press the “Deposit” button. Enter the amount the client wishes to deposit and then press the “Deposit” button. The deposit will be added to the cart. Complete the deposit by pressing the CASH or CARD button. To withdraw funds from the account balance to pay the receipt fully or partially, press the “Withdraw” button from the customer account balance window. Enter the amount you wish to Withdraw and then press the “Withdraw” button. Notice that the amount entered has been deducted from the receipt’s total value. Finalize the order normally by pressing the CASH / CARD buttons. The customer account balance will be updated. To view the selected client’s account balance history, press the “View Balance” button from the client account balance window. This will open the client profile | balance page. Please refer to the “Clients” section of the User Guide for more details.
SCAN PRODUCT CODE SECTION
This section includes a field from which you can scan or enter the product barcode.
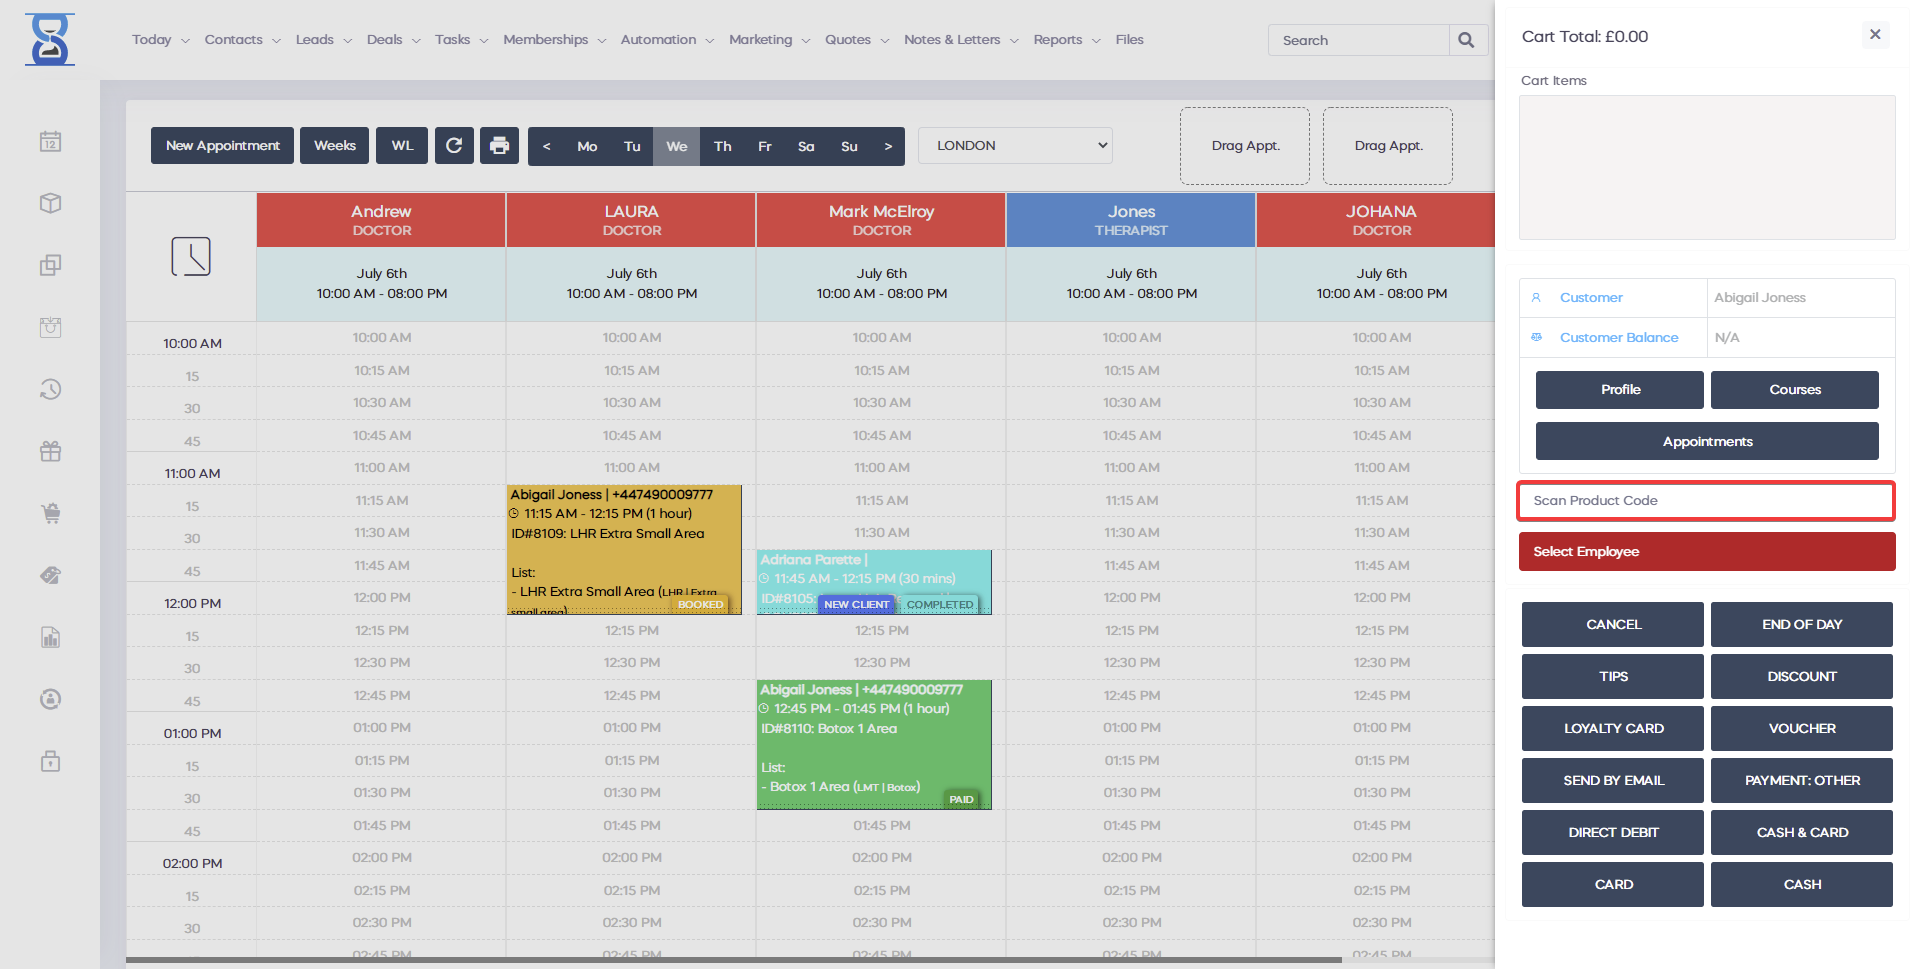
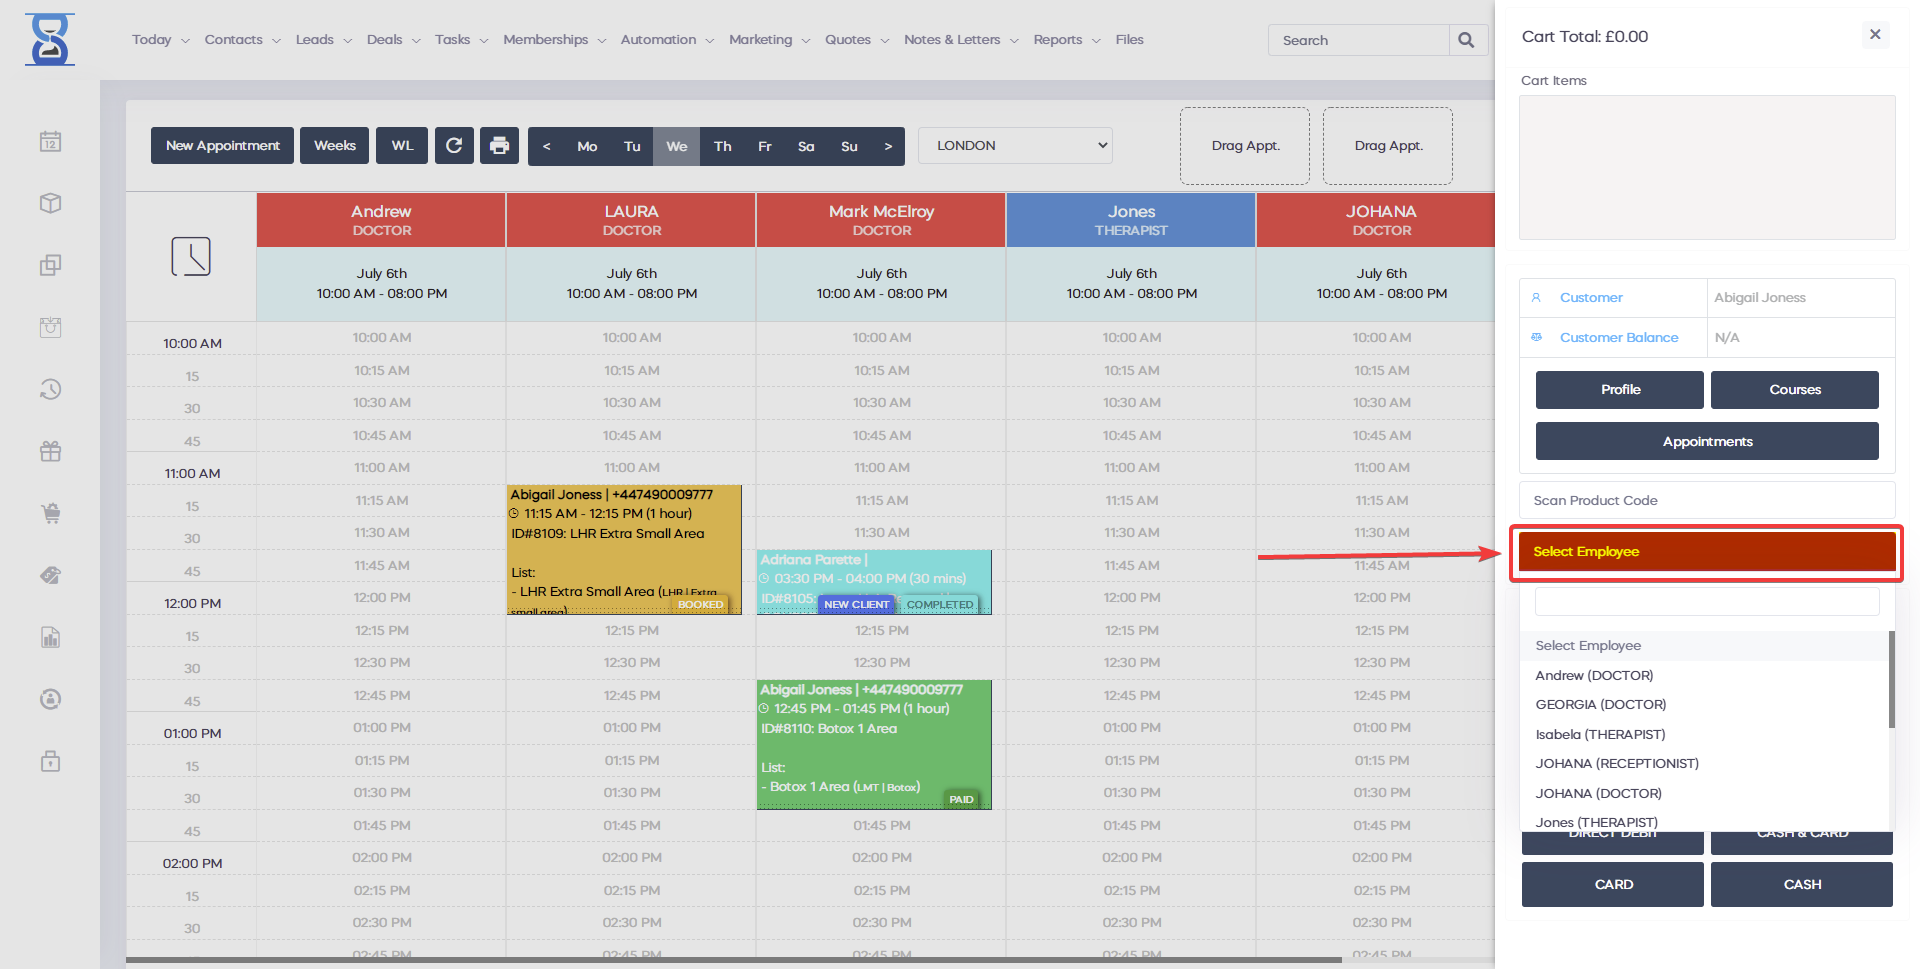
SELECTED EMPLOYEE SECTION
From this section you can specify in which employee name the receipt will be issued.
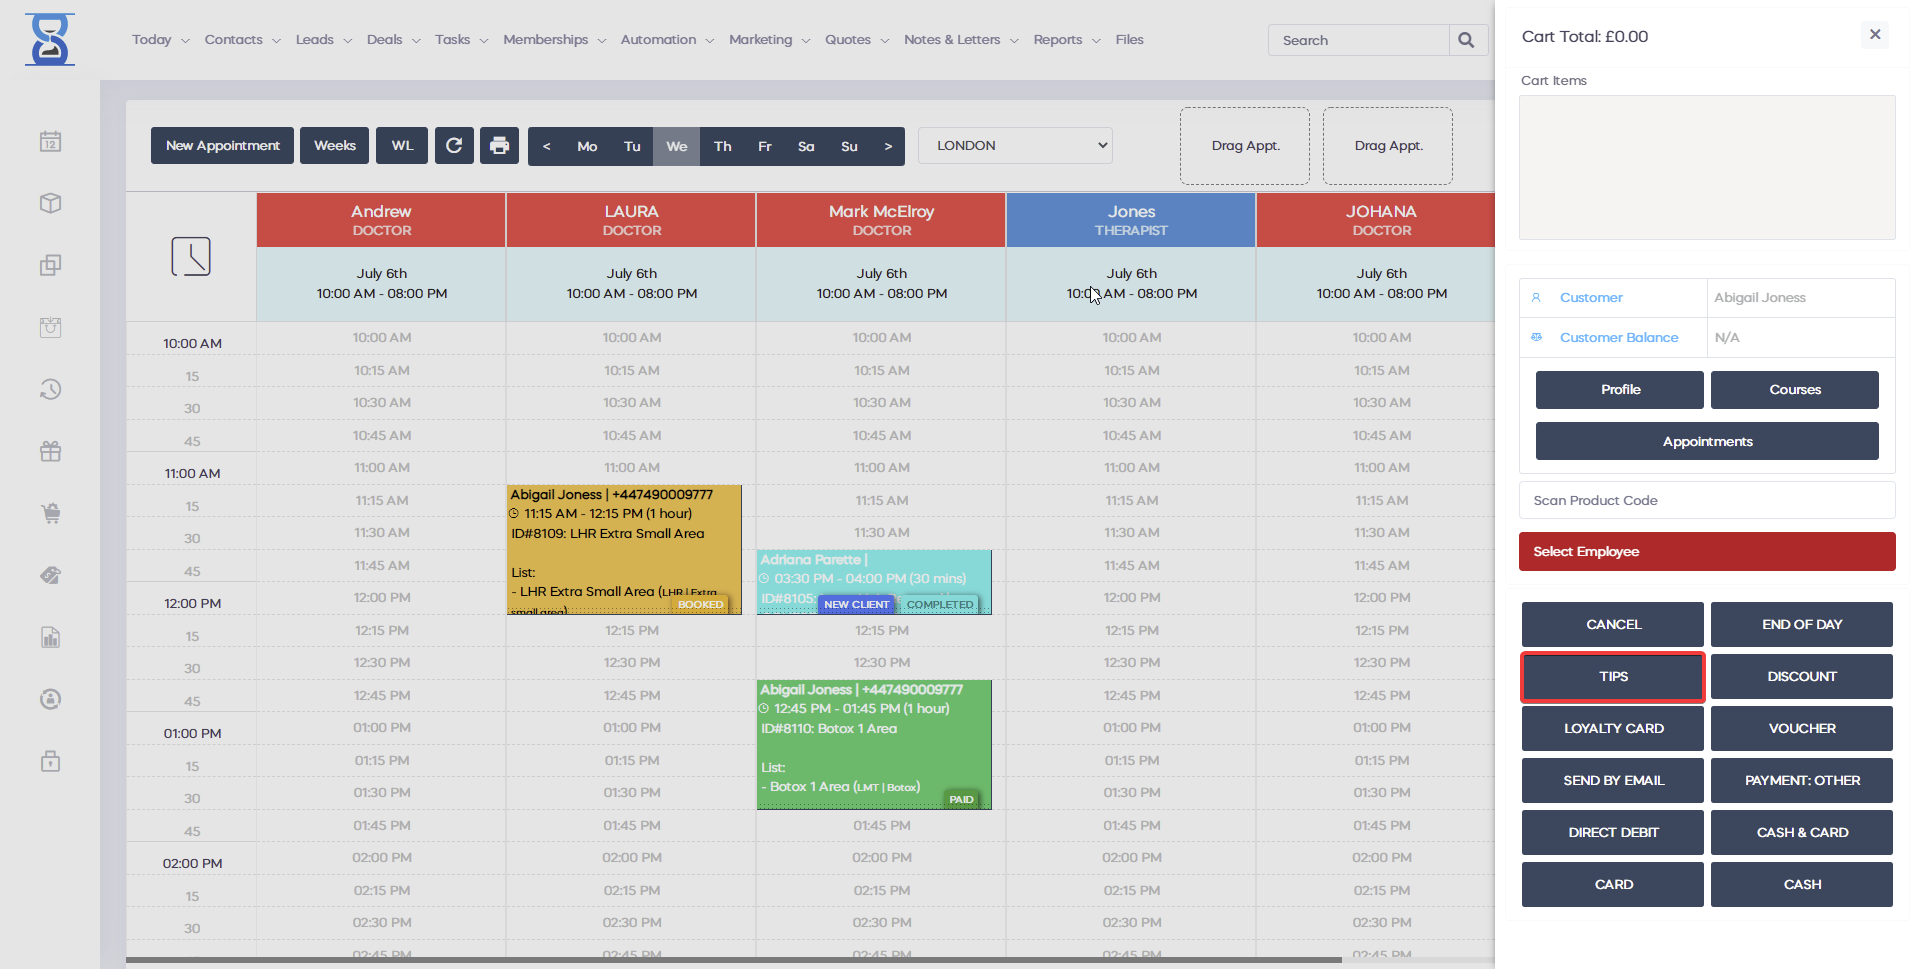
CART CONTROL BUTTONS
This section includes the following buttons: - CASH (finalize the order and take payment by cash) - CARD (finalize the order and take payment by card) - CASH & CARD (finalize the order and take payment by cash & card) - CHEQUE (finalize the order and take payment by cheque) - CANCEL (clears the cart) - SEND BY EMAIL (same as above buttons but instead of printing the receipt, it is emailed to the client automatically) - VOUCHER (opens the vouchers window from which you can sell, use and verify the amount on the card) - LOYALTY CARD (opens a window from which you can scan or enter the loyalty card barcode) - DISCOUNT (opens the discount window from which you can add predefined or custom discounts) - TIPS (opens the tips window form which you can add staff tips to the receipt) - SHOW KEYPAD (opens a window from which you can type in the barcode of the product in the “Scan Product Code “ field) - CALCULATOR (opens the calculator window)
VOUCHER WINDOW
From this window, you can create new voucher cards, add funds to existing ones, use funds from the voucher card or verify the debit. The voucher window can be accessed by pressing the “VOUCHER” button. To sell a new voucher or deposit funds into an existing one, press the “Sell” button from the voucher window. To sell a new voucher card, select “A New Voucher Card”. To deposit funds into an existing voucher card, select “An Existing Voucher Card”. Specify the voucher card barcode and the amount you wish to add on the voucher and then press the “Submit” button. Press the CASH / CARD buttons to finalize the order. Note: If you deposit funds into an existing voucher, the client owning that voucher will be automatically selected by the system. If you are selling a new voucher and a client is selected in the system, the voucher will by automatically assigned to the selected client. To create new vouchers that are not assigned to any client, first deselect the client by clicking on its name and then continue by pressing the CASH button. To use funds from a voucher card, press the “Use Voucher” button from the voucher window. Enter the voucher barcode and amount you wish to utilize and then press the “Submit” button. The voucher will be added to the cart and the cart total subtracted with the entered amount. Note: If the voucher is owned by a client and no client is selected, the system will select the client that belongs to the client automatically. If the voucher is not owned by anyone and a client is selected in the system, the voucher will be automatically assigned to the client. Vouchers can also be assigned manually from the client profile page, see the “Clients” section of the User Guide for more details. To view the amount left on a voucher, press the “Verify Debit” button from the voucher window. Enter the voucher barcode and then press the “Submit” button. LOYALTY CARD WINDOW From this window you can enter and the loyalty card barcode to be used in the cart. The loyalty feature will discount the lowest price item in the cart out of <X> total items, where <X> is configured in the admin area. (E.g. for 5 products, there will be a discount of the lowest priced product of the 5 added). The loyalty card window can be accessed by pressing the “LOYALTY CARD” button. Enter the loyalty card barcode and then press the “Submit” button.

DISCOUNT WINDOW
From this window you can select a predefined discount to be added to the cart or enter it manually by percentage or value. The discount window can be accessed by pressing the “DISCOUNT” button. Select the discount and then press the “Set Discount” button. The “Apply discount to services only” will only discount the services inside the cart. To set an open percentage-based discount, choose “Open Discount (percentage)” from the list. Enter the percentage and then press the “Set Discount” button. To set an open value based discount, choose “Open Discount (value)” from the list. Enter the value and then press the “Set Discount” button. To remove the set discount, choose “REMOVE DISCOUNT” from the list and then press the “Set Discount” button.

TIPS WINDOW
From this window you can add the staff tip to the cart. The tips window can be accessed by pressing the “TIPS” button. You will be prompted to log in with a staff with manager rights before you can access this window. Enter the amount that the client wants to tip and then press the green button. The tip will be added to the cart, finalize the order by using the CASH / CARD buttons.
KEYPAD WINDOW
From this window you can type in the product code into the “Scan Product Code” field. The keypad window can be accessed by pressing the “SHOW KEYPAD” button.
CALCULATOR WINDOW
The calculator window can be accessed by pressing the “CALCULATOR” button.